Use the filling valve to adjust the pressure to the level that is required for
testing according to the suit manufacturer.
CAUTION: Never increase the pressure in the suit beyond the
required stabilization pressure. Otherwise, seams and joints may
get damaged.
Perform the test against the specifications provided by the equipment
manufacturer.
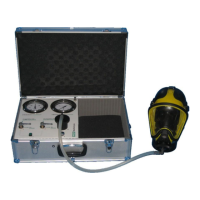
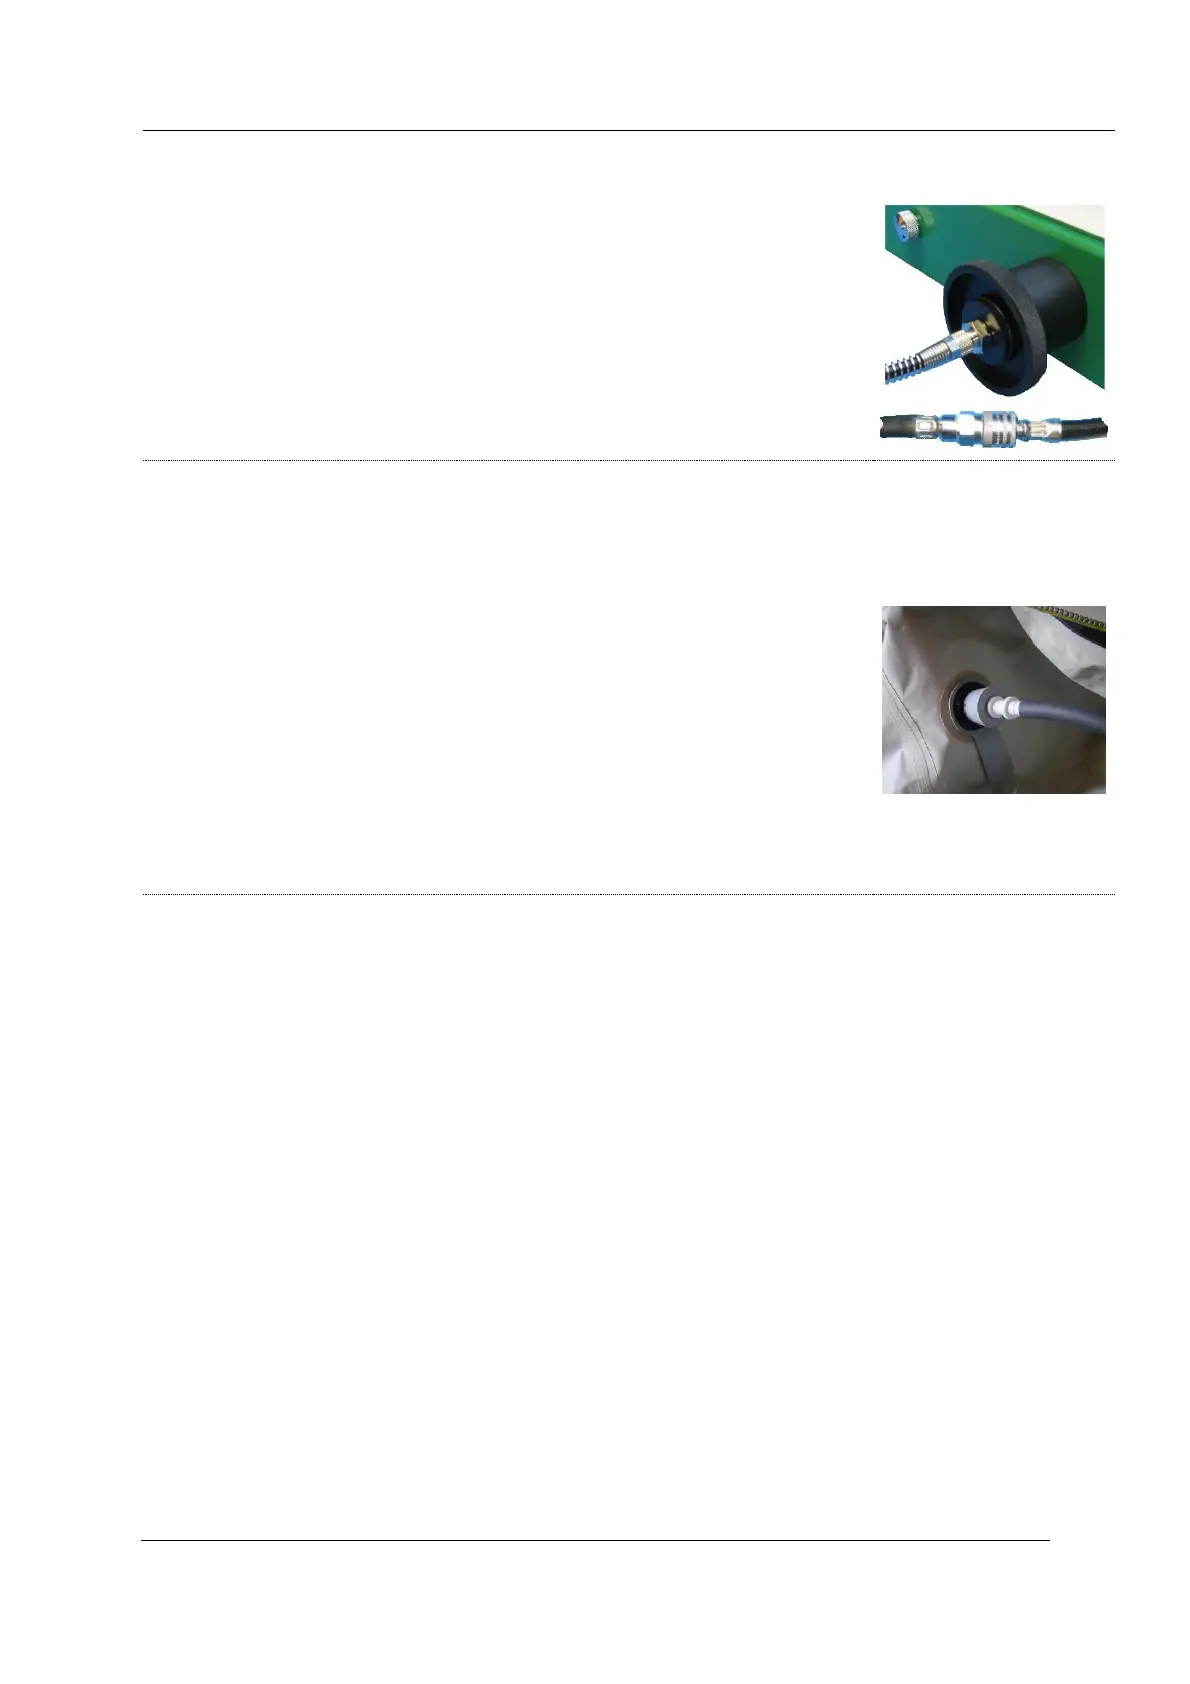
Connect the testing hose to the inside part of the valve.
Attach the testing hose to the tester's equipment connector.
Move the “suction pump” lever to the “OPEN” position.
Press and hold the pump push-button.
Let the pressure build up until it is slightly higher than the level required
for testing and move the “suction pump” lever to the “CLOSED” position.
Release the pump push-button.
Release pressure via the relief valve until the level required for testing is
reached.
Perform the test against the specifications provided by the equipment
manufacturer.
Repeat these steps for every single valve of the suit!