Installation and Operation
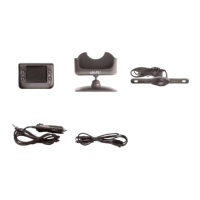
• MONITOR INSTALLATION
Choose a Location and Power Cable
-
-
• MOUNTING THE MONITOR
Fig. 2
Fig. 1
Fig. 3
Fig. 4
These instructions do not apply to all vehicles. They are only meant as a
general guide due to the number of different makes and models.
For vehicle specific questions contact your vehicle’s manufacturer.
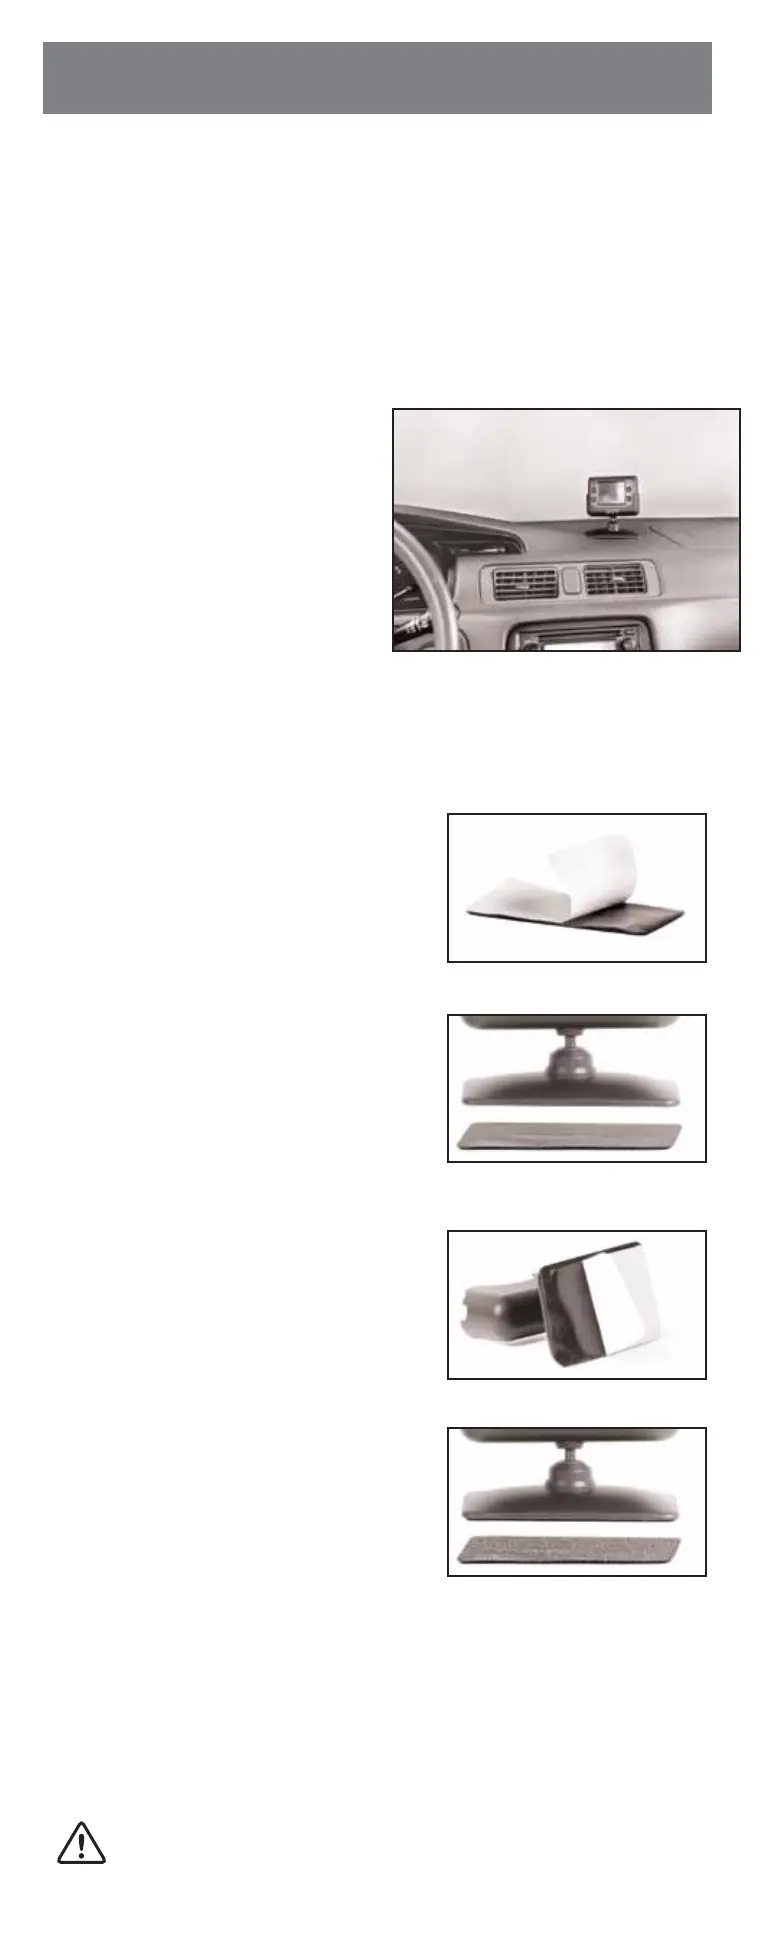
When deciding a location to mount the monitor, make sure it is in an area that
will not obstruct your vision while driving. It can be placed on the dashboard,
or on the windshield depending on the angle.
1. Place the monitor stand in a desired
location.
2. If you are using the supplied moni-
tor wiring cable, route the power
cable to the vehicle’s fuse box.
If you are using the 12V adaptor, route
the power cable to the vehicle’s ciga-
rette lighter socket/12V power outlet.
The cable must not interfere with the
safe operation of the vehicle.
Before permanently mounting the monitor, clean the surface well with isopropyl
alcohol and let it dry thoroughly.
1. First peel the backing paper from “Loop”
side of the rectangular shape. (Fig. 1)
2. Now align the hook & loop fastener with
the bottom of the monitor stand and
press down to adhere. (Fig. 2)
3. Now peel the backing paper from “Hook”
side of the rectangular shape. (Fig. 3)
4. Press onto clean surface you just cleaned.
Adhesive reaches maximum strength in
24 hours. Do not move the fastener from
its original position. (Fig. 4)
For best results, follow these guidelines:
- Surface temperature should be between 70°F and 100°F (21°C and 38°C).
- Application below 50°F (10°C) should be avoided.
- Application should not occur in direct sunlight.
- Mounting should be protected from exposure to direct sunlight for a period of 24 hours.
NOTE: UNDER EXTREME BRIGHT LIGHT CONDITIONS, THE SCREEN
IMAGE MAY TAKE A FEW SECONDS TO STABLIZE. PLEASE WAIT UNTIL
THE IMAGE HAS STABLIZED BEFORE BACKING UP THE VEHICLE.