Installation and Operation
Fig. 1
• CAMERA INSTALLATION
The camera can be mounted on top or bottom of the license plate. Use the
supplied wedge shims to adjust the angle of the camera. Due to the number
of different vehicle’s make and model, it is the user’s responsibility to ensure
that the camera is mounted in a way that does not obstruct it’s field of view.
1. Choose a position where you want to mount the camera, on top or on bottom of
the license plate. Using the screws/bolts to hold the camera on the plate ans use
the wdge shims to adjust the andle if needed. Do not completely tighten the
camera to the plate at this stage, as you will need to decide a route to wire the
camera’s power cable to the reverse light circuit (Fig. 1).
2. There is no drilling needed if there is an existing opening on your vehicle such
as an opening on the bumper or near the license plate. That allows the camera’s
power cable to pass through the vehicle body into the reverse light circuit.
3. If you have to drill a hole to allow the power cable to pass through, you MUST
choose a location close to the cable. If there is any component behind the location
you are going to drill, you MUST take precaution to avoid damages. If you are
uncertain about the drilling, always ask a trained professional for assistance.
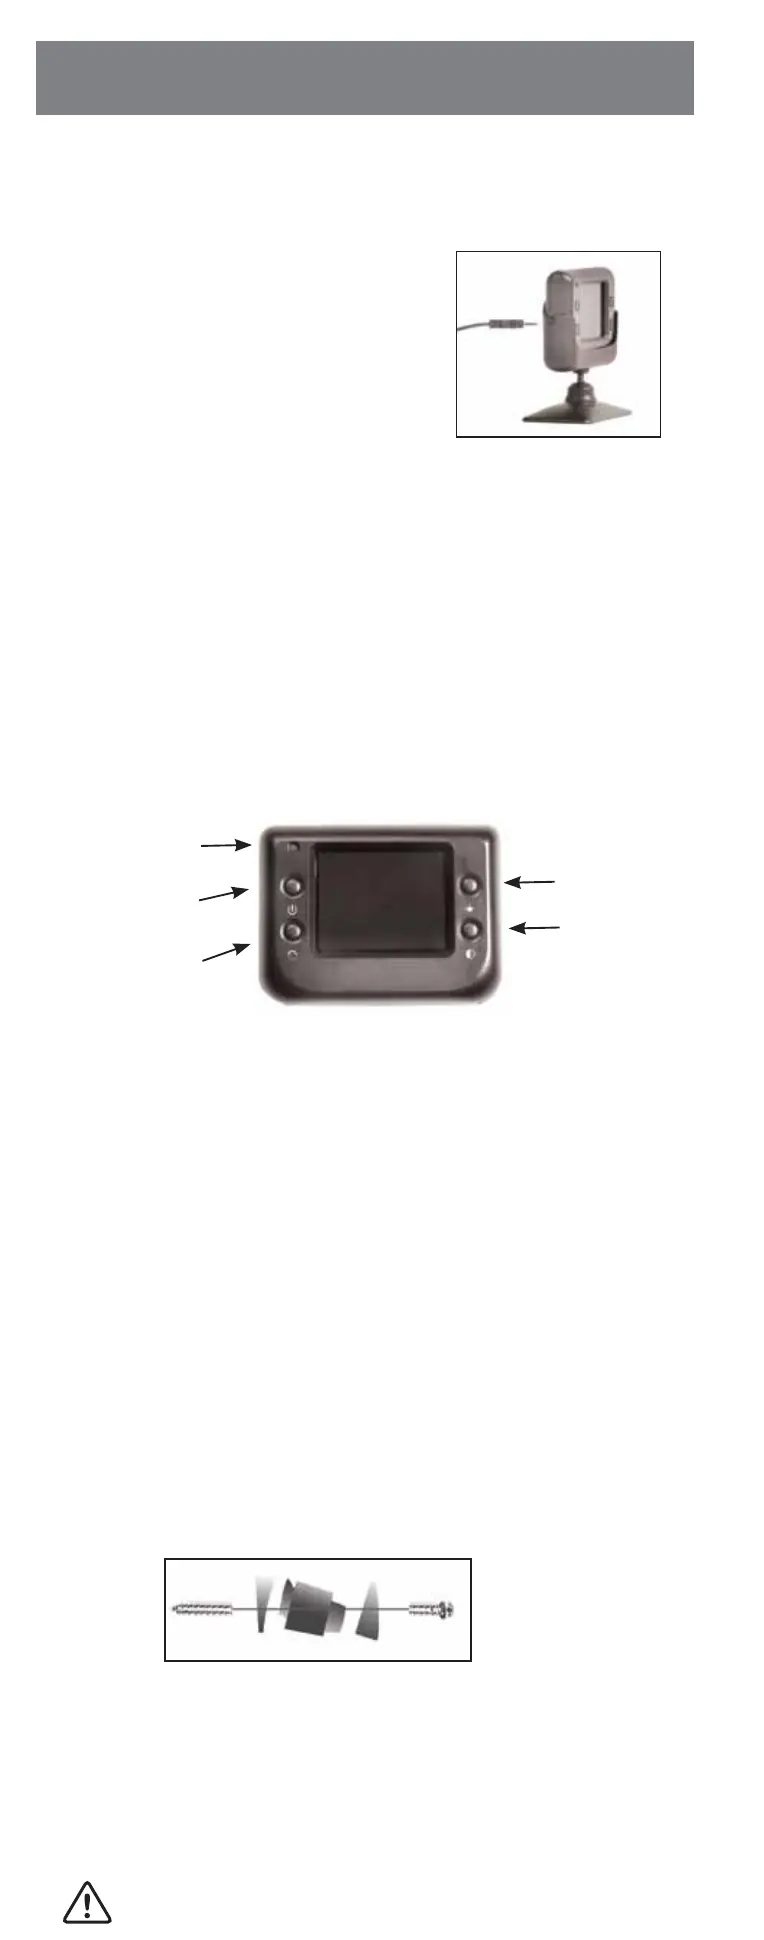
Red LED Power Indicator
-
When the monitor is ON the red LED will be lit. If
there is power to the monitor, but the monitor is OFF, the red LED will be OFF.
Power Button - Press the Power button to turn the display ON, the red LED
the red LED will show its ON. Press it again to turn the display OFF,
the red LED will turn off.
Contrast Control
- There are 5 levels of contrast. To adjust the contrast, press
the
Contrast Control button. Press the button to increase the contrast. When it
reaches the maximum contrast, it goes back to “LOW”.
Brightness
-
There are 5 levels of brightness. To adjust the brightness, press
the Brightness Control button. Continue to hold the button to make it brighter.
When it reaches the maximum brightness, it goes back to “LOW”.
• MONITOR CONTROLS
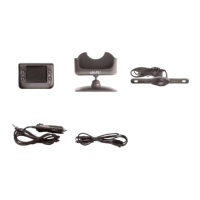
Power Cable with 12 Volt Cigarette
Lighter Adaptor
• HARD WIRED TO THE FUSE BOX
MAKE SURE YOU USE A TRAINED PROFESSIONAL WHEN CONNECTING
THE FUSE BOX OR DRILLING A HOLE.
• MONITOR POWER CONNECTION
1. Insert the 12 Volt DC plug of the power cable
into the left side of the monitor.
2. Plug the 12 Volt cigarette lighter adaptor into
the vehicle’s cigarette lighter socket.
3.
Press the ON/OFF button to turn the monitor ON.
1. Disconnect the negative battery cable from the vehicle’s negative battery terminal.
2. Connect the Red wire to the 12 Volt +/ACC terminal in the vehicle’s fuse box.
Always refer to vehicle’s owner’s manual for fuse box diagram.
3. The black cable must be located on an area of metal on the vehicle’s body/fire-
wall that does not have any vehicle components behind it. Sand off any paint to
reveal bare metal, this area will be your chassis ground.
4. Drill a hole for the supplied self tapping sheet metal screw. Make sure there are no
vehicle components behind where you are drilling the hole.
5. Strip the insulation from the end of the black wire .5” (1,3 cm) and wrap the wire
around the self-tapping sheet metal screw before tightening.
6. Re-connect the negative battery cable.
7.
Connect the power cord into the monitor, using the ON/OFF button.
To supply the monitor with power, either use a 12 Volt cigarette lighter adaptor
plugged into the vehicle’s cigarette lighter socket, or use a wiring harness hard
wired to the vehicle’s fuse box.
ON/OFF
Button
Red LED
Power Indicator
Image
Orientation
Button
Brightness
Control
Contrast
Control
NEVER ROUTE THE POWER CABLE OUTSIDE THE VEHICLE
Power jack
 Loading...