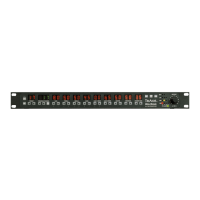
PAGE 12
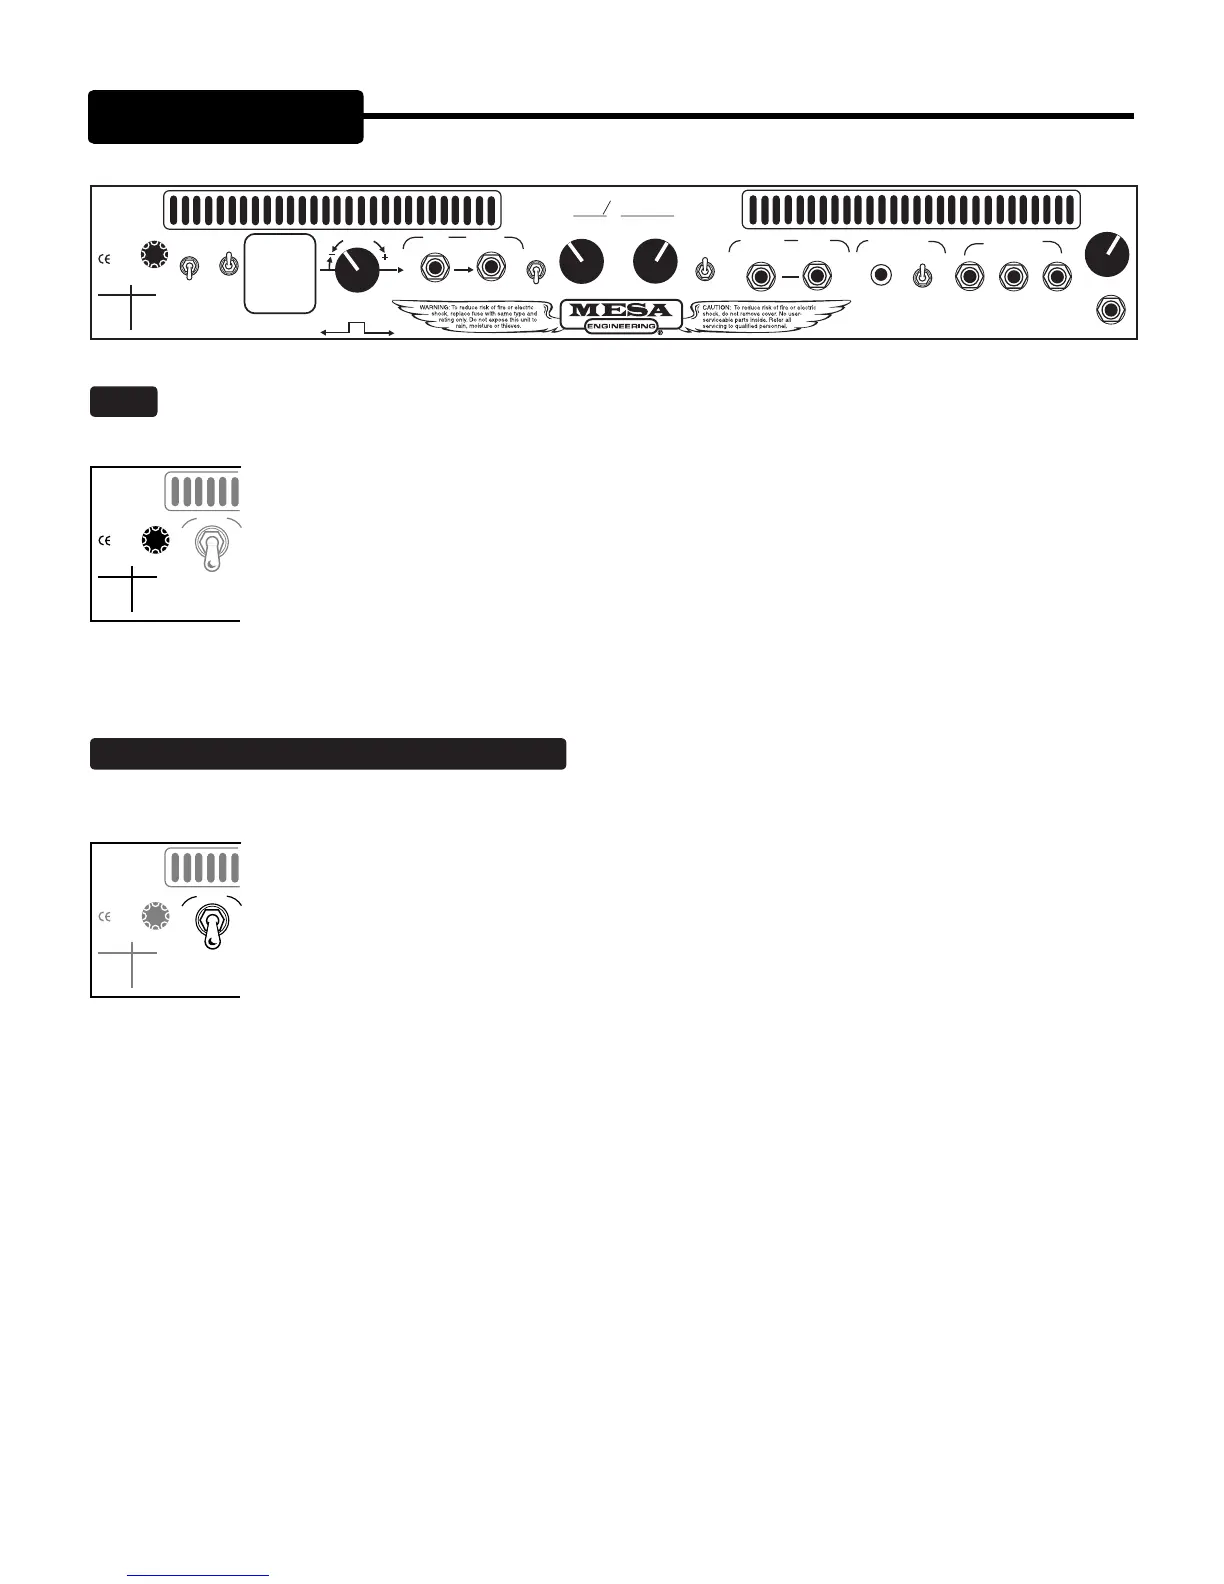
FUSE:
This is the A.C.’s (Alternating Current) main fuse and provides protection from outside A .C. fluctuations as well as power
tube failure damage. Should the FUSE blow, replace it with the same rating in a Slo-Blo type package. The domestic U.S. version
requires a 4 amp Slo-Blo FUSE. A power tube short or failure is often the cause of a blown FUSE...Follow the
cold start procedure mentioned in the ON/STANDBY switch section and watch the power tubes as you flip
the STANDBY to the ON position. If a power tube is going bad or is arcing you will see it! Flip the STANDBY
switch to Standby immediately and replace the faulty power tube and the FUSE if necessary.
If you see nothing abnormal as you switch the STANDBY on, it is possible that a power tube shorted temporarily
and blew the FUSE. If this is the case it may work again normally. To be safe, you might want to replace just
the adjacent tube or all power tubes in the “shotgun” troubleshooting tradition and save the replaced set as spares. Spare fuses are a
must for the fabled cord bag along with your spare tubes. Always carry both for they could be worth their weight in gold someday.
RECTIFIER SELECT: Diodes / Tube Rectifier Tracking
This two position toggle selects the type of rectifier, Silicon Diodes or Tube,
to convert the voltage from AC to DC for the power supply. The LONE STAR incorporates a further improved version of our patented
Switchable Rectifier feature first seen on the Dual and Triple Rectifier SOLO heads. It incorporates a Rectifier Tracking™ feature
that insures proper voltage is present at all times and improves reliability. This switch operates in tandem with
the individual Channel Power Select (50/100) switch located on the right side of the Front Panel.
The Rectifier Tracking feature monitors the Channels, determines their power status and automatically selects
the proper rectifier type - which ultimately assures the best sound. This provides optimization of the power
settings, delivering a magical tube-rectified power-sag vibe for the channel set to 50 watts - and a tighter,
bolder 100 watts of diode-rectified authority for the channel set to full power.
Selecting DIODES chooses the solid state diode rectifiers which deliver maximum power and headroom, while tracking tighter and
imparting a quicker transient response and bolder attack. When set to DIODES, both Channels will respond with this character
regardless of their individual power settings on the Front Panel. Selecting TUBE RECTIFIER TRACKING engages the 5U4 rectifier
tube automatically (either or both channels) whenever the 50 watt selection is made on the Front Panel Channel Power Select switch.
When switching to the opposite channel, if the Channel Power Select is set to 100 watts, the Diodes are automatically engaged to
insure proper matching to the added load on the supply.
This innovative feature allows you to tune each channel for the ultimate power expression and feel. With this flexibility you can switch
between a high power, spanking clean rhythm sound in Channel 1- and a saggy brown, old school power clip for bluesy single note
solo work with the DRIVE bypassed in Channel 2. Or conversely, set Channel 1 for a sweet low power clean sound and crank up the
horsepower with the DRIVE active to articulate a high gain solo voice in Channel 2. Regardless of the way you choose to dedicate
your Channels, you will find this power section flexibility a remarkable step forward toward your ultimate tone.
NOTE: Don’t forget the Front Panel AC switch incorporates the reduced voltage TWEED setting. This adds yet another dimension to
the power expression scenario and can produce amazing results when combined with the TUBE RECTIFIER TRACKING feature. Be
sure to experiment with these two features in combination with each other.
WARNING:
Unplug power
before replacing
fuse or removing
bolts mounting
chassis
POWER FUSE
4 A
SLO
BLO
120 V~
60 Hz
4 A
FUSE
FUSE
DIODES
TUBE
RECTIFIER
TRACKING
WARNING:
Unplug power
before replacing
fuse or removing
bolts mounting
chassis
POWER FUSE
4 A
SLO
BLO
120 V~
60 Hz
4 A
FUSE
FUSE
DIODES
TUBE
RECTIFIER
TRACKING
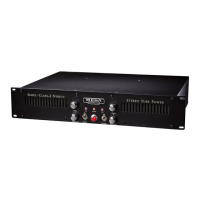
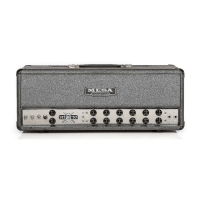
WARNING:
Unplug power
before replacing
fuse or removing
bolts mounting
chassis
SLAVE
POWER FUSE
4 A
SLO
BLO
120 V~
60 Hz
4 A
FUSE
FUSE
SILICON
DIODES
TUBE
RECTIFIER
TRACKING
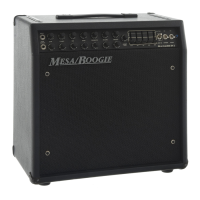
FAN
ON
FAN
OFF
First set sound with
LOOP bypassed. Then
set SEND & OUTPUT
to 50% for unity gain.
With LOOP IN, adjust
SEND to match FX.
Use OUTPUT for
RETURN level and
live volume control.
SEND
RETURN
NORMAL
MIN
SEND LEVEL
TUBE LOCATIONS
1 x 5U4 4 x 6L6
LOOP
IN
HARD BYPASS
OOGIE
B
M
ESA
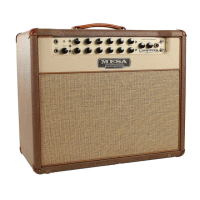
LONE STAR
CH 2 REVERB CH 1
REVERB
BRIGHT
REV WARM
ALL - TUBE
AMPLIFIER
CHANNEL
SOLO
EXT
SW
SPEAKERS
HAND BUILT IN PETALUMA CA.
8 OHM4 OHM 4 OHM
BIAS SELECT
EL-34
WHEN
RED ON
EL-34
6L6
CAUTION: SWITCH MUST
MATCH TUBES IN USE
 Loading...