1.800.221.0932
|
MetraOnline.com
2
1. Unclip the top cover from the instrument
panel, then remove (2) Phillips screws
exposed.
2. Remove the ashtray, then remove (1)
Phillips screw exposed.
3. Starting from the bottom edge of the
radio/climate control panel, unclip,
unplug, and remove the panel.
4.
Remove (2) 3/8” screws securing the
radio to the dash. Slide the radio out,
then unplug and remove the radio.
Continue to Kit Preparation
(Figure A)
1. Remove (4) Phillips screws securing the
climate control panel to the dash, then
temporarily move it out of the way in
preparation for the next step.
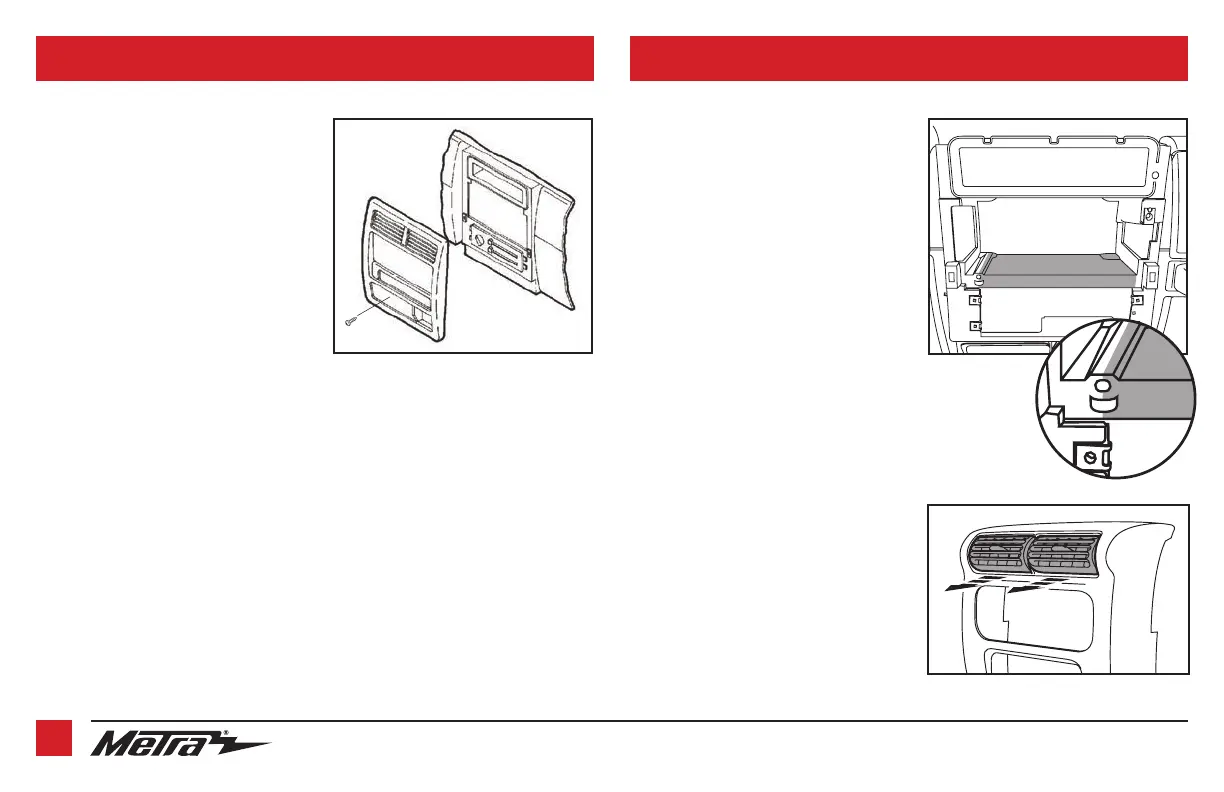
2. Cut the shaded area in the sub-dash
to allow room for the radio assembly.
(Figure A)
Note: Some radios may require more
cutting than shown. Cut as needed to
allow room for the aftermarket radio.
Note: The dash cut goes through the
center of the lower left mounting hole.
(See detail)
From the factory radio/climate control panel:
3. Unclip and remove the a/c vents.
(Figure B)
4. Unclip and remove the cigarette lighter/
switch panel.
5. Remove the (2) panel clips.
Continued on the next page
DASH DISASSEMBLY KIT PREPARATION
(Figure A)
Remove shaded area
Detail
(Figure B)