3
Dash Disassembly 99-7603
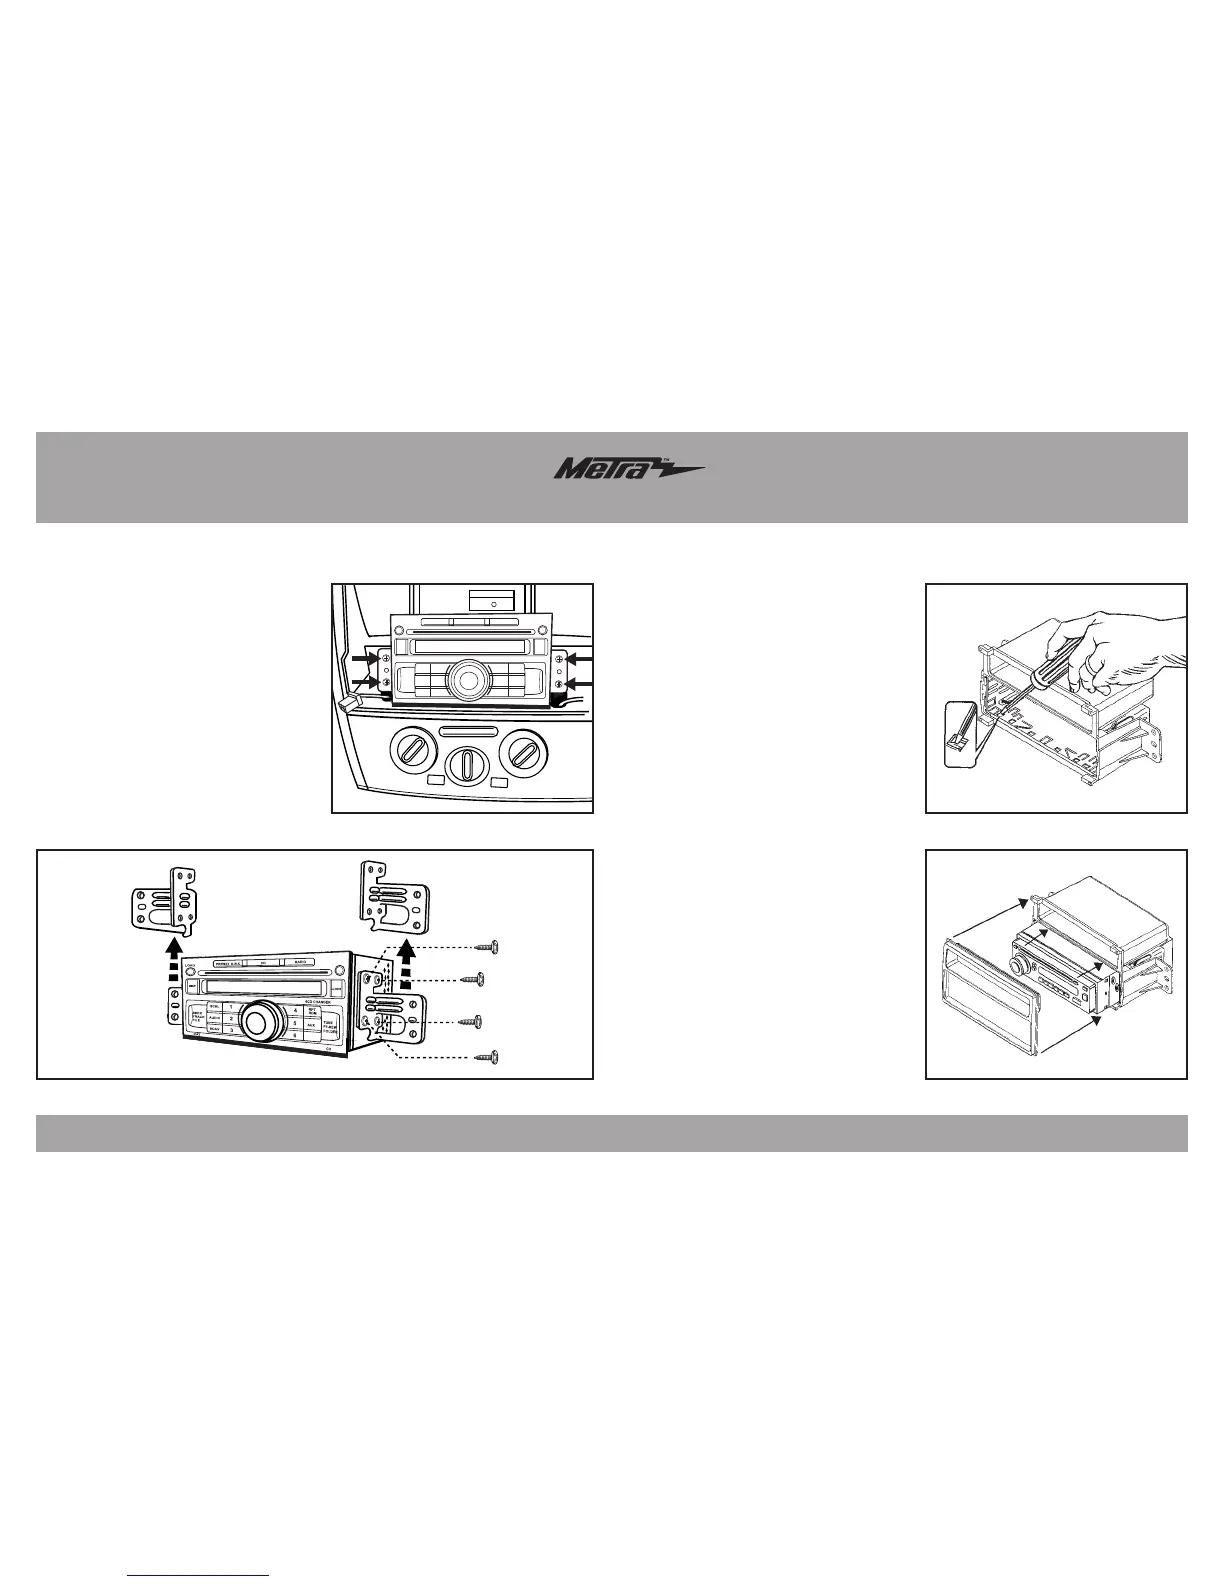
3. Remove (4) Phillips screws
securing radio, unplug and remove
radio. (Figure D)
4. Remove (4) Phillips screws
securing each bracket to factory
radio. (Figure E)
Note: Retain these brackets to be
re-used during double DIN or
stacked ISO kit assembly.
Continue to kit assembly
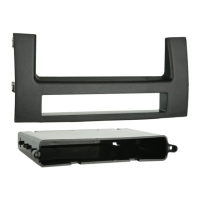
Nissan Versa 2007-2011
(Figure E)
Note: You will need to remove the
aftermarket radio’s trim ring if equipped.
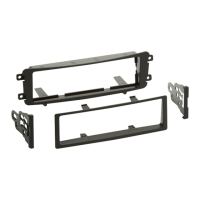
1.
Slide the DIN cage into the radio
housing and secure by bending the
metal locking tabs outward.
(Figure A)
2.
Slide the aftermarket radio into the
cage until it snaps into place.
(Figure B)
3.
Attach the trim plate supplied with
the kit to the front of the radio
housing assembly. (Figure B)
4.
Locate the factory wiring harness in
the dash. Metra recommends using
the proper mating adapter from Metra
or AXXESS. Re-connect the negative
battery terminal and test the radio for
proper operation.
5.
Reassemble dash in reverse order
of disassembly.
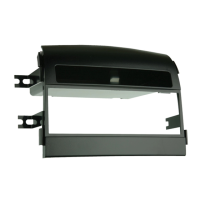
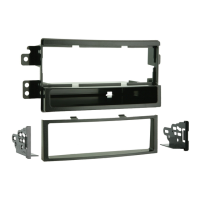
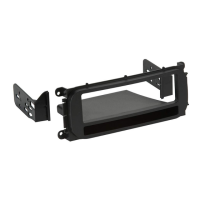
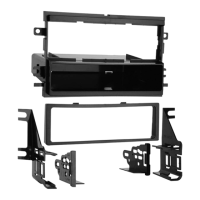
DIN radio provision with pocket
(Figure D)
VOL
CD
LOAD
SCRL
AUDIO
SCAN
CAT
CH
AUX
6CD CHANGER
RPT
RDM
DISP
CLOCK
RADIO
PRESET A-B-C
SEEK
TRACK
FILE
TUNE
FF-REW
FOLDER
PWR
PUSH
1
2
3
4
5
6
(Figure B)
(Figure A)
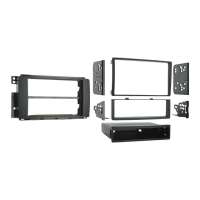
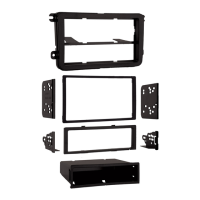
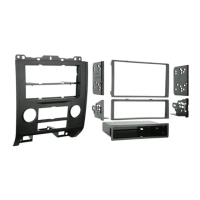
Kit Assembly 99-7603
 Loading...