SECTION 3 - M. FRAME, ADJ. RING, TRAMP REL. & CLRNG JACK ASSY
3-30
MP SERIES CONE CRUSHER TECHNICAL REFERENCE MANUAL
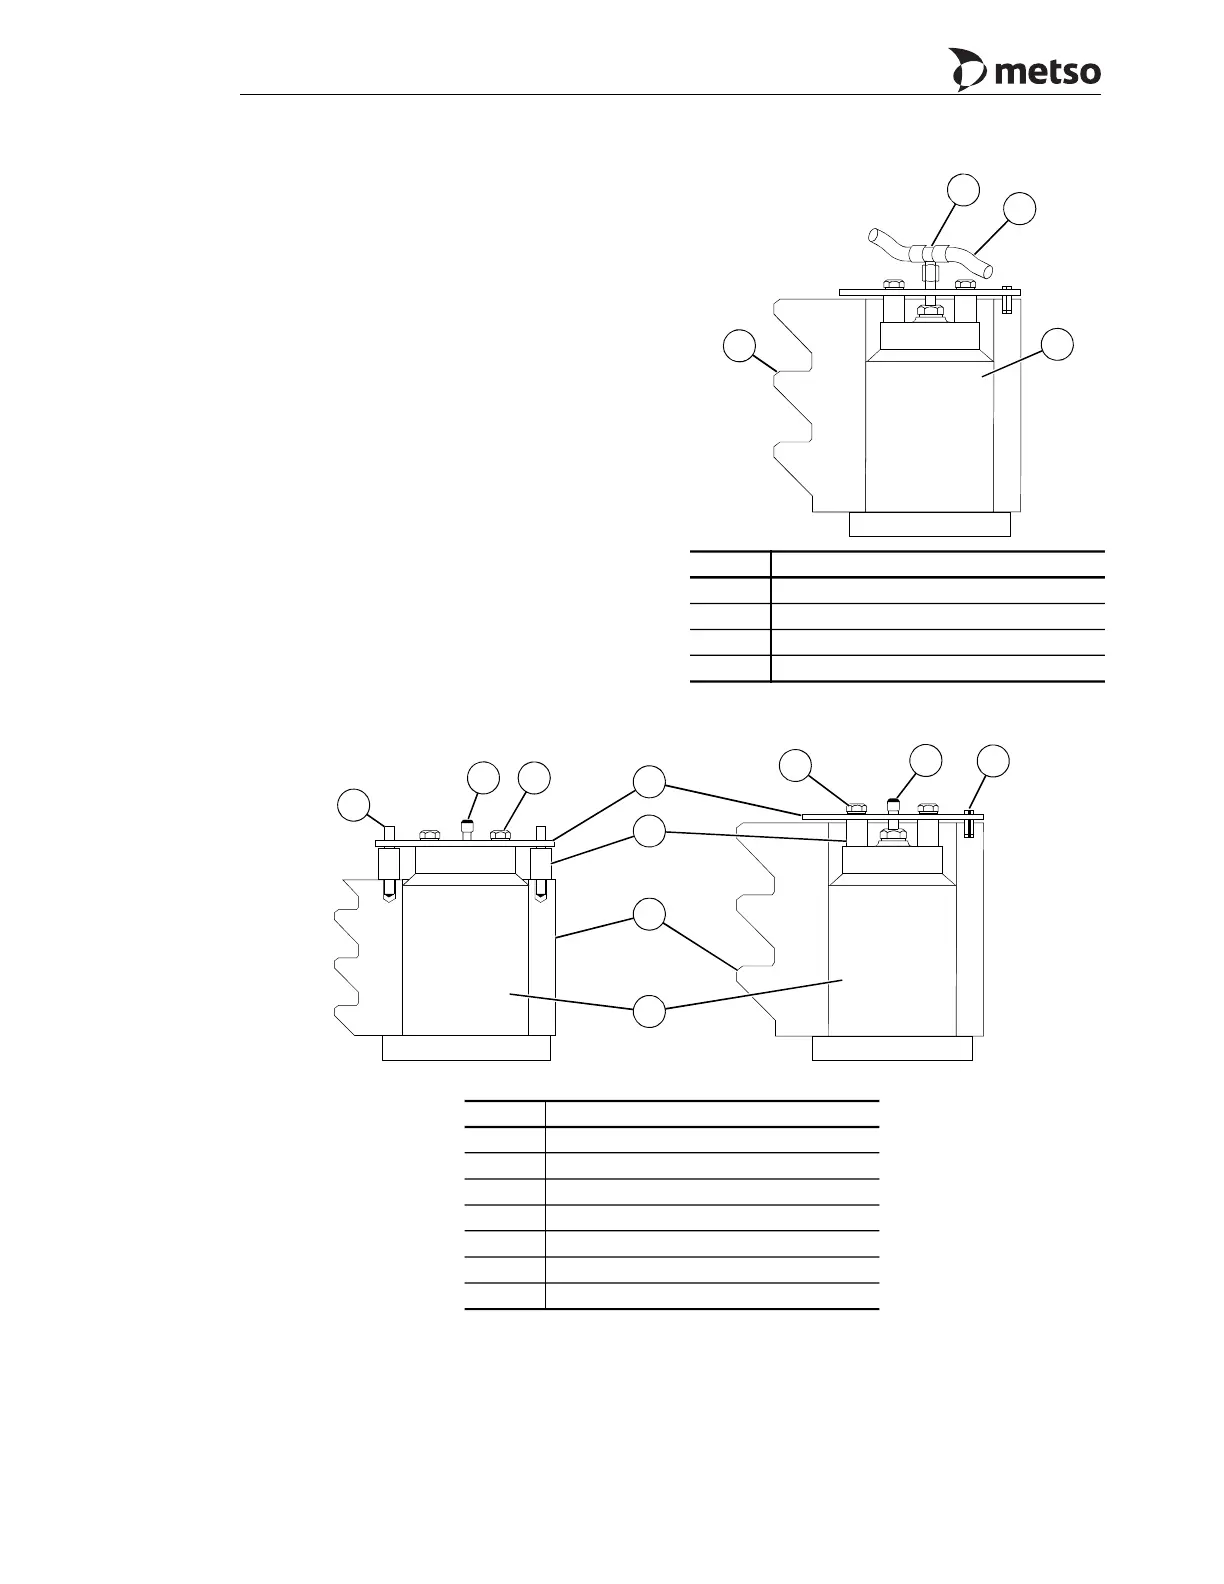
3.4.13 Clamping Cylinder Removal
Remove a faulty clamping cylinder as follows:
1. Remove the clamping ring as described in
steps 1 through 5 under Adjustment Ring
Disassembly in this section.
2. Set the clamping ring on wood blocking at
least 310 mm (12") off the floor.
3. Remove the hoses and tee or elbow from the
top of the cylinder. Refer to Figure 3-24.
4. Put blocking between the floor and the
clamping cylinder that is being removed.
The blocking is required so the cylinder will
not fall out of the clamp ring as the cylinder
is free to slide out of the ring when the bolts
are removed in step 5.
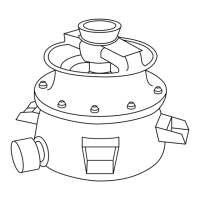
Figure 3-24 Clamping Cylinder Removal
Figure 3-25 Clamping Cylinder
Callout Description
1 Tee
2 Hose
3 Clamping ring
4 Clamping cylinder
1
2
4
3
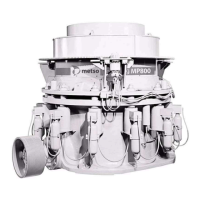
Callout Description
1 Dowel
2 Mounting bolt
3 Mounting bracket
4 Spacer
5 Clamping ring
6 Clamping cylinder
7 Hydraulic fitting
MP800 MP1000
3
4
5
6
2
7
1
27
1
 Loading...