PULL BACK RIGGING OPERATING INSTRUCTIONS
7
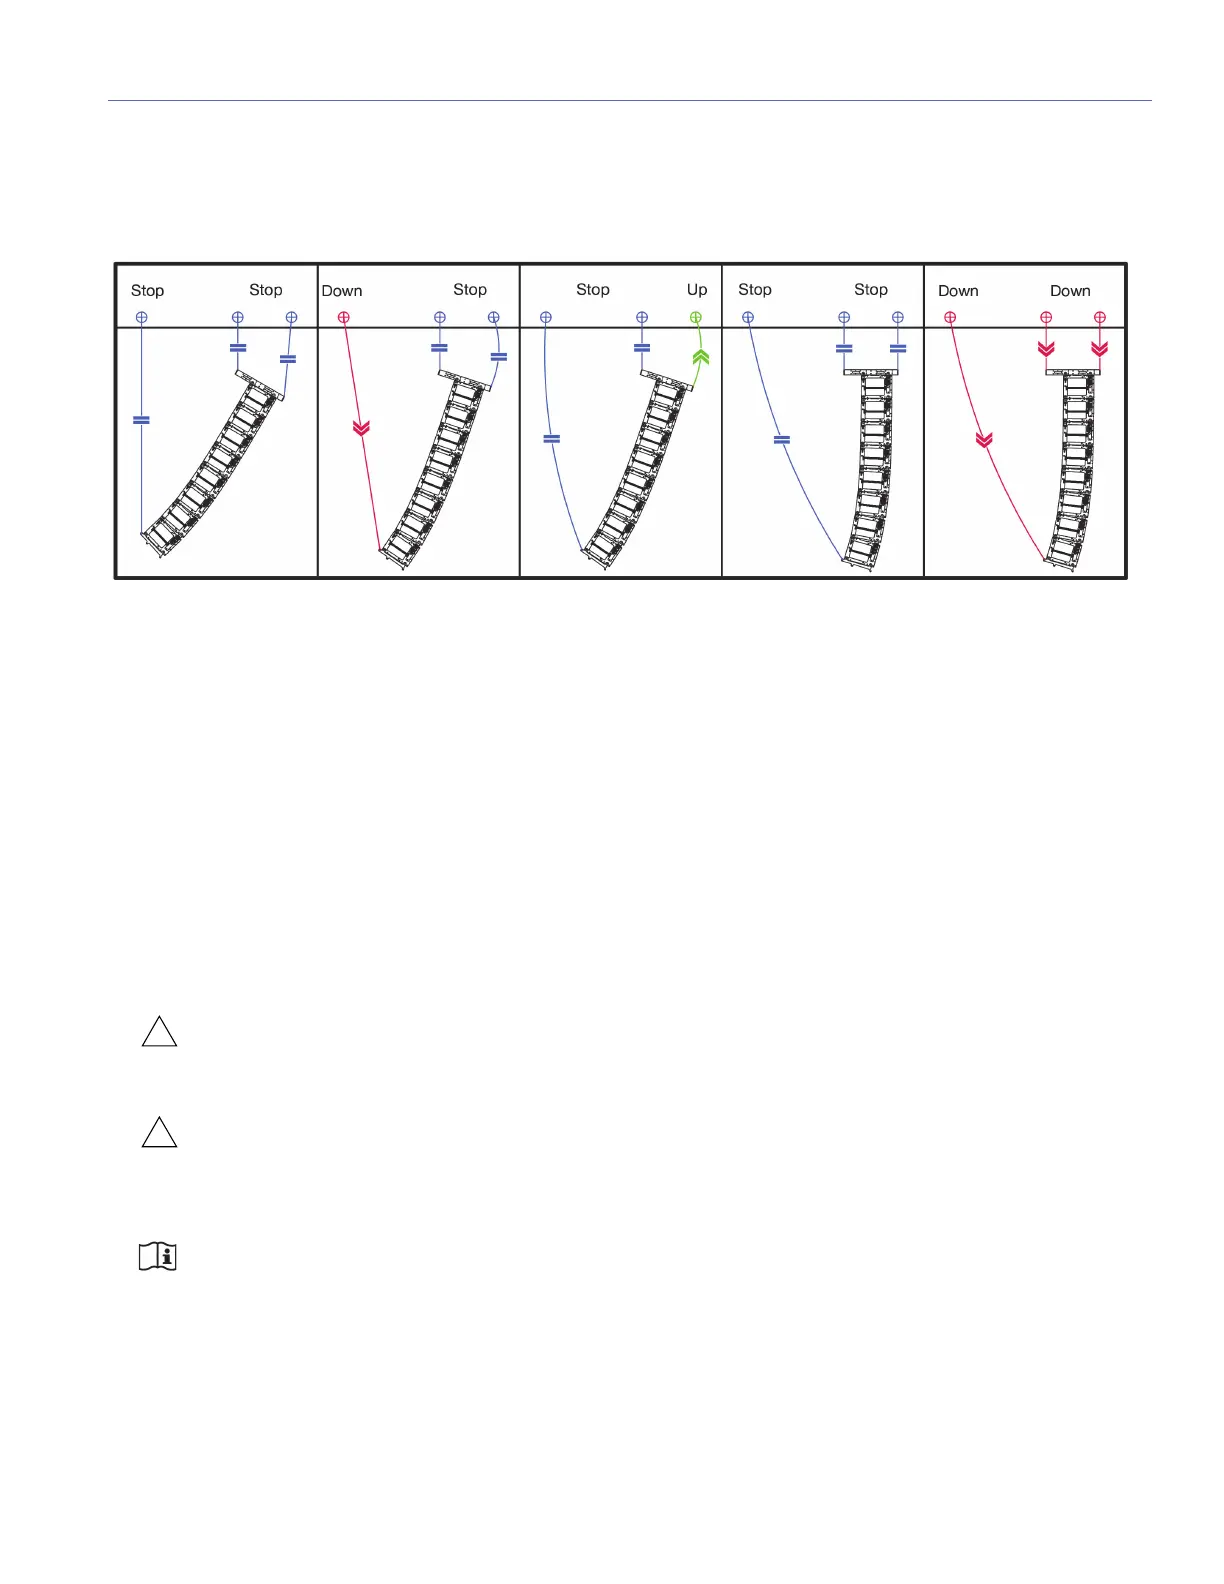
TRANSITIONING FROM PULL BACK TO TOP GRID RIGGING
Movement
To transition from a pull back to standard top grid rigging configuration:
1. The is array is resting at the pull back position.
2. From the pull back position, slack the pull back motor until the array is hanging only from the top rear of array motor points.
Make sure there is enough slack in the pull back motor so this motor will never be under tension.
3. Pick up the slack of the top front of array motor points until the weight is distributed by all top grid motor points.
4. Lower all top grid and pull back motors at the same time.
Make sure there is enough slack in the pull back motor so it will never be under tension.
If necessary stop the downward motion on all motors and increase the slack of the pull back motor.
5. When the array is close to the ground, disconnect the pull back and disassemble the array.
CAUTION: To minimize potentially dangerous situations and prevent accidents, you must maintain all rigging
gear and follow all safety procedures and local regulations. Replace worn or damaged parts and accessories
immediately.
CAUTION: Factor of Safety Intermediate Data calculations provided by the MAPP XT program for Meyer Sound
rigging configurations depend on the proper installation, maintenance, and use of the rigging. Read all rigging
instructions provided by Meyer Sound. Failure to follow these Operating Instructions, or failure to inspect, maintain, and
repair all rigging parts and accessories will void Factor of Safety calculations.
NOTE: Local rigging regulations may require dead hanging all loads or providing safety links that bypass all
motors. A dead hang uses a steel wire or chain to remove all load from the motor unit used to take the load to
its dead hung position.
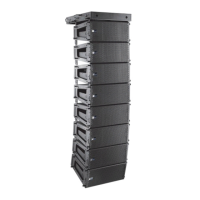
Pull back to top grid rigging
Step 1 Step 2 Step 3 Step 4 Step 5