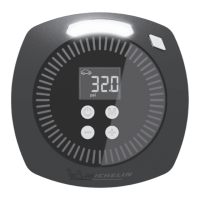
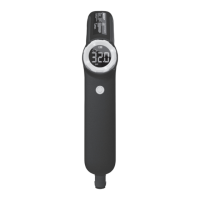
digital display
The digital display can be used to monitor air pressure when inflating your desired objects.
When the inflator is switched on and connected to the tyre, the current pressure will be displayed on
the screen. Tyre pressure reading accuracy +/-1 PSI up to 50 PSI, +/-2 PSI 51 to 100 PSI.
To ensure safety, please check the recommended pressures by reading the instruction manual provided
with your vehicle/motorcycle/cycle/inflatable item. Compressed air can be dangerous. Overinflating can
be dangerous and possibly result in injury. Under or overinflated tyres can be dangerous and possibly
result in injury.
TYRE INFLATION
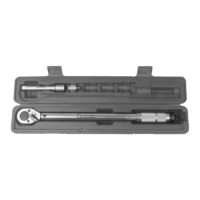
1. Fully unwind the power cable and connect the 12v power cord plug into the inflator input port (8) and
plug the 12v power plug into the vehicle’s accessory socket. Now unclip the high pressure hose and
connect it to the tyre valve as shown in Fig 1/2. A successful connection will show the current tyre pressure.
NOTE: Always connect the 12v power before connecting the high pressure hose to the tyre.
Improper attached hoses or accessories can become detached under pressure and cause serious injury.
Possible air leaks can cause faulty pressure readings. Make sure all connections are tightly secured
before inflating.
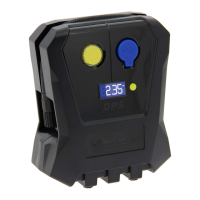
PRESSURE INDICATION
CORRECT TYRE PRESSURES
The inflator will stop automatically when the selected pre-set pressure is reached. To stop inflation at
any point press inflation start/stop button (1)
psi
Car mode: default pressure (flashing) is 32 psi. Adjustable range: 14-51 psi.
2. Press the mode button M (5) for one second (object icon will flash) then while flashing press (6)
to switch between the following five inflation options. Once the selected object icon stops flashing the new
selection is set.
The inflator is shipped with a protective film over the digital display. This should be peeled off prior to
use to get a clearer view of the display.
4.
Small Toy Adapter
Small inflatable toys use the small toy inflator adapter. To connect the adapter
to the quick release valve connector push and hold the adapter into the hole of
the connector with one hand while holding the quick release connector at its
base (Fig 1) push the connector forward. While still pushing forward, slide your
thumb and forefinger down into the grey collar and continue pushing until the
collar stops moving forward (Fig 2). The adapter is now locked into the connector.
To remove it hold it with one hand and pull the grey collar back with the other
hand.
+
 Loading...