LVS-7510 Integrated System Installation and Quick Start Guide for Zebra Printers
LVS-7510 Integrated System Installation and Quick Start Guide for Zebra Printers Page 7 of 16
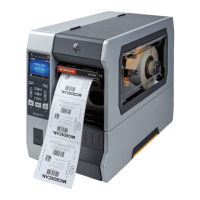
2. Connect one end of the AC power cord to the power supply box.
3. Connect the other end of the AC power cord to a power outlet (110-120 AC).
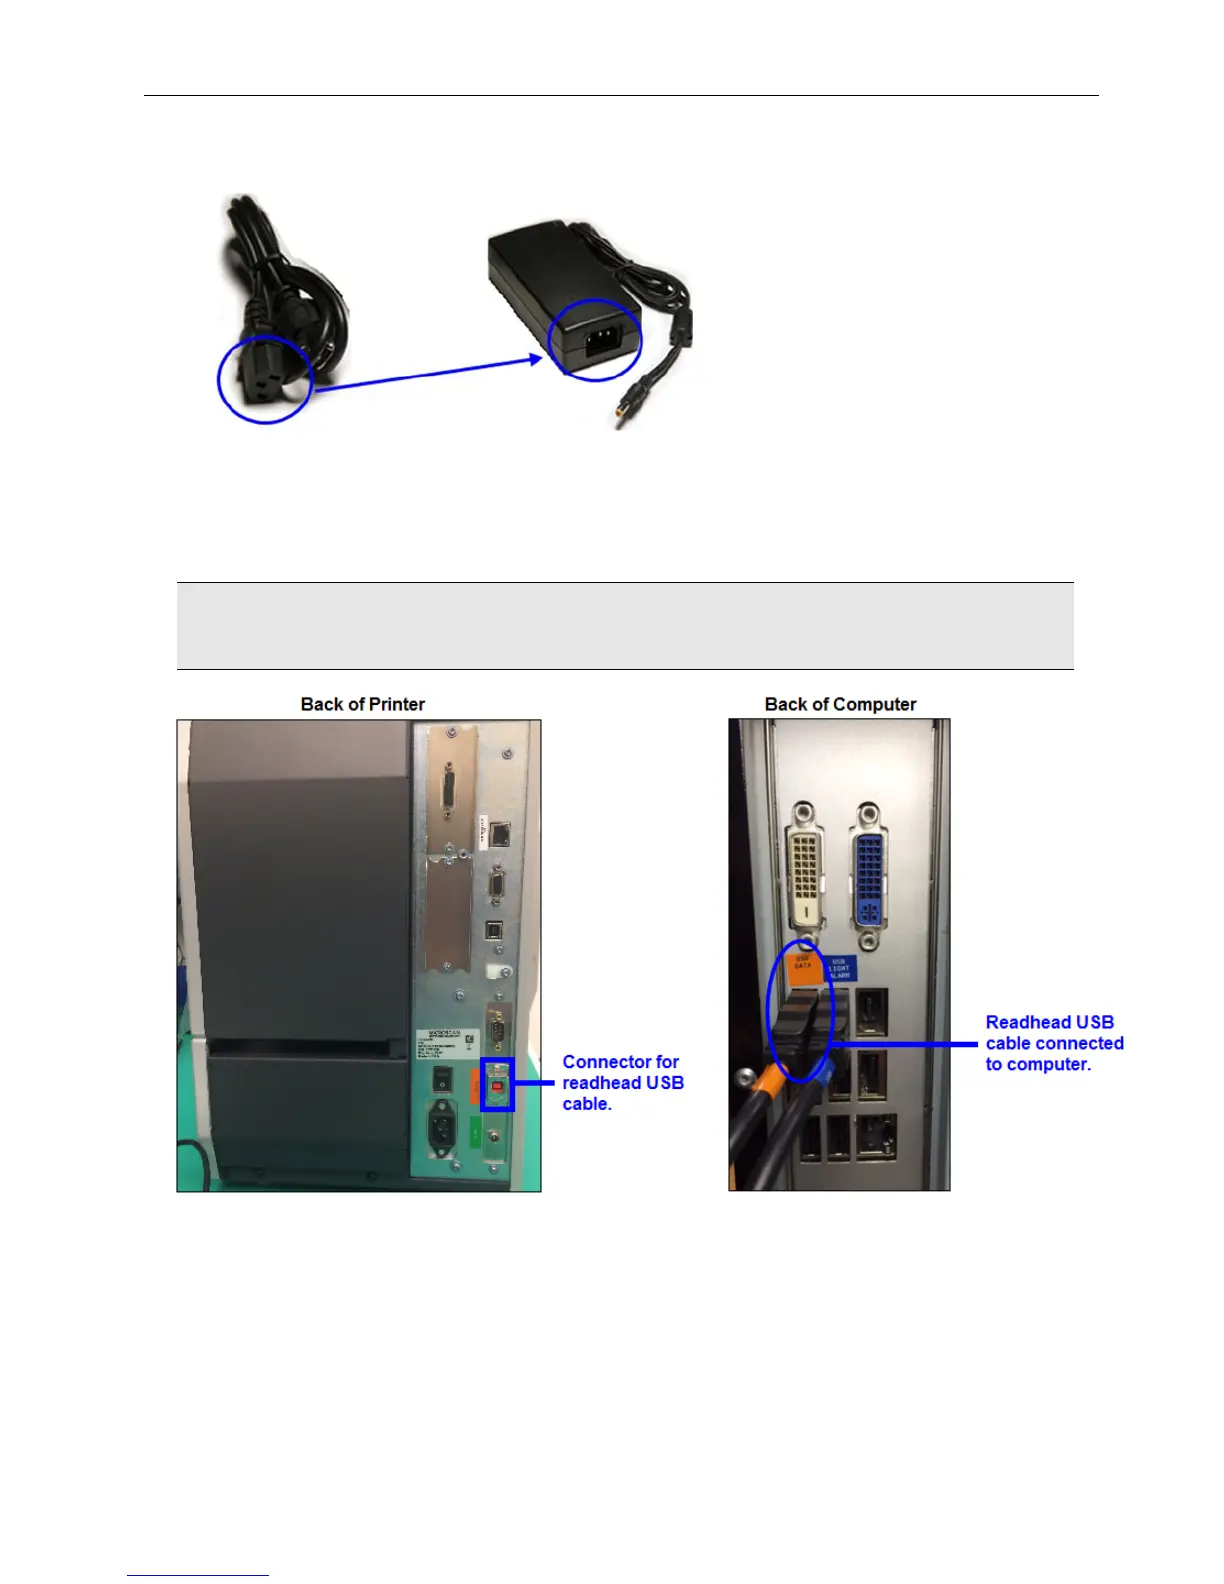
4. Plug one end of the readhead USB cable to the back of the printer and the other end to the computer’s USB
port. Cables are color coded in orange.
5. If connecting to the read head for the first time, launch LVS-7510 software and the below popup message
appears. Click “Yes” and continue with the Java runtime environment and Atmel flip controller installation.
WARNING: The two USB cables provided with the system are NOT interchangeable. Make sure to
use the correct cable by observing the label on the cable.
6. Plug one end of the printer USB cable to the back of the printer and the other end to the computer’s USB
port.