2
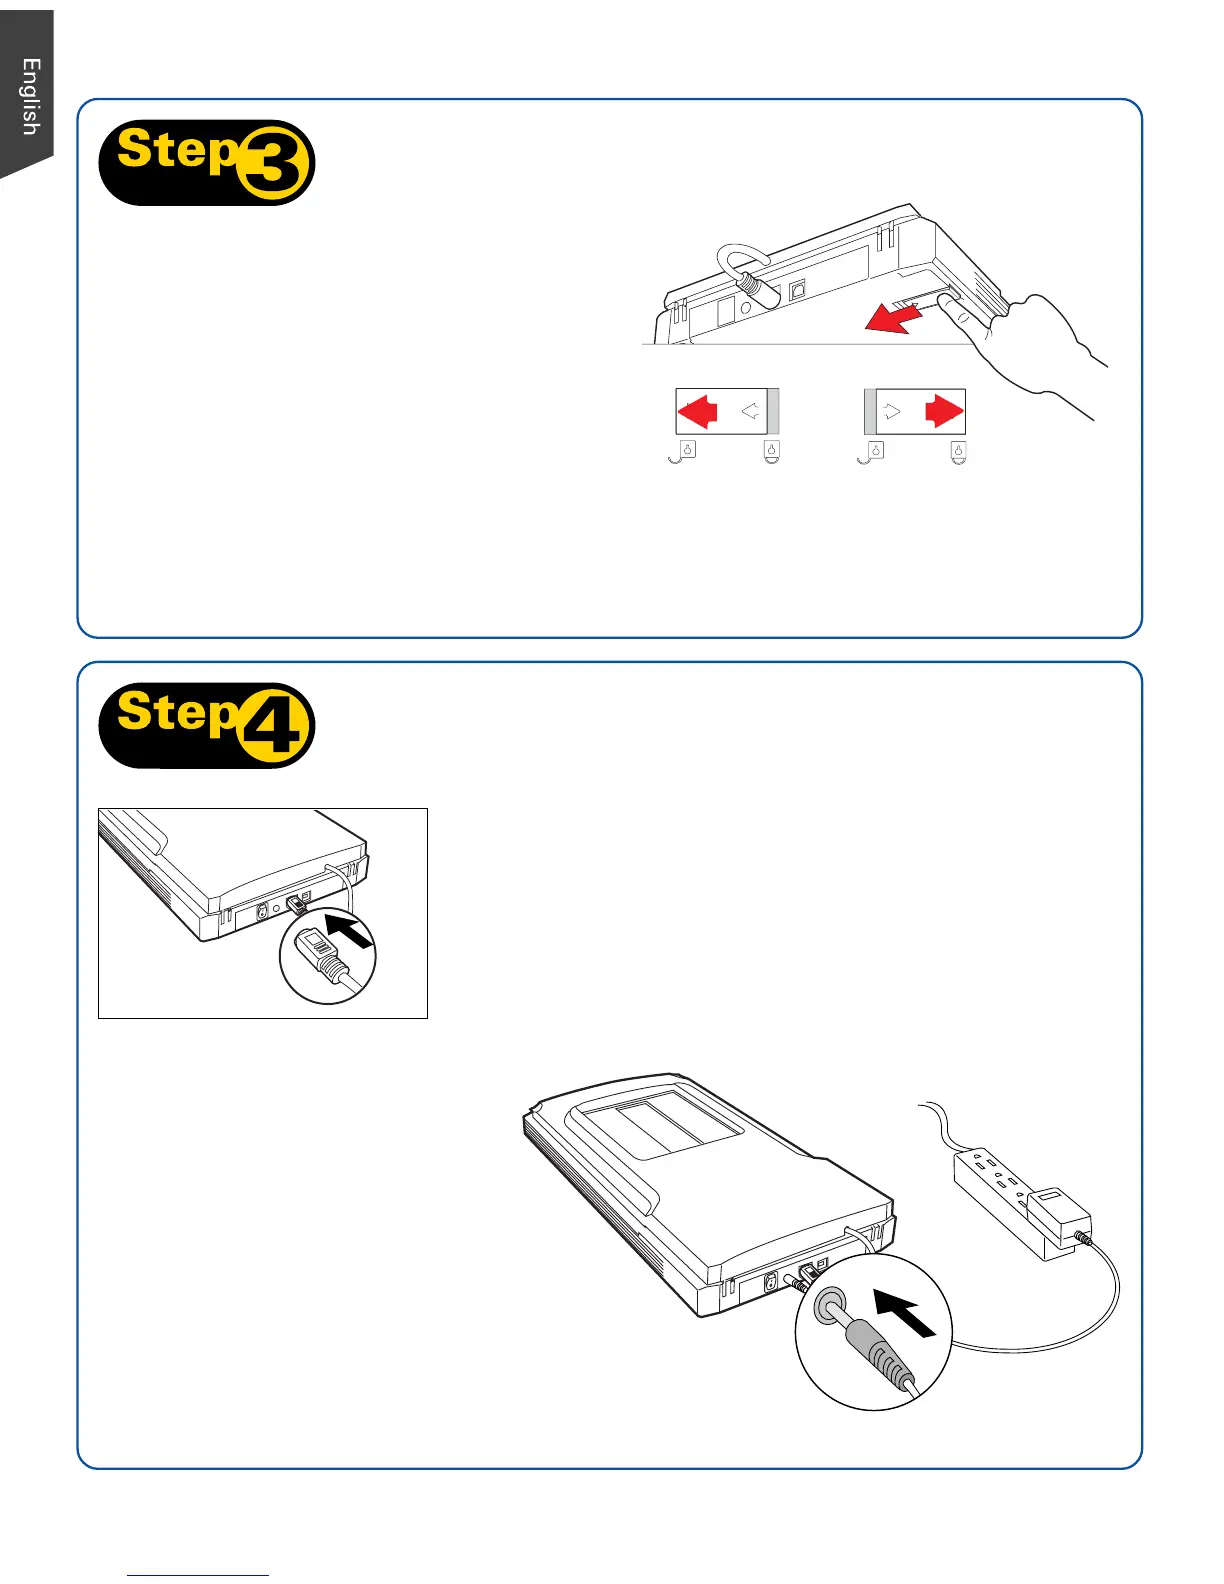
Unlocked
Locked
Step 3: Unlock Scanner
NOTE: To lock the scanner (for shipping and other reasons), tilt the scanner and look for the locking
switch on the right corner at the back, then push the locking switch to the "Locked" position. DO
NOT turn the scanner upside down when attempting to lock the unit.
B
C
A. Remove the yellow “Step 3” sticker from
your scanner.
B. With the scanner power off, tilt the back
right corner of the scanner to see the
locking switch at the bottom.
C. Push the locking switch to the position as
indicated in the graphic, with the icon on
the lock showing as “Unlocked”.
Step 4: Connect Scanner
To the scanner lid
Make sure the scanner lid (with built-in transparency
adapter) is properly connected to the scanner’s 9-pin
accessory port. Plug the connector into the port if the
scanner lid is not securely connected.
To the power adapter
A. Remove the yellow “Step 4”
sticker from your scanner.
B. Connect the power adapter to the
back of the scanner.
C. Plug the power adapter
into a power source.
 Loading...


