!
D. Copying Images
1. Windows users: Double-click on the My Computer
icon, then double-click Removable Disk.
A folder (DCIM) containing the contents of the
cameras internal memory or the SD card on the
computer appears.
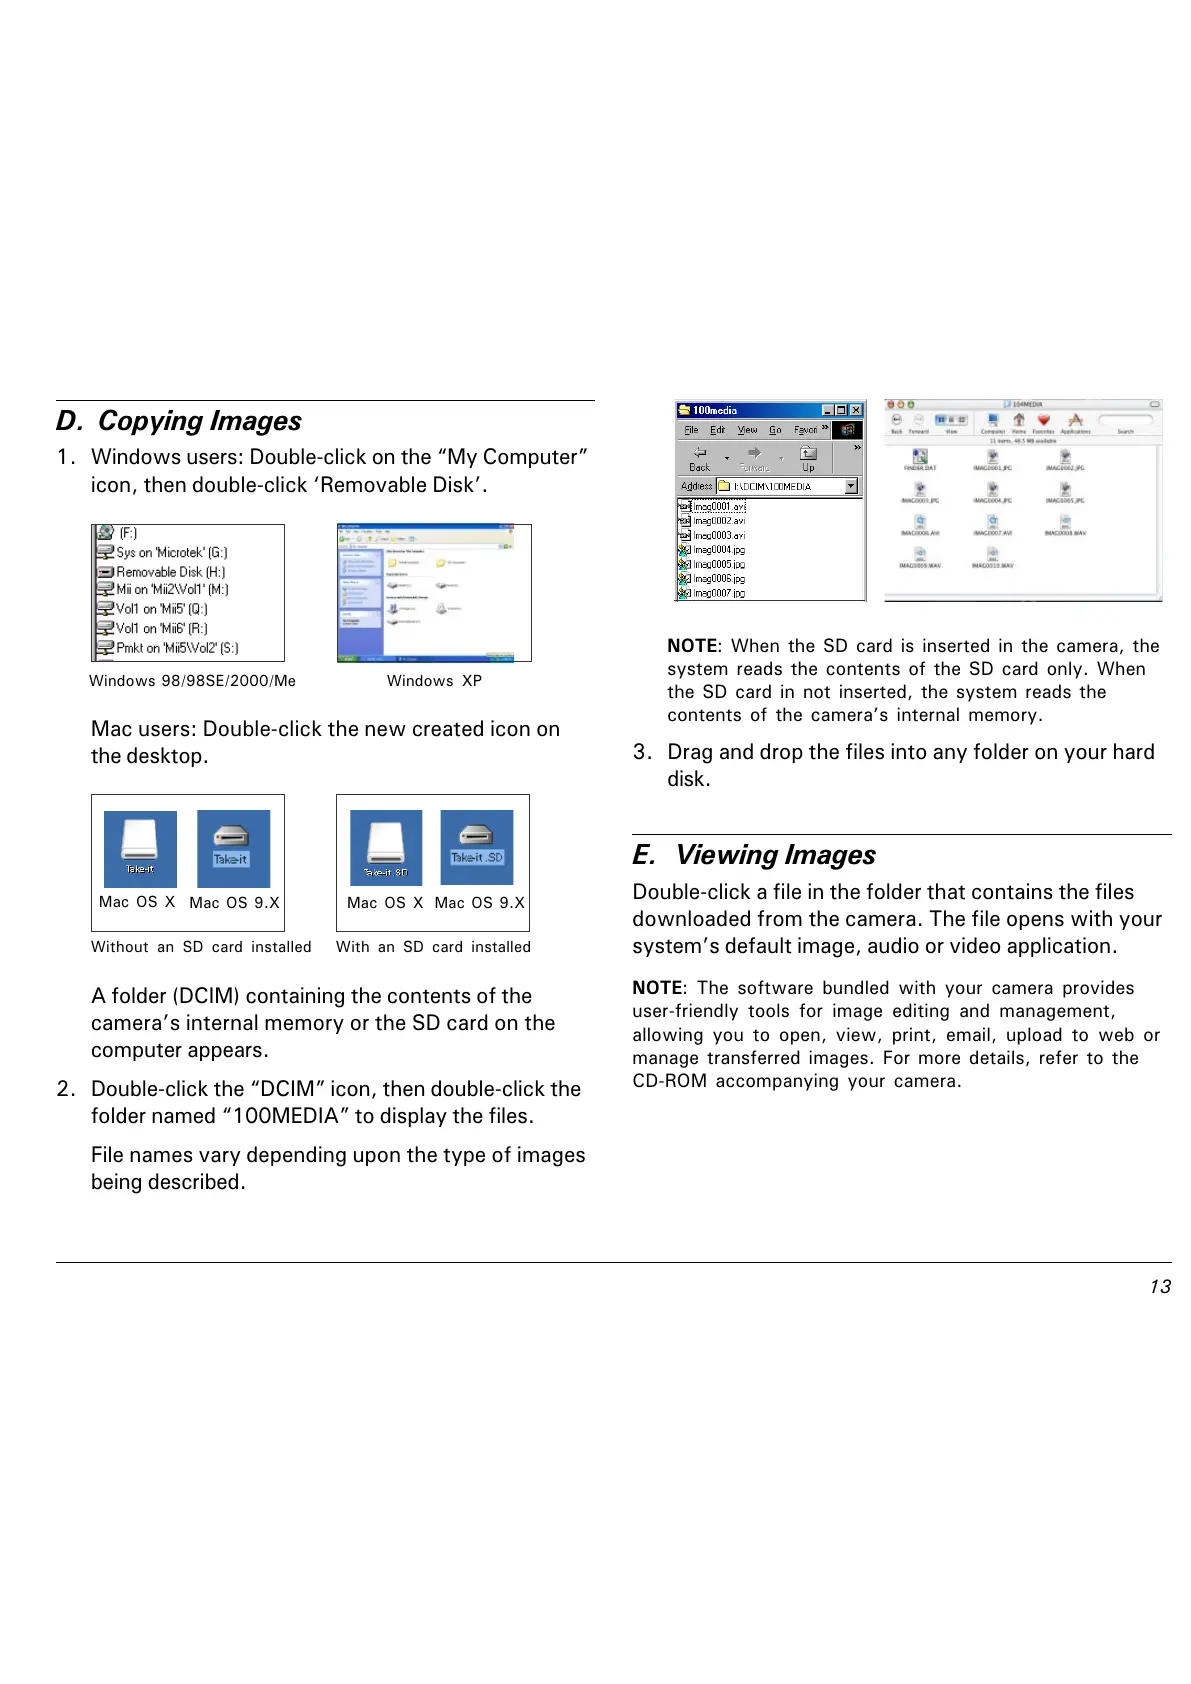
2. Double-click the DCIM icon, then double-click the
folder named 100MEDIA to display the files.
File names vary depending upon the type of images
being described.
Mac users: Double-click the new created icon on
the desktop.
Mac OS X
Mac OS 9.X
With an SD card installed
Mac OS X Mac OS 9.X
NOTE: When the SD card is inserted in the camera, the
system reads the contents of the SD card only. When
the SD card in not inserted, the system reads the
contents of the cameras internal memory.
3. Drag and drop the files into any folder on your hard
disk.
E. Viewing Images
Double-click a file in the folder that contains the files
downloaded from the camera. The file opens with your
systems default image, audio or video application.
NOTE: The software bundled with your camera provides
user-friendly tools for image editing and management,
allowing you to open, view, print, email, upload to web or
manage transferred images. For more details, refer to the
CD-ROM accompanying your camera.
Windows 98/98SE/2000/Me Windows XP
Without an SD card installed