#
2. Inserting the SD Card
A SecureDigital (SD) card (not included) can be used to
supplement the cameras internal memory. Pictures are
stored directly onto the SD card when a card is
installed. If a card is not installed, pictures are stored in
the cameras internal memory. To install an SD card:
3. Turning the Camera On/Off
Press the POWER button to turn the camera on.
When the camera is turned on, the READY LED emits a
steady green color.
When the camera is powered on, the LCD screen
becomes active. The DISP button enables you to turn
the LCD screen on or off.
Press the POWER button again to turn the camera off.
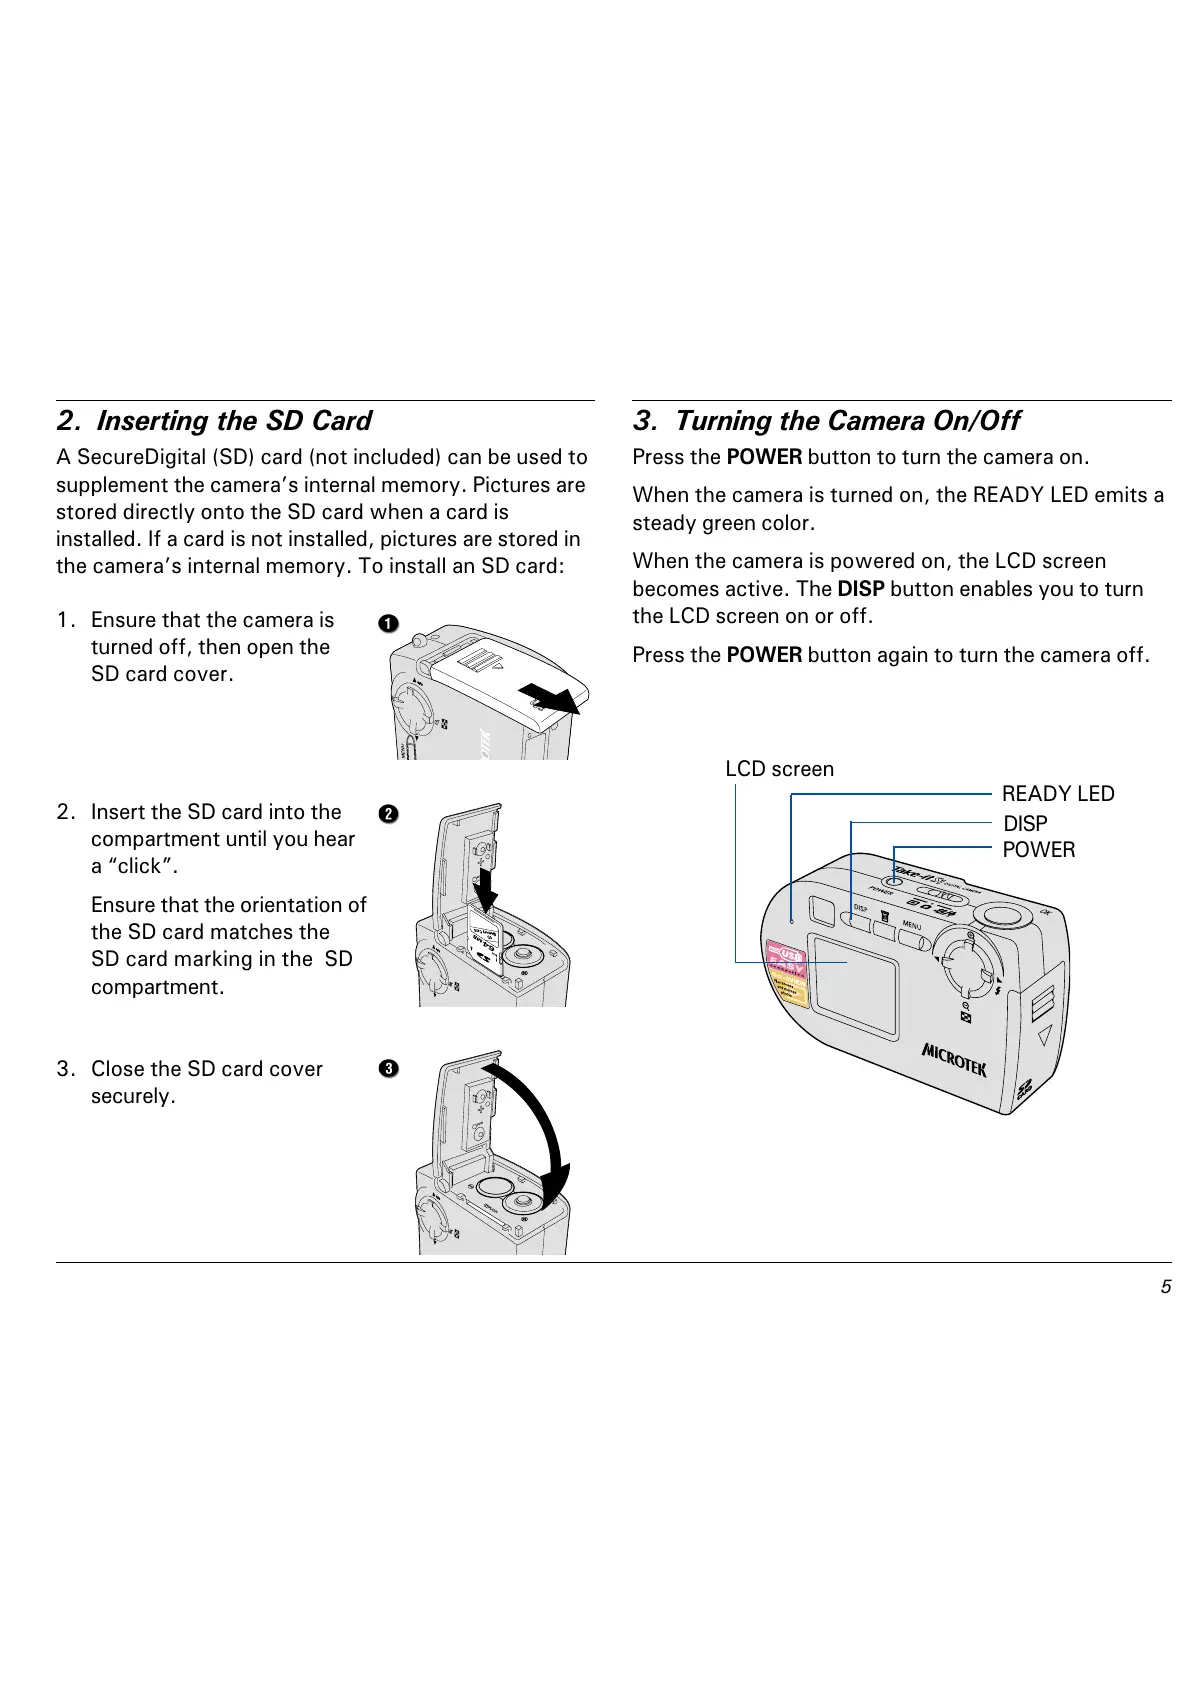
LCD screen
POWER
READY LED
DISP
1. Ensure that the camera is
turned off, then open the
SD card cover.
2. Insert the SD card into the
compartment until you hear
a click.
Ensure that the orientation of
the SD card matches the
SD card marking in the SD
compartment.
3. Close the SD card cover
securely.