75730 Instructions for Kit #75729 = West Temperature Controller • Rev. H • 09-27-21 Page 3 of 8
Instructions to replace Honeywell controller on ovens PS640VE2, PS740VE2, PS745, and PS840VE2
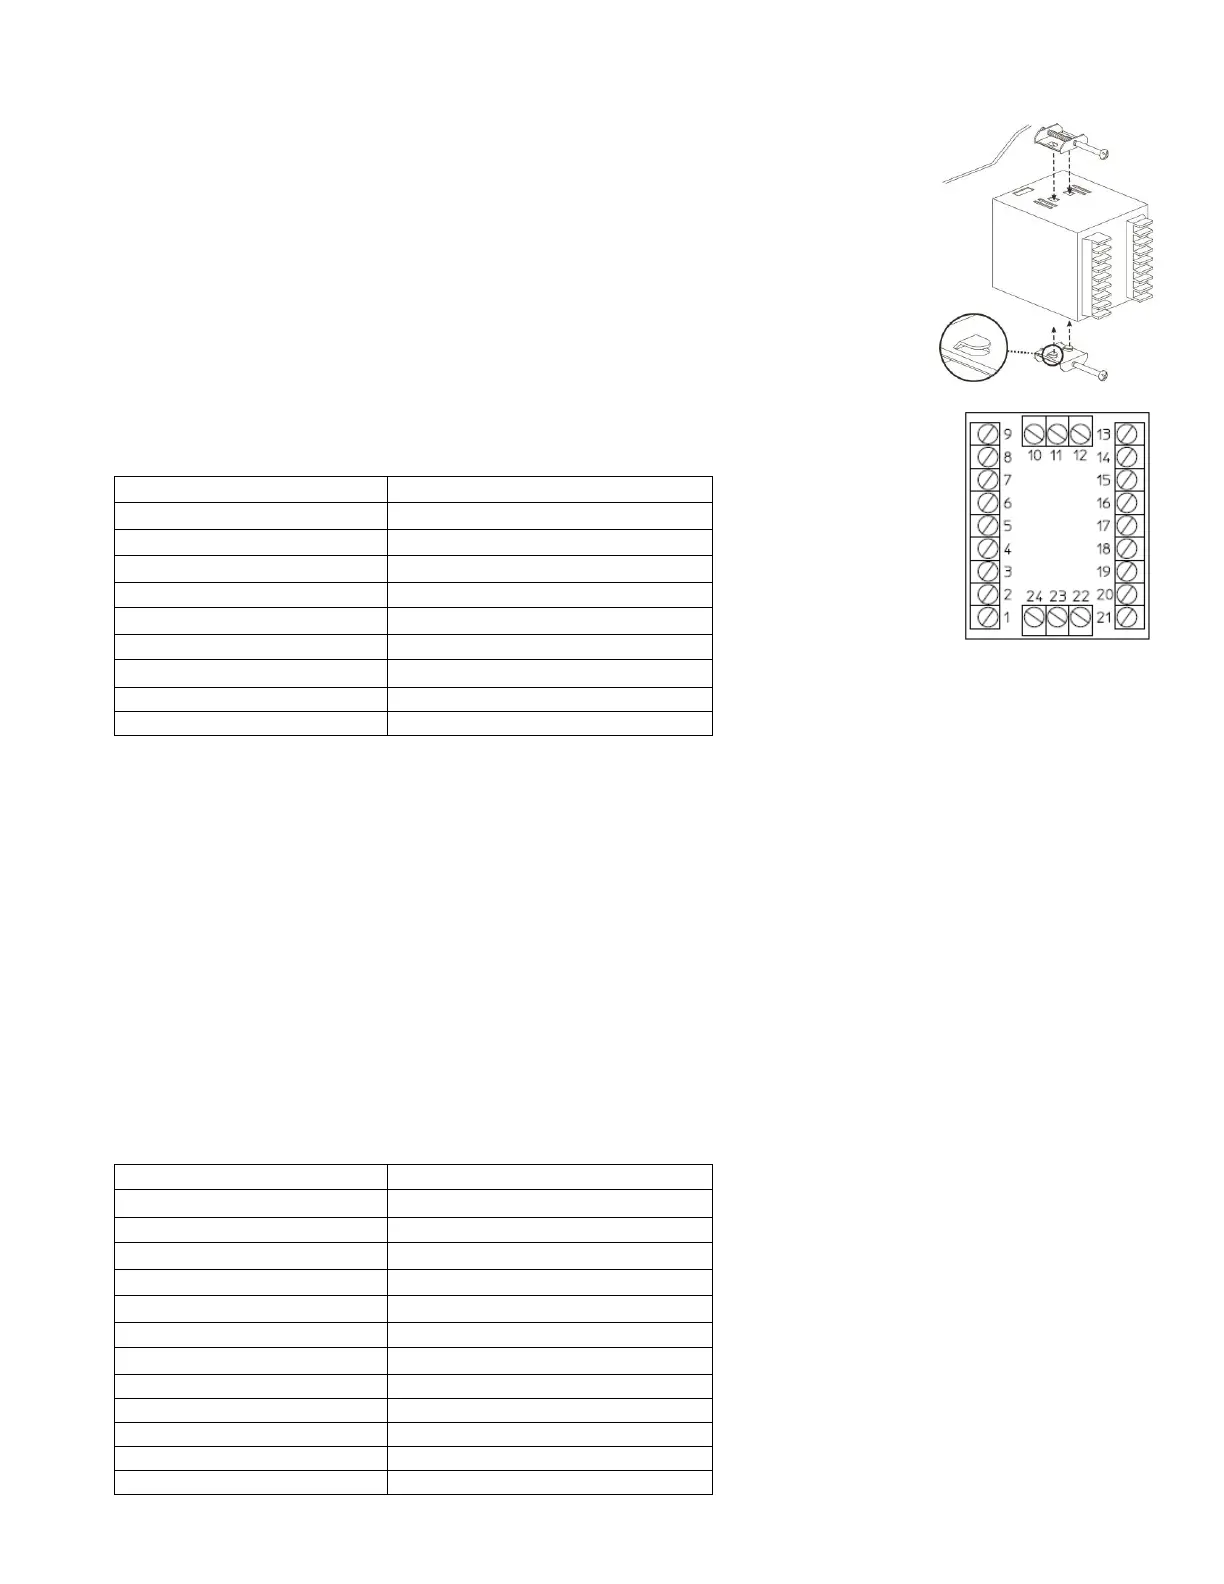
1. Remove the pigtail from the back of the West controller, including the jumper. Discard the
pigtail.
2. Open the control panel of the oven with the old controller.
3. Ensure wire numbers match wiring diagram and chart below.
4. Remove all wires from the Honeywell controller.
5. Remove the Honeywell controller by unscrewing the two retaining brackets and pulling
the controller out of the front of the panel.
6. Remove the plastic retaining bracket from the back of the West controller. Ensure that the
rubber gasket remains installed in the inside bevel of the controller.
7. Insert the controller through the hole in the control panel.
8. Assemble the plastic bracket to the back of the controller, with retaining feet pointed away
from the control panel and tighten as much as possible by hand.
9. Connect wires to the controller based on the chart below. Reroute ground wires to nearby
chassis grounds.
Instructions to replace Honeywell controller without pigtail
If there is an issue using the pigtail or one is not available, the old wires on the Honeywell controller may be
attached directly to the West controller.
1. Open the control panel of the oven with the old controller.
2. Label all wires going into the Honeywell controller with associated Honeywell terminal positions.
3. Remove all wires from the back of the Honeywell controller. Set aside any jumpers.
4. Remove the Honeywell controller by unscrewing the two retaining brackets and pulling the controller out of the
front of the panel.
5. Remove the plastic retaining bracket from the back of the West controller. Ensure that the rubber gasket
remains installed in the inside bevel of the controller.
6. Insert the controller through the hole in the control panel.
7. Assemble the plastic bracket to the back of the controller, with retaining feet pointed away from the control
panel and tighten as much as possible by hand.
8. Attach wires to the West controller based on the chart below. Any jumpers from the Honeywell controller must
be transferred to the West controller in the appropriate position.
 Loading...