2-6
SECTION 2
INSTALLATION
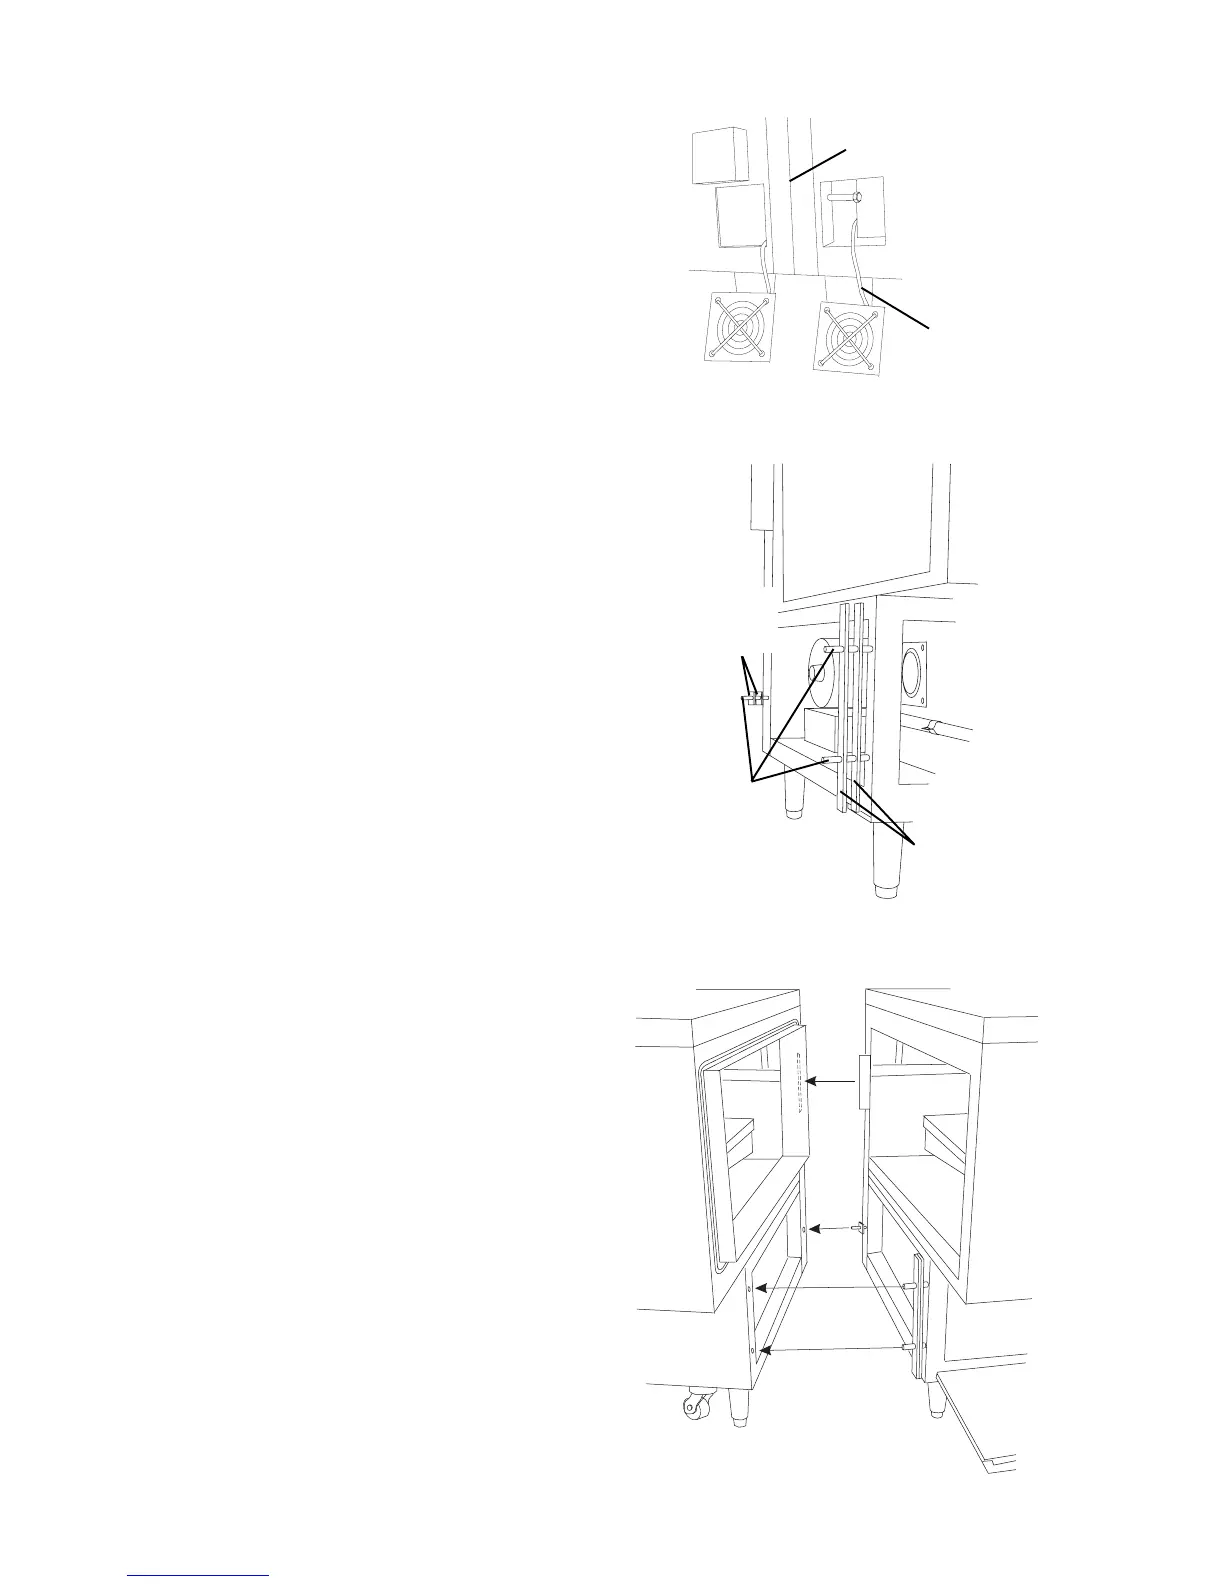
Figure 2-9 - Bolts and Spacers
Figure 2-10 - Aligning the Sections
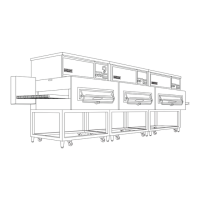
Figure 2-8 - Cooling Fan Removal
3. Remove the rear axial cooling fans that are adjacent to
the mating sides of the ovens. The fans may either be
completely disconnected, or left attached by their
wiring as shown in Figure 2-8.
Mating surface of
ovens (shown from
lower rear)
Wiring is still
connected
2-1/2 x 8
(64 x 203mm)
spacers
2-1/2 x 2-1/2
(64 x 64mm)
spacers
Bolts
4. Insert three of the supplied 1/2 x 5 bolts through the
holes in the frame of the right oven, pointing outward as
shown in Figure 2-9. Then, slide the spacers into place
on the bolts.
5. Push the ovens together. Check that the mounting
bolts, alignment plate, and sealing gasket are all
properly aligned. See Figure 2-10.
6. Tighten all of the attaching bolts. Check that the
mating edges of the ovens align properly. If gaps
appear between the tops of the ovens, it will be
necessary to loosen the connecting bolts and realign
the ovens.
 Loading...