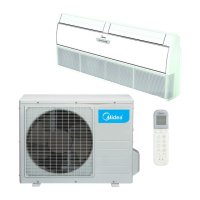
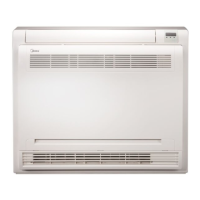
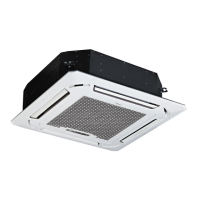
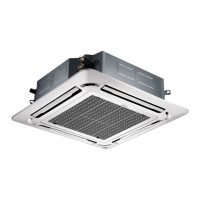
Standard Controller MCAC-UTSM-2008-05
104 Control
OPERATION INSTRUCTIONS
Install and replace batteries
Install 2 pieces of 7# alkaline batteries.
Slide the cover to install batteries and make sure to place them in right pole.
AUTO operation
Switch on the power and running indicator light on indoor unit flashes.
1. Press MODE to select AUTO.
2. Adjust temp via and. Generally the range is 17°C ~30°C.
3. Press ON/OFF and running indicator light on indoor unit is lightened. Air conditioner will work on AUTO
mode and fan speed is AUTO which is nonadjustable.
4. ECO is effective on AUTO operation.
COOL/HEAT/FAN operation
1. Press MODE to select COOL, HEAT or FAN.
2. Adjust temp via and. Generally the range is 17°C ~30°C.
3. Press FAN SPEED to select AUTO, LOW, MED or HIGH.
4. Press ON/OFF and running indicator light on indoor unit is lightened. Air conditioner will work on the set
mode. Stop operation via ON/OFF.
To adjust the figure. Setting or modification is effective only by pressing OK button to make confirmation.
NOTE: On FAN mode, temp is nonadjustable and ECO is ineffective. Procedure 2 is omitted.
DRY operation
1. Press MODE to select DRY.
2. Adjust temp via and. Generally the range is 17°C ~30°C.
3. Press ON/OFF and running indicator light on indoor unit is lightened. Air conditioner will work on DRY
mode. Turn off the unit via ON/OFF.
4. On DRY mode, ECO and FAN SPEED are unavailable.
Timer operation
TIME ON and TIME OFF are used to turn on and turn off the unit at the set time respectively.
TIME ON operation
1. Press TIME ON, icon SET, HOUR and ON are lightened.
2. Press TIME ON again and adjust the time.
3. Keep pressing this button, the time will increase by 0.5 hour. When the set time exceeds 10 hours,
pressing the button will increase the time by 1 hour.
4. 0.5s after setting, remote controller will send TIME ON command to the unit.
TIME OFF operation
1. Press TIME OFF, icon SET, HOUR and OFF are lightened.
2. Press TIME OFF again and adjust the time.
3. Keep pressing this button, the time will increase by 0.5 hour. When the set time exceeds 10 hours,
pressing the button will increase the time by 1 hour.
4. 0.5s after setting, remote controller will send TIME OFF command to the unit.
Set TIME ON and TIME OFF simultaneously
1. Set TIME ON according to procedures 1 and 2 specified in TIME ON operation.
2. Set TIME OFF as the procedures 1 and 2 specified in TIME OFF operation.
3. If both the set time of TIME ON and TIME OFF not exceed 10 hours, time OFF operation will activated
0.5 hour later than time ON operation. If both the set time of TIME ON and TIME OFF exceed 10 hours,
time OFF operation will be activated 1 hour later than time ON operation.
4. 0.5s after setting, remote controller will send TIME ON command to the unit.
Modification of timer operation
Press corresponding button and readjust the time of time ON and time OFF. Adjust the time figure to 0.00 to
cancel the timer operation.
NOTE: The time set in timer operation is the relative figure based on the clock on remote controller.
Adjusting clock is unavailable when TIME ON or TIME OFF is activated
 Loading...