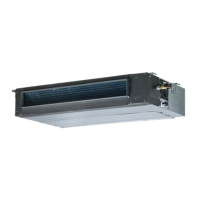
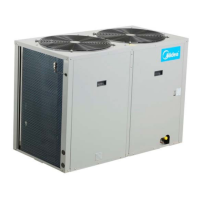
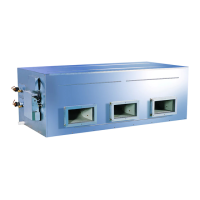
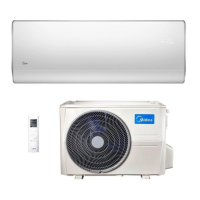
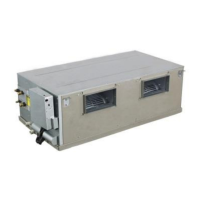
Midea R22 T1 side-discharge duct manual MCAC-RTSM-201301-01
74
10) Query for Initialization Function Parameters
After setting the initialization function, use the following method for query:
※ Long press FAN SPEED for 2 seconds to enter into the query interface.
※ After enter to the interface, the LCD temperature display area, minute display area will
display a series of numbers, which is the current initialization parameter value. If the current
initialization function is cooling and heating (00), no power-off memory (21), the filter screen
cleaning time is 5000 hours (33), centigrade display (60), their combination is 0130, and it
will display 0130.
※ After enter to the interface for 3 seconds, it will automatically exit.
※ Under this interface, it will not respond any key operation.
11) Indoor unit address setting and query
※ Long press the LOCK key for 5 seconds, enter into the indoor unit address setting interface.
※ After enter into the interface, the temperature display area will display 00, means the address
which is going to be set, then press TEMP ▲ and TEMP ▼ to select the address, and then
press the FAN SPEED key to finish indoor unit address setting.
※ After enter into the interface, press MODE key to query the address.
※ Under the address setting interface, long press LOCK for 5 seconds again, then it will quit the
indoor unit setting interface.
9.5 Wired controller installation
Accessory of wired controller
 Loading...
