12
INSTALLATION INSTRUCTIONS
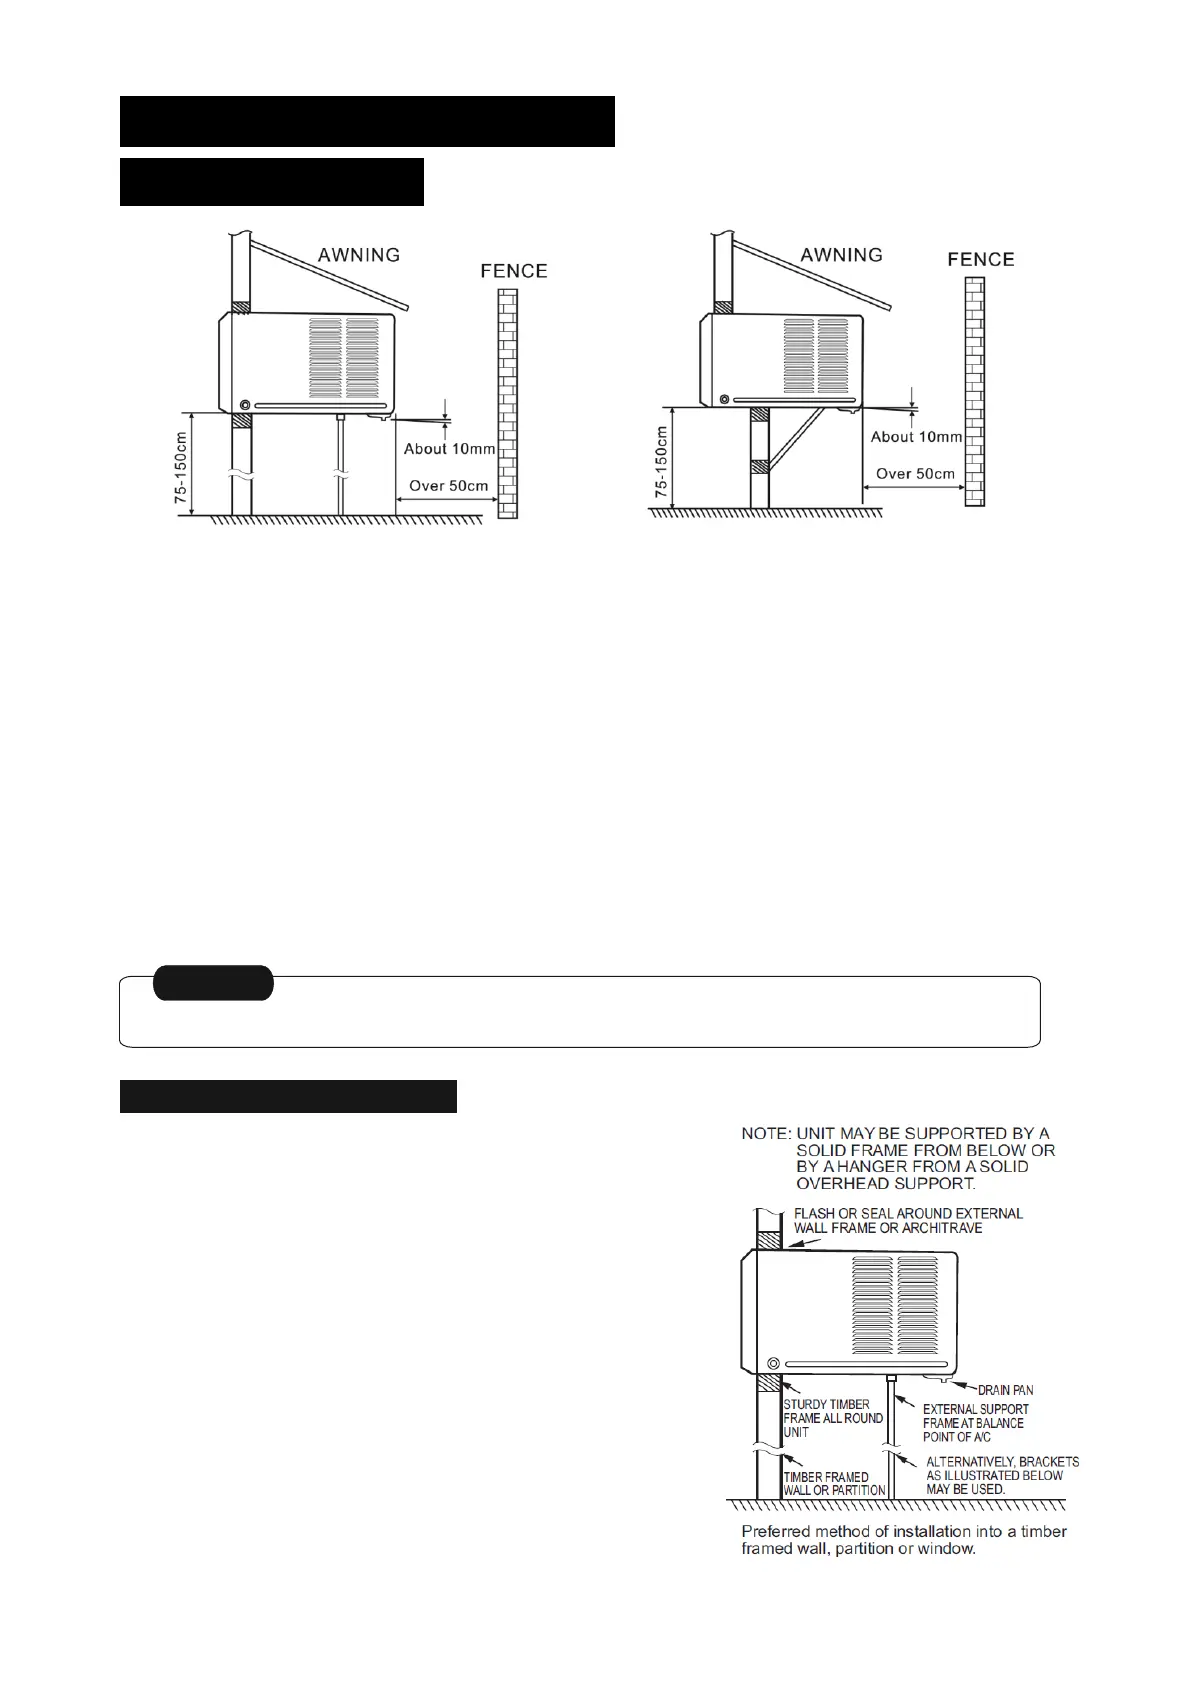
Select the best location
1. To avoid vibration and noise, make sure the unit is installed securely and firmly.
2. Install the unit where the sunlight does not shine directly on the unit.
If the unit receives direct sunlight, build an awning to shade the cabinet. The awning is at
least 15cm away from the air inlet at the top of the unit.
3. There should be no obstacle, such as a fence or wall, within 50cm from the back of the
cabinet because it will prevent heat radiation of the condenser.
Restriction of outside air will greatly reduce the cooling and heating efficiency of the air
conditioner.
4. Install the unit a little obliquely outward not to leak the condensed water into the room (about
10mm or 1/4 bubble with level).
5. Install the unit with its bottom portion 75~150cm above the floor level.
6. The power cord must be connected to an independent circuit. The yellow/green wire must be
grounded.
All side louvers of the cabinet must remain exposed to the outside of the structure.
Installation of the Housing
Step 1
Remove the air conditioner from it's packaging, remove
fixing screws and slide the air conditioner out of it's
housing (Refer to Installation Steps).
Step 2
Prepare the hole in the wall so that the bottom of the
housing is well supported, the top has minimum clearance
and the air inlet louvers have clearance as shown below
in options A and B. Holes from the outside through to the
cavity should be sealed. The housing should slope down
towards the rear by about 5mm to allow water formed
during operation to drain.
 Loading...