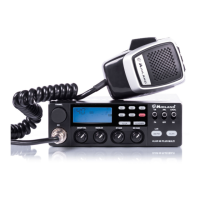
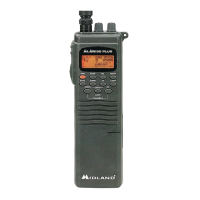
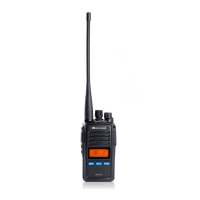
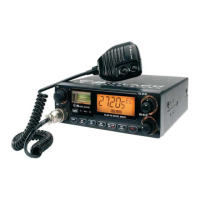
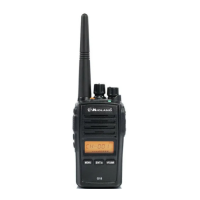
ENGLISH
level, until you get a comfortable reception. With ‘’PA-CB’’ selector set in ‘’PA’’ posi-
tion, the knob controls the audio output level.
5. “Squelch” Control: for the maximum receiver sensitivity, the control must be regula-
ted exactly where the receiver background noise disappears.
6. “RF” (Radio Frequency) Gain Control: it controls the reception sensitivity. To increa-
se sensitivity, simply turn it clockwise. Sensitivity decreases turning it counterclock-
wise. Low sensitivity is useful when very strong signals are present in the band.
7. “Mic (Microphone) Gain Control”: in TX mode, it controls the microphone amplifica-
tion. To get the best results, use the microphone and set the optimum position for both
the distance from your mouth and for the amplification level, asking your partner when
the modulation comes out better.
8. “M1-M2-M3-M4” buttons: These buttons allow the storing and recalling of 4 prese-
lected channels. How to store: select the desired channel and press M1 for at least 3
sec to store the choosen channel in the M1 memory. Repeat these steps to memorise
the other presets.
9. EMG button: Emergency channel. By pressing it, the unit will be automatically positio-
ned on CH 9 (emergency channel). The display will show “EMG”. It will not be possi-
bile to accidentally change the channel.
10/11. “Q. UP-Q. DOWN” buttons: To skip 10 channels up (Q. UP) or 10 channels down
(Q. DOWN).
12. ’’CB/PA’’ Selector. In the “CB” position, the unit operates as a transceiver. You can use
the PA (public address) function only if you connect a speaker to the PA jack. In this
case the ‘’Volume’’ knob controls the amplification level.
13. ‘’ANL/OFF’’ Selector. In the ‘’ANL’’ position it activates an automatic noise limiter for
the impulsive noises (caused by the engine of the car or other sources).
14. "Local/DX" Selector ”Local” position: to receive strong signal only.”DX” position: to
receive weak signals.
15. “AM/FM”(LCR) button: To select AM or FM mode. If you push it along with the “SCAN”
button at the switching on of the radio, it selects the operating band, which will be dis-
played. If you select a frequency band operating in FM mode only, this button enables
the LCR function (Last Channel Recall).
16. “SCAN” button: with this control, you can automatically seek for a busy channel. Turn
the Squelch clockwise until the background noise is no longer heard.
Press the ‘’SCAN’’ button: the transceiver will scan automatically all the channels until
a carrier is being received. If you push it along with the “AM/FM” button at the swit-
ching on of the radio, it selects the operating band, which will be displayed.
17. DW button: This feature allows you to scan 2 channels of your choice. When a signal
on the second channel is picked up, the conversation on the first is automatically inter-
3