phone that best suits the helmet you are using.
The audio kit must then be connected to the central jack of
the Midland BT1 Intercom unit using the “L” shaped connec-
tor. This connector is very exible and can be easily adapted
to most commercial helmets.
Description of the installation brackets
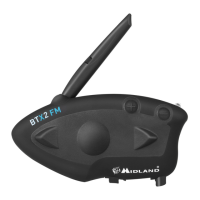
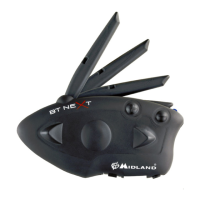
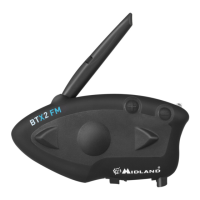
The Midland BT1 can be xed onto the helmet in two different
ways: By either using the plate with bi-adhesive strip, or the
clamp. These methods allow you to safely “x” the BT1 unit
onto your helmet and to remove it at any time in order to
recharge or store it.
Plate with bi-adhesive strip
The xing plate has a bi-adhesive strip on one of its sides. To
x the plate in place, clean the application area on the helmet
surface, remove the bi-adhesive lm and place the xing pla-
te on the helmet by keeping it contact with the surface for a
few seconds.
Clamp
Using the Allen Key, loosen the two screws on the clamp and
place the rear plate between the helmet padding and the ex-
ternal rigid protection. Then, tighten the two screws in order
to rmly x the clamp in place.
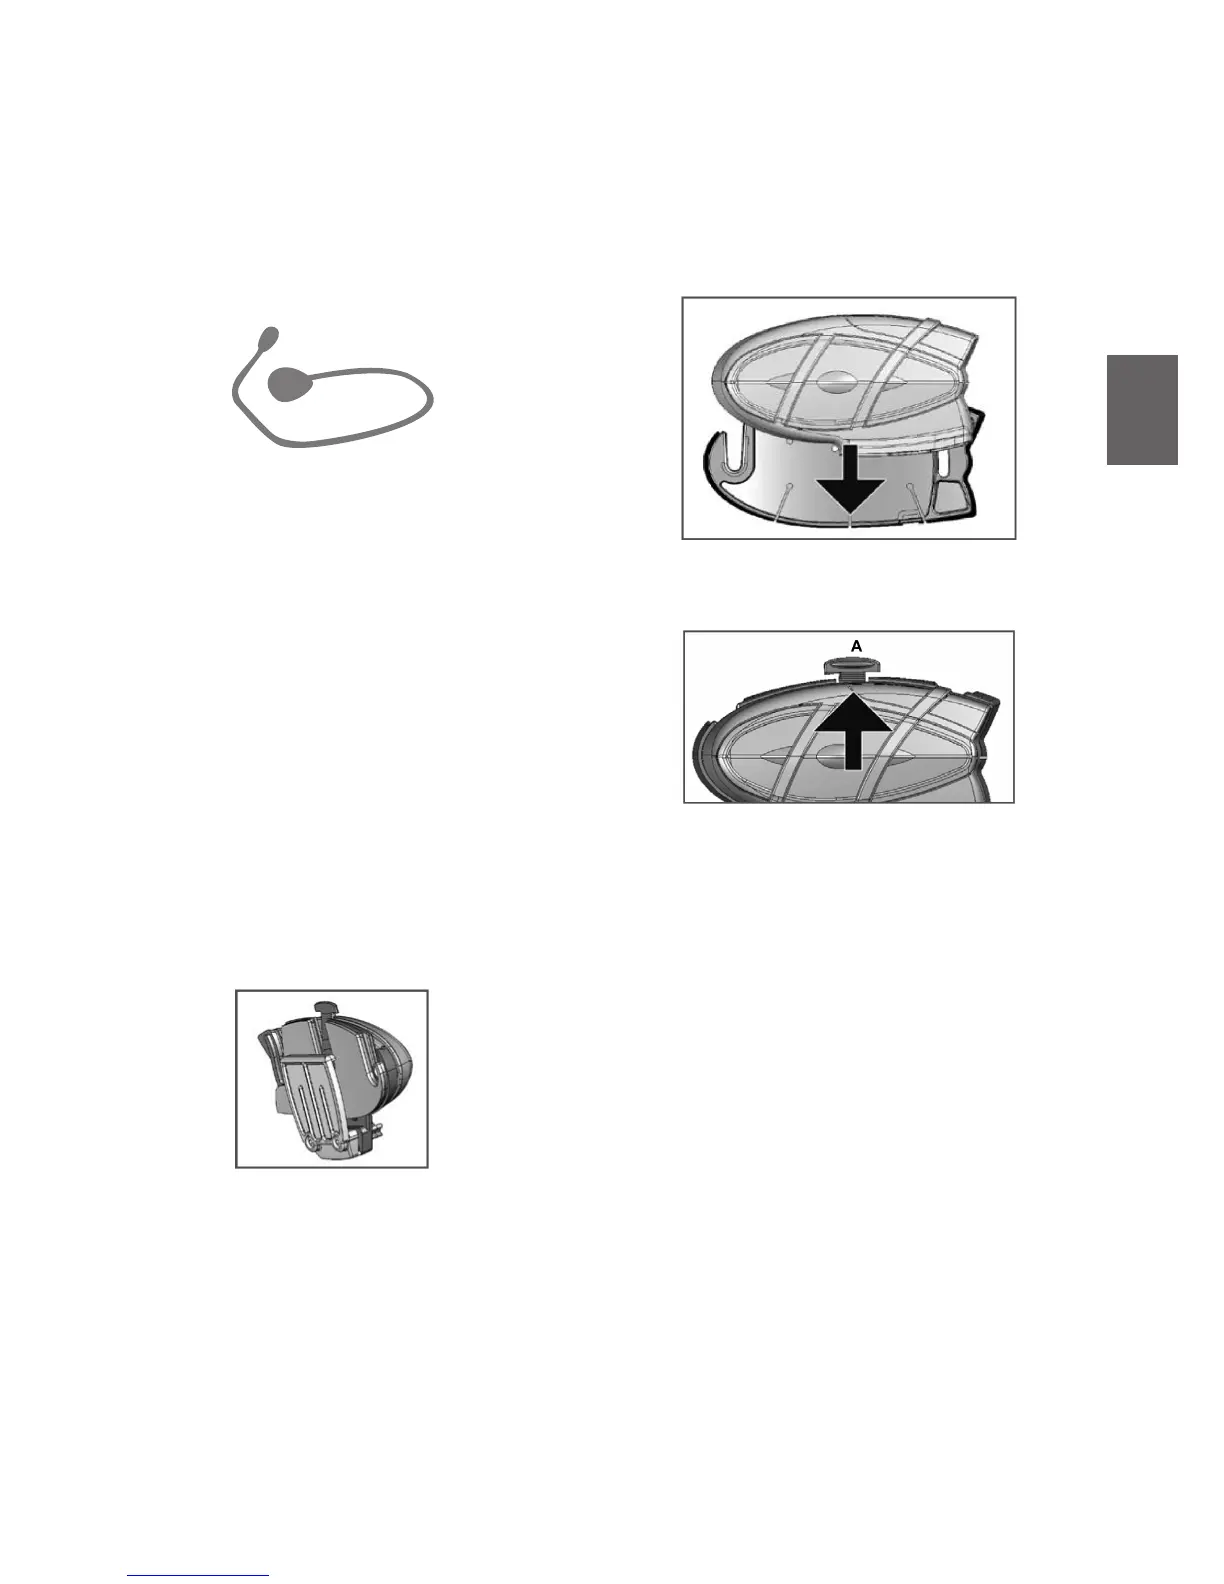
Fitting and removing your Midland BT1
The BT1 can be easily tted onto the helmet by sliding it
downwards so that it ts into the slot of the selected xing
device (plate with bi-adhesive strip or clamp).
BT1 is maintained in position thanks to the xing clip located
on the upper section (A).
To detach the BT1, simply press the xing clip and push the
unit upwards.

 Loading...