Charging batteries
Make sure that the unit is fully charged before use. Allow at
least 5-6 hours for a full charge before using the unit for the
rst time. Normally, after the rst time, it takes 4 hours for a
full charge.
Charge the unit by inserting the wall-charger into the charging
socket (lift the rubber cover to insert the plug).
› The red LED on the unit will start ashing when charging
begins.
› Allow the headset to charge until the red LED turns off.
› When the charge is complete, release the headset from
the charger.
Description of the unit
and installation brackets
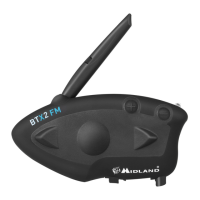
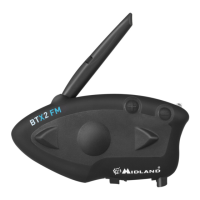
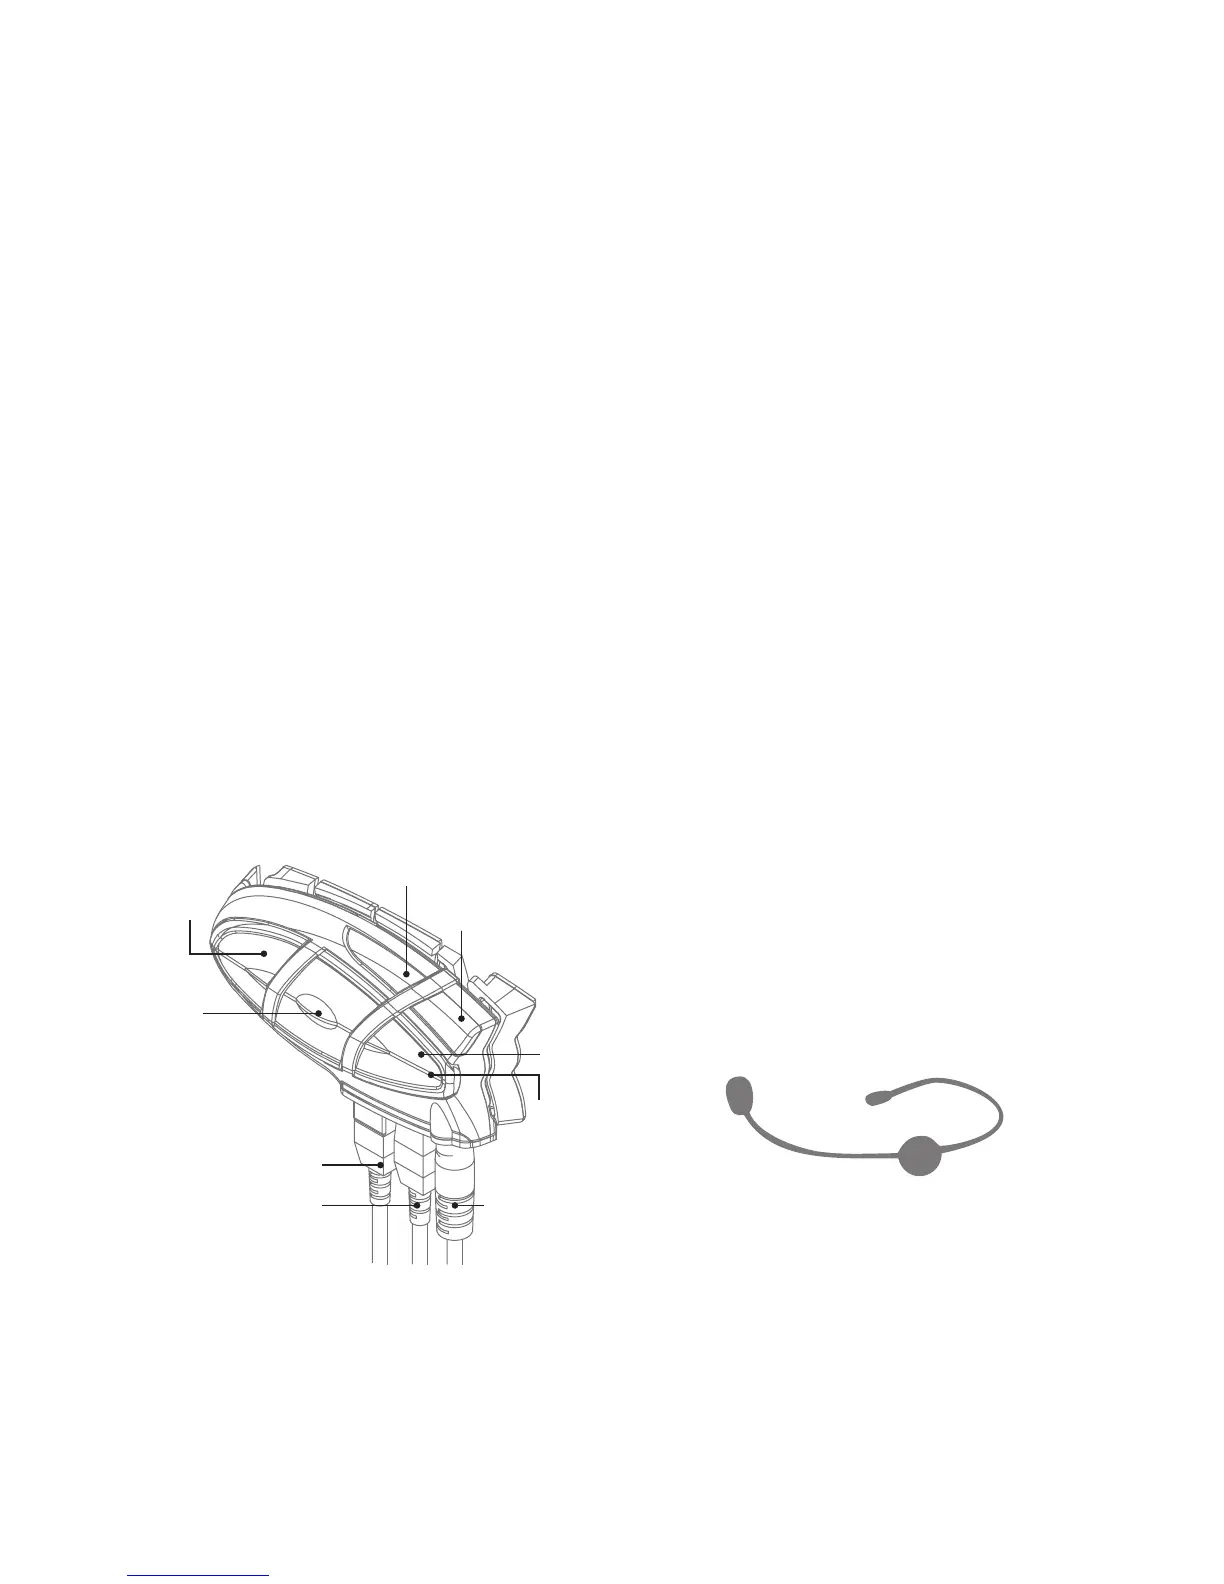
Description of the BT1 unit
The BT1 has 5 multifunction buttons on the front and 3 wired
connections in the lower section.
Description of the button features:
› Telephone (for driver’s unit only): can be used to enable/
disable and manage mobile phone features
› Intercom: can be used to enable/disable the Intercom fea-
ture
› AUX: can be used to enable/disable the wired audio input
› Volume+: enables you to increase the volume
› Volume -: enables you to decrease the volume
Description of the wired connections
› Charger jack: enables to recharge the unit using a stan-
dard miniUSB power supply
› Audio kit jack: enable to connect an audio kit (stereo head-
set and microphone)
› Auxiliary audio jack (AUX): can be used to connect an
audio source, like a stereo iPod/MP3 player or PMR446
transceiver
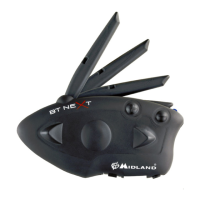
Description of the audio kit
The audio system includes two ultra-at stereo speakers and
two interchangeable microphones, which are both supplied
with a bracket and wire connection.
Fixing the stereo speakers. The two stereo speakers have
a Velcro/adhesive strip that aids their xing to your helmet.
Beware to not completely cover your ear with the speakers,
you must always be able to listen to the trafc sound and
indication.
The microphone can be xed onto the helmet in two ways:
Boom Microphone. Place the section with the Velcro/adhe-
sive strip between the padding and the rigid cover of the hel-
met, so that the microphone is correctly positioned in front of
your mouth and that the white symbol is facing your mouth.
This type of microphone is suited for Open Faced and Flip
Front helmets.
Wire microphone. Using the Velcro/adhesive strip, place the
microphone inside the helmet in front of your mouth. This type
of microphone is more suited for Full Faced helmets. The mini
connector on the microphone allows you choose the micro-
Charger
Audio kit
iPod/MP3
PMR446
Phone
(for driver’s
unit only
Intercom
AUX
Volume +
Volume -
Red and
blue light

 Loading...