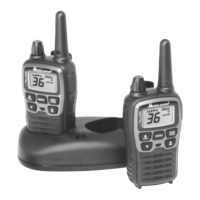
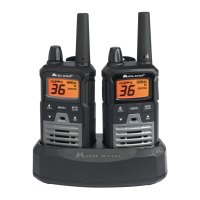
1. Place the BATT3R rechargeable battery packs in the radios.
2. Connect one end of the USB Cable into a USB power source.
3. Insert the other end of the USB Cable into the desktop charger USB jack.
4. Place the radios into the desktop charger slot. While charging, The battery Meter will flash from 1 to 3 bars, and stop when charging is finished. The LCD display will show FULL.
In order to ensure that the battery pack is fully charged, it is recommended that the battery pack be charged with the radio turned OFF.
1. Only use the Midland NiMH battery pack.
2. Do not attempt to charge alkaline batteries or any batteries or battery packs other than the one indicated in the manual. This may cause leakage and damage to the radio.
3. For long-term storage of the radio, turn the radio OFF and remove the batteries from the radio.
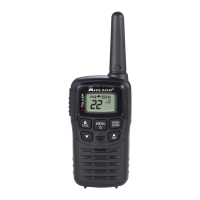
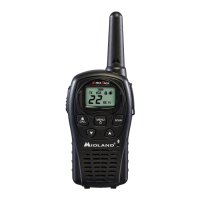
BATTERY LEVEL INDICATOR
Your radio has a BATTERY LEVEL METER that shows the battery power level. The greater the number of bars visible, the stronger the battery level. When the battery level is
low, the Battery Shell icon and “bt Lo” will flash in the display indicating your batteries should be replaced or recharged if using a rechargeable battery pack.
OPERATING YOUR RADIO
POWER ON/OFF AND VOLUME
Rotate the POWER/VOLUME knob clockwise to turn the radio on and increase the volume level. Rotate the control counter-clockwise to reduce the volume level and to turn the radio off.
During Power On, the radio will beep 2 times with different tones, the LCD will display all icons for 1 second and the LCD display will indicate the last channel
selected.
RESTORING YOUR RADIO TO THE ORIGINAL SETTING
To reset your radio to the original (default) setting, turn on the radio while pressing and holding the s button. The LCD display will briefly show the firmware version number and then reset
to standby mode on channel 1 with no Privacy Code.
TRANSMITTING AND RECEIVING A CALL
To communicate, all radios in your group must be set to the same channel and/or Privacy Code.
1. For maximum clarity, hold the radio at least 1 inch (2.5 cm) from your mouth.
2. Press and hold the PTT button and speak in a normal voice into the microphone. The TX icon will appear continuously on the LCD display while transmitting.
3. To receive a call, release the PTT button. The RX icon will appear on the display when your radio is receiving a transmission.
ABOUT RANGE
Your radios are designed to give you maximum range under optimum conditions.
Optimum Conditions are:
Overwater
Open rural areas without obstructions
Flat areas where you can see the other person
To ensure you get maximum range:
Be sure to use fresh or fully charged batteries – low batteries will cause low power conditions.
Be sure to set your radio to use Hi-power.
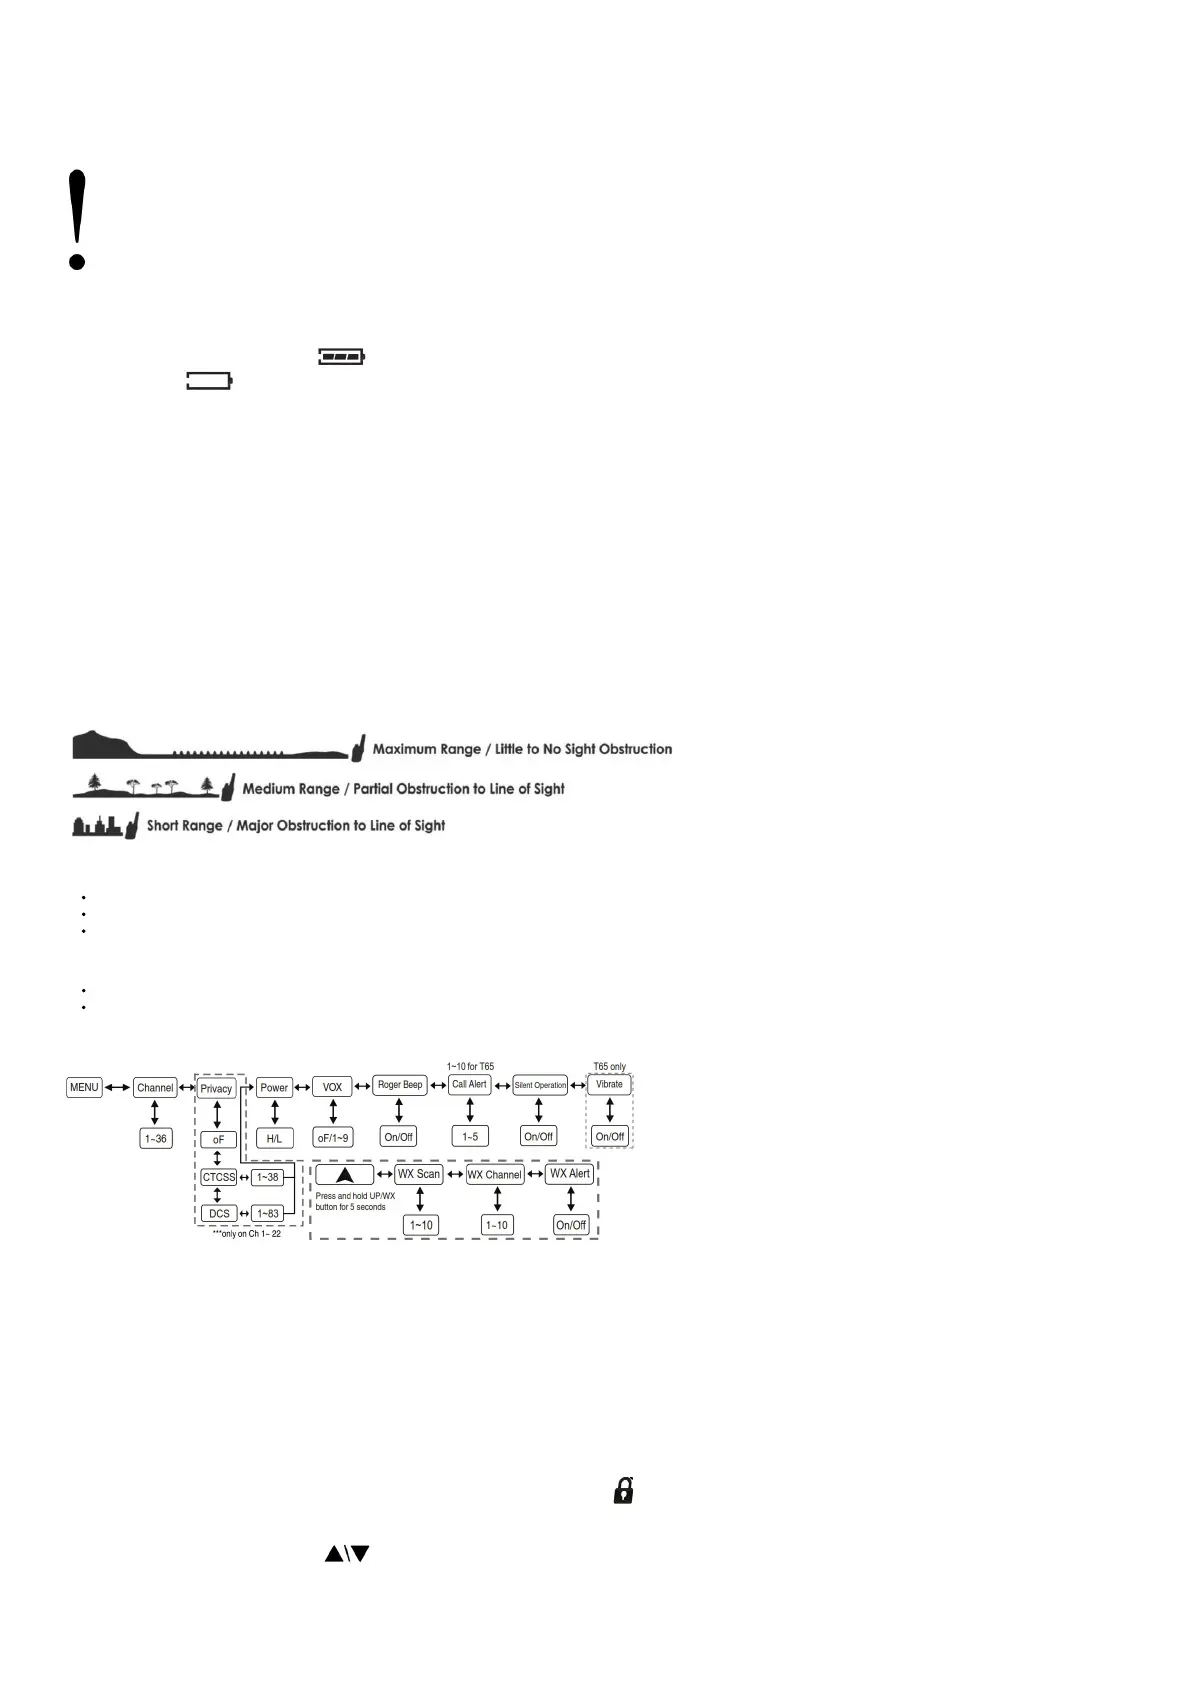
T60 SERIES QUICK REFERENCE CHART
MONITOR
Pressing and holding the MONITOR button for 3 seconds will let you hear a noise so you can adjust the volume level of the radio when not receiving a signal. This could also be used to
check any activity on your current channel before transmitting.
Press and hold the MONITOR button for 3 seconds again to get out of MONITOR mode.
SCAN
Your radio can scan all 36 channels for activity. To enter, quickly press the SCAN button. Repeat the same procedure to exit. Your radio will rapidly scan each of the 36 channels and
stop on any active channel for 6 seconds before resuming the scan. When you press the PTT button to transmit on an active channel, the scanning function will stop and remain on the
active channel. To resume scanning, quickly press the SCAN button.
CALL ALERT
Your radio can transmit a call alert. To send a call alert, press the CALL button. The TX icon will appear while transmitting a call alert and a tone can be heard on the speaker for
confirmation. The T61 radio has 5 call alert selections while the T65 has 10 call alerts including 5 “animal sound” call alerts – Cougar, Duck, Crow, Wolf, and Turkey.
KEYPAD LOCK
To avoid accidentally changing the radio setting, press the LOCK button for 4 seconds. The icon will appear on the display. PTT and CALL will still be active. Repeat the same
procedure to unlock the keypad.
CHANNEL SELECTION (FRS BAND)
Press the MENU button once, and then the buttons to select one of the 36 FRS channels. To confirm the selection, press the PTT button or press the MENU button again to
move to the next feature setting.
SETTING PRIVACY CODES
Your radio has 121 Privacy Codes available. The selected Privacy Code may be different for each channel. To select a Privacy Code for the current channel press the MENU button
 Loading...