Technical Information
105
G 1xxx/G 2xxx
3. Remove the sealing ring.
4. Empty the salt container.
5. Close the opening with the service cap (mat. no. 06224660).
6. Unscrew the locknut.
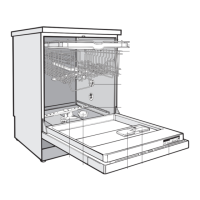
7. Remove the left side panel (Section 010-4.1).
Warning!
The appliance must not be tilted onto its right side, as this would cause
water to run into the fan.
8. Remove the drip pan (Section 010-4.2).
9. Remove the heater relay from the water diverter.
10. Place a cloth or towel under the plug connections between the water
diverter and the water softener.
11. Disconnect the connection with hose clip to the water diverter from the
resin chamber.
12. Disconnect all plug connections.
13. Remove the wiring harness from its guide.
14. Pull off the salt container downwards in the direction of its connection stub.
15. Close the connection stub on the salt container with the service stopper
(mat. no. 05967460).
16. Disconnect the connection with hose clip to the sump.
17. Pull the water diverter out of the seal to the sump, tilt it to the side and
remove it.
Note:
Reassemble by following these instructions in reverse order.
The following should also be noted:
1. Pre-install the vent screw on the water diverter and apply soap solution
to it as a slip lubricant.
2. Apply soap solution to the O-rings as a slip lubricant and install them
on the water diverter stubs.
3. Since machine no. 79575776 (6/5/07), the two connections between
the water diverter and the salt container have each been fitted with 2
seals (O-rings). These should also be installed if this part is being
replaced. 4 O-rings are supplied with the spare part.
4. Re-install the wiring harness in its guides on the salt container and
water diverter.
5. Check all electrical components in the drip pan area for residual
moisture.
6. Thoroughly remove any traces of brine that may have leaked in the
toekick area.
7. After reassembly, fill the salt container with salt and water.
8. A short program (such as Short or Express) without load should be
carried out. This is to remove any salt residues that might be present in
the cabinet and to prevent possible corrosion.
9. Retighten all locknuts.
 Loading...