Contents
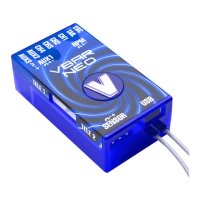
VBar NEO, USB wire, Boot Plug, Gyro Pad, external gyro
sensor with certain sets, patch wire, this manual.
Registration, Update, Key File
Use VBar Control Manager to register your VBar at our App
Store (click Applications). It will be updated automatically. Con-
nect the Boot-Plug to Sensor, power up the VBar, and connect
it to the PC using the USB wire. Every time you use a new/yet
unknown VBar NEO with your PC Software, you will be asked to
download a Key File (copy protection). It is required that the VBar
in question is registered to your MikadoID. You will nd more
information about using key les behind the link provided in the
PC Software whenever you connect a new/yet unknown VBar.
2. Preparing the Helicopter
First you need to assemble the helicopter in accordance with
manufacturer’s instructions. The heli must have a ybarless
rotor head and a swash plate driver. It is very important that
you assemble the helicopter mechanically correct with exact
symmetry and geometry. This is to ensure that you do not run
into problems resulting from mechanical inconsistencies later.

 Loading...