EasyManuals Logo

MikroTik wAP ac User Manual

MikroTik wAP ac
14 pages
To Next Page IconTo Next Page
To Previous Page IconTo Previous Page
Page #4 background imageLoading...
Page #4 background image
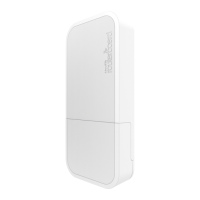
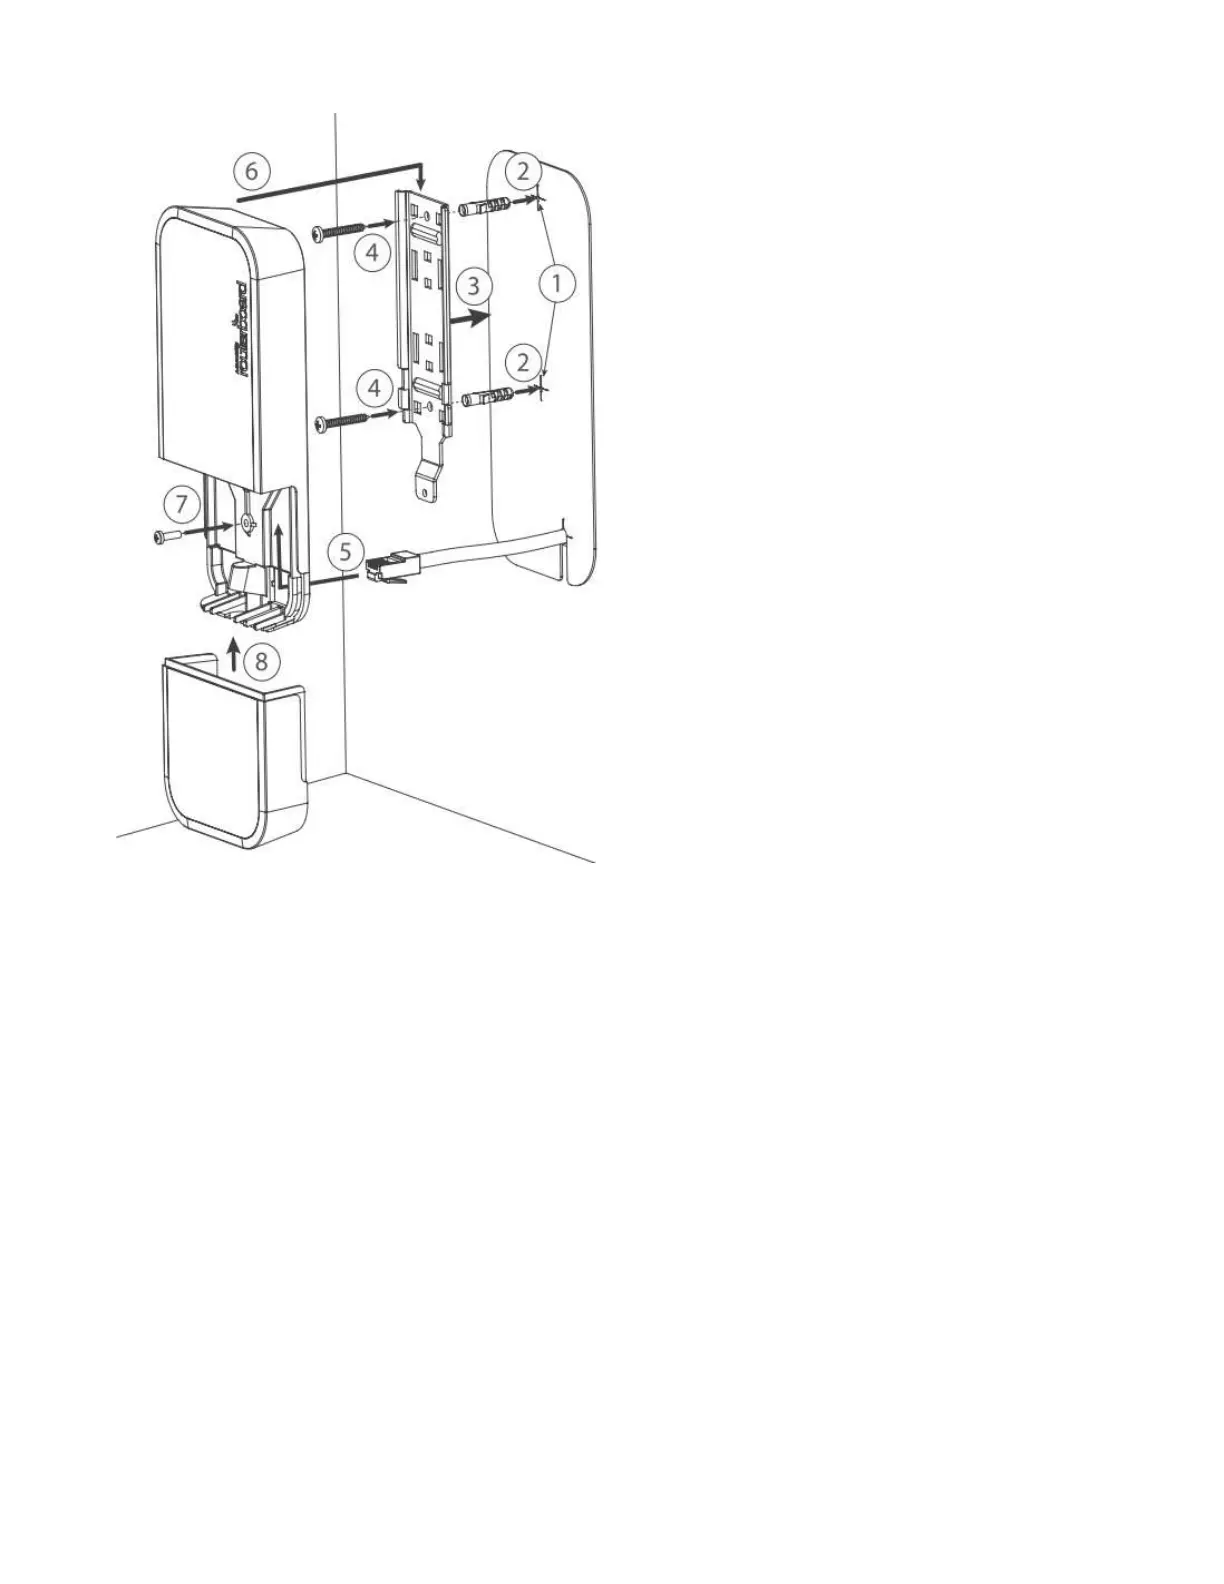
Mounting unit on the wall:
1. Use included a template to mark spots for drilling holes. And if needed for Ethernet cable. Align
accordingly, it will depend on how the device will be mounted finally.
2. Insert dowels if needed, depends on wall structure and material.
3. Place included a steel bracket on the wall.
4. Use screws to secure it in the place.
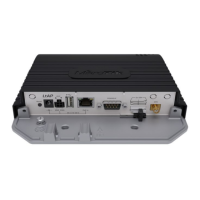
5. Extend your Ethernet cable through the opening and connect to the Ethernet port.
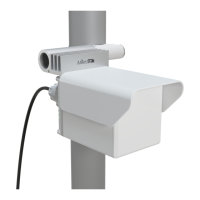
6. Mount the device on the steel bracket
7. Secure it in place with the screw.
8. Close bottom latch.
Avoid mounting the device on the low ground spot, as you won't be able to attach and close the bottom
latch.
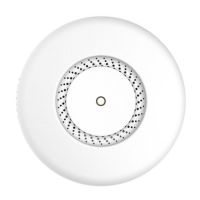
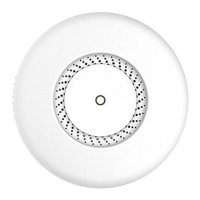
Mounting on the ceiling:

Questions and Answers:

Question and Answer IconNeed help?

Do you have a question about the MikroTik wAP ac and is the answer not in the manual?

MikroTik wAP ac Specifications

General IconGeneral
2.4 GHzYes
Frequency band5.15 - 5.875, 2.412 - 2.484 GHz
Networking standardsIEEE 802.11a, IEEE 802.11ac, IEEE 802.11n, IEEE 802.3af, IEEE 802.3at
Ethernet LAN data rates10, 100, 1000 Mbit/s
Maximum data transfer rate- Mbit/s
Maximum data transfer rate (5 GHz)1300 Mbit/s
Maximum data transfer rate (2.4 GHz)300 Mbit/s
Flash memory16 MB
Internal memory64 MB
USB 2.0 ports quantity0
Ethernet LAN (RJ-45) ports1
Antenna gain level (max)2 dBi
AC input voltage11 - 57 V
Power consumption (max)12 W
PlacementCeiling, Pole, Wall
Product colorWhite
Security algorithms-
Weight and Dimensions IconWeight and Dimensions
Depth85 mm
Width185 mm
Height30 mm

Related product manuals