OM-244 997 Page 14
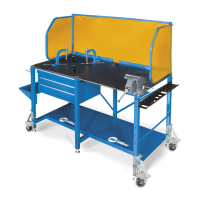
C. Front/Rear Rails
1 Tapped Holes For Front/Rear
Rails
2 Front/Rear Rails
Place two front/rear rails on table
top as shown, but do not fasten rails
to top yet.
1
1
1
1
2
Bottom View
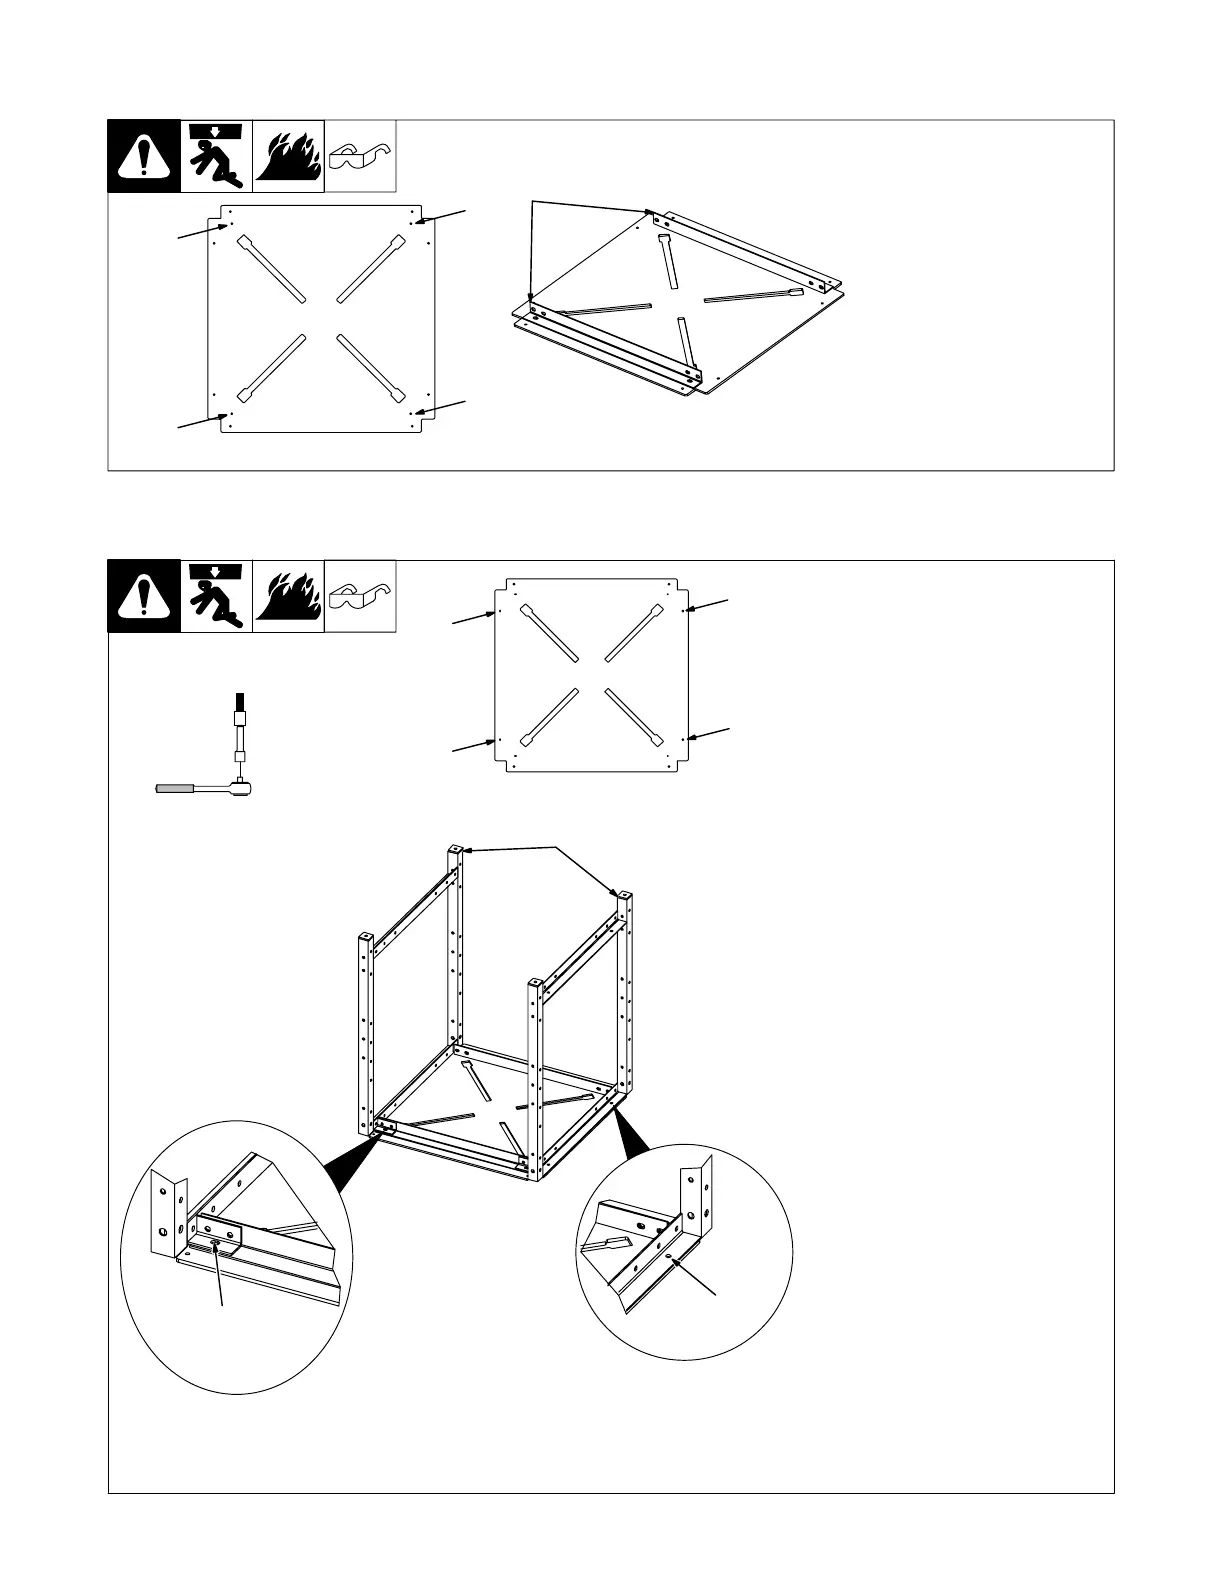
D. End Subframes
1 Tapped Holes For End
Subframes
2 End Subframes
Place end subframes on table top
as shown. Fasten one subframe at
a time to ease installation. Table top
hardware will be used at this point.
3/16 in. Thick Top
Use four bolts DD and four washers
WW. Install bolts into table top
ends.
Use four bolts CC and four washers
WW. Install bolts into slotted holes
for the end subframes and rails.
3/8 in. Thick Top
Use four bolts CC and four washers
WW. Install bolts into table top
ends.
Use four bolts AA and four washers
WW. Install bolts into slotted holes
for the end subframes and rails.
Tighten all bolts at this point.
Tools Needed:
hex bit 3/16 in.
2
1
1
1
1
CC or AA
and WW
DD or CC
and WW
Bottom View
3/16 in. thick top uses CC and WW
3/8 in. thick top uses AA and WW
3/16 in. thick top uses DD and WW
3/8 in. thick top uses CC and WW
 Loading...