page 9
APPLICATIONS
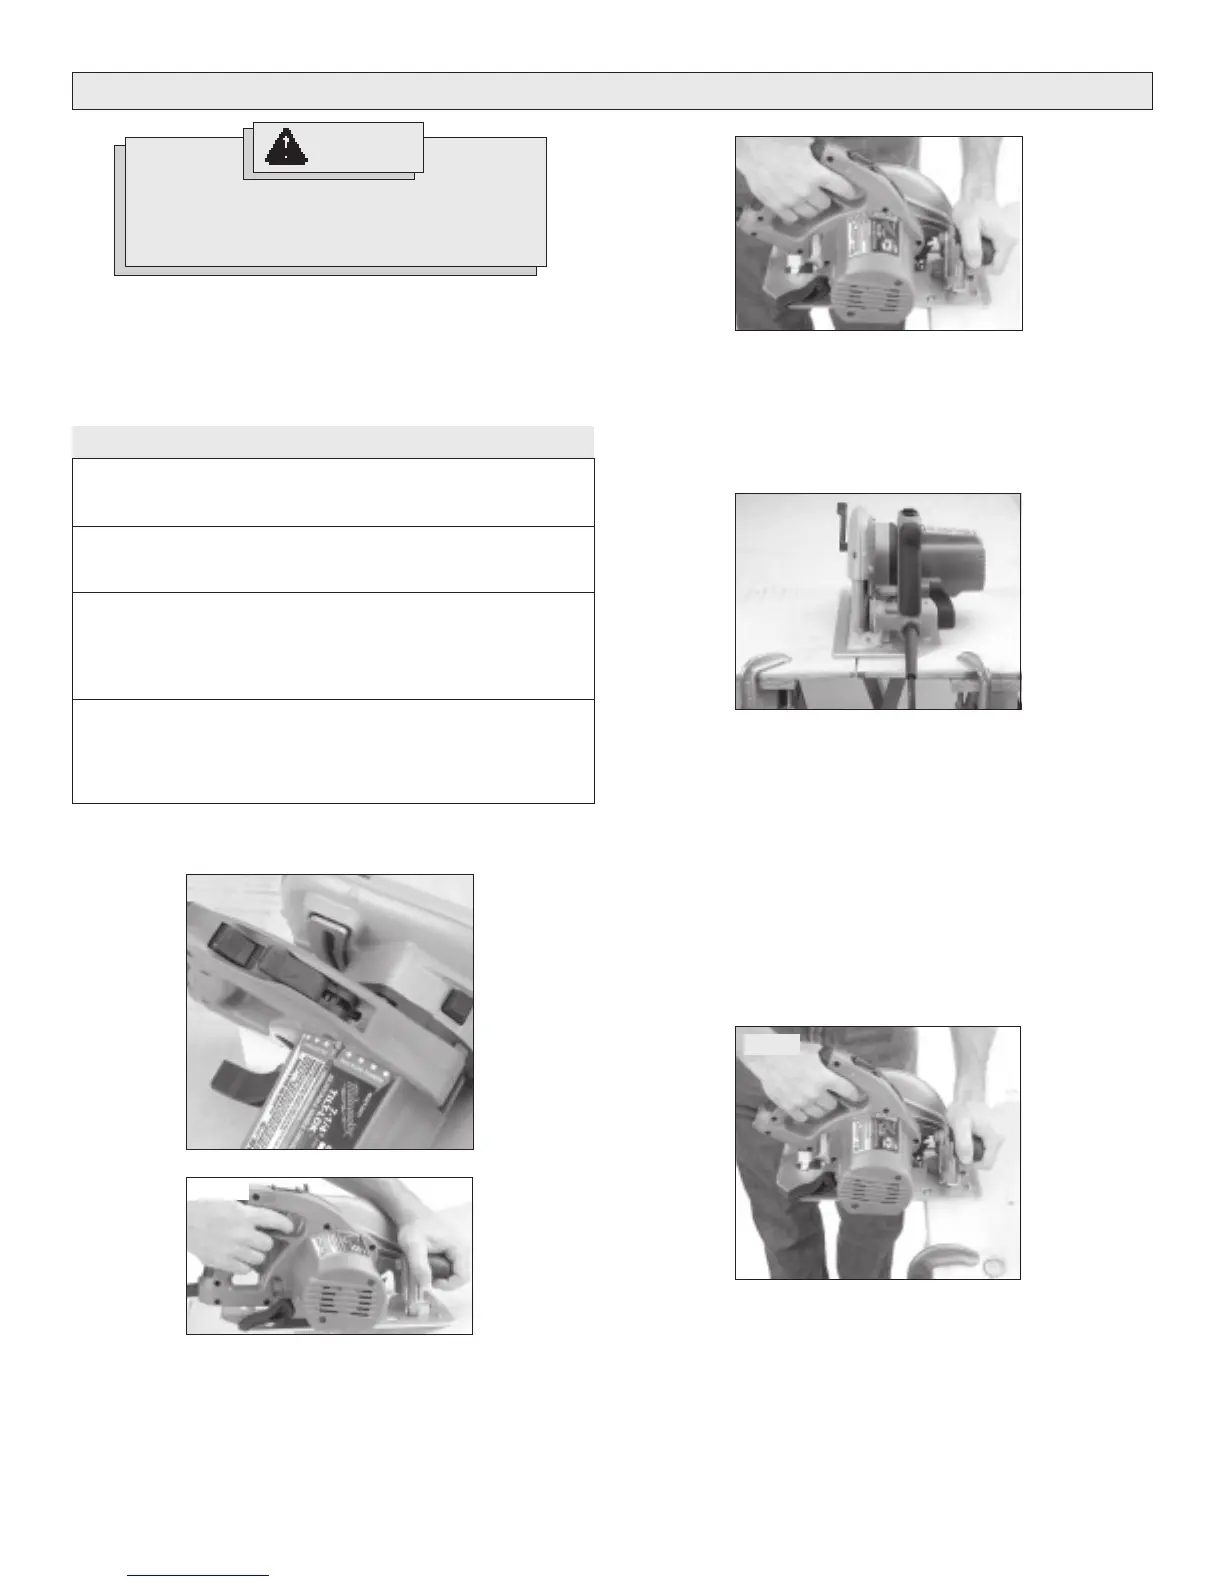
Selecting Tilt-Lok Handle Positions (Fig. 14, 15 & 16)
The Tilt-Lok handle is a feature which allows the user to adjust the
angle of the handle for optimum cutting positions. The Tilt-Lok handle
has eight (8) detents which allow the handle to snap into position
(Fig. 14). See Adjusting Tilt-Lok Handle for instuctions on adjusting
the handle. Refer to the chart below for suggested handle positions.
WARNING!
To reduce the risk of injury, wear safety goggles or
glasses with side shields. Unplug the tool
before changing accessories or making
adjustments.
APPLICATION SUGGESTED TILT-LOK POSITIONS*
For cuts made at or near
waist level
Handle in lower positions (Fig. 15)
allows for more leverage when push-
ing the saw through the workpiece.
For shallow cuts made at
or near waist level
Handle in lower positions allows the
user to apply increased downward
force during shallow cuts.
For cuts made below the
waist, as in flooring appli-
cations
Handle in higher positions (Fig. 16) re-
duce the amount of bending over by
the user. Higher handle positions allow
the user to apply an increased
downward force on the saw.
For cuts made overhead,
as in ceiling applications
Handle in higher positions reduce the
amount of extended reach by the user
for overhead cuts. Higher handle posi-
tions allow the user to apply an
increased upward force on the saw.
* These are only suggested positions; the actual optimum cutting position
may vary depending on the actual application and user preference.
Ripping Wood
Ripping is cutting lengthwise with the grain. Select the proper blade for
your job. Use a rip fence for rips 4" wide or less. To install the rip fence,
slide the bar through the rip fence slot in either side of the shoe. The
width of the cut is the distance from the inside of the blade to the inside
edge of the rip fence. Adjust the rip fence for the desired width, and lock
the setting by tightening the rip fence screws.
When ripping widths greater than 4", clamp or tack 1" lumber to workpiece
and use the inside edge of the shoe as a guide.
Cross-Cutting Wood (Fig. 18)
Cross-cutting is cutting across the grain. Select the proper blade for
your job. Advance the saw slowly to avoid splintering the wood.
Cutting Large Panels (Fig. 17)
Large panels and long boards sag or bend if they are not correctly
supported. If you attempt to cut without leveling and properly supporting
the workpiece, the blade will tend to bind, causing KICKBACK.
Support large panels. Be sure to set the depth of the cut so that you only
cut through the workpiece, not through the supports.
Fig. 14
Fig. 17
Fig. 18
Fig. 15
Fig. 16
 Loading...