10
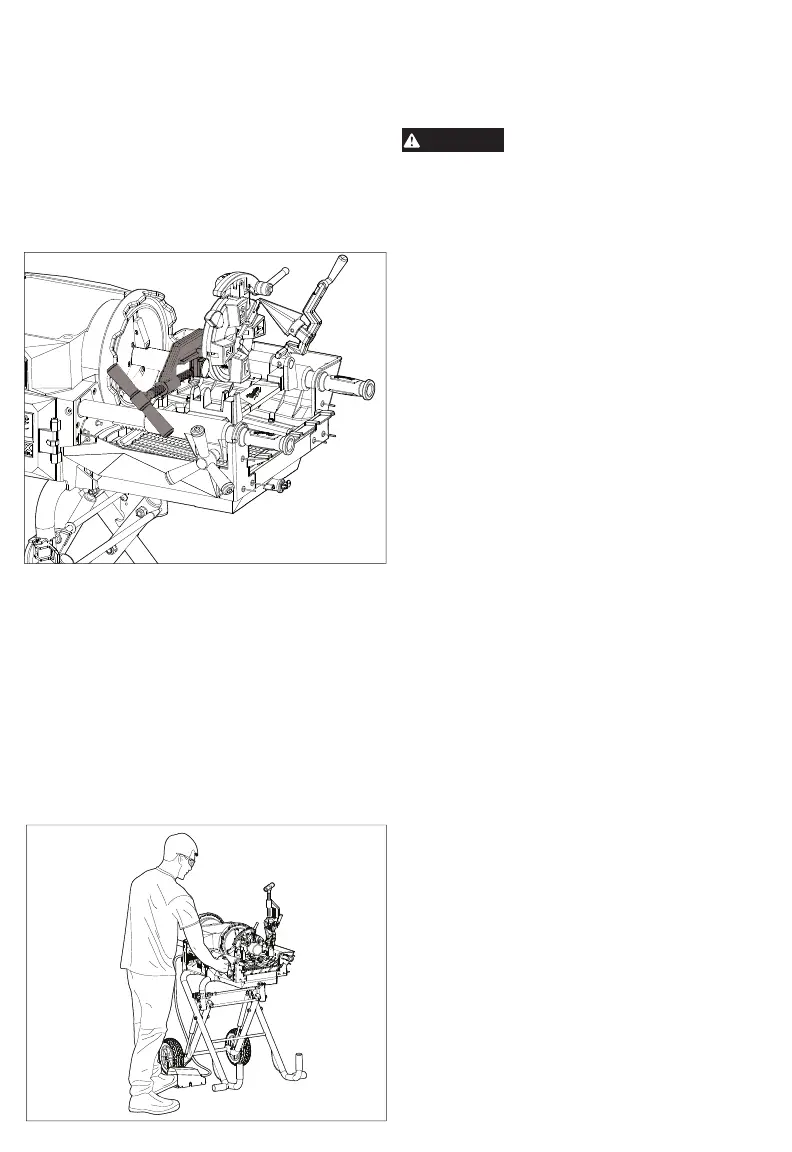
5. Secure the pipe by turning the hammer chucks
anticlockwise until tight.
6.
7. Press the arming button to arm system.
8. Select direction and speed.
9. Push foot switch to rotate pipe.
10. To stop the machine, release pedal on the foot
switch.
11.1
b.
c.
12.Press and hold the arm button to unarm the
machine.
13. Remove pipe from threader by loosening the
hammer chucks.
Overtemperature Indicator
Inspecting Threads/Using a Ring Gauge
1. After removing the pipe from the machine, wipe
any oil, chips or debris from the thread.
2. Inspect the thread. Threads should be smooth,
complete, and in good form. If irregularities such
as thread tearing, thin threads, or pipe out-of-
roundness are seen, the thread may not seal.
If overtemperature occurs, the overtemperature
indicator light will flash. The machine will not
operate until the overtemperature indicator light has
stopped flashing. Release the pedal on the foot
switch and allow the machine to cool down.
Once pipe is cut, turn the machine off and
loosen the cutter wheel by turning the cutter
wheel handle anticlockwise and lift the cutting
wheel to open position.
With the machine operating so the pipe is
rotating, turn the cutting wheel handle
clockwise (recommended 1/4 turn per pipe
revolution) until the cut is complete.
Select desired application (cutting, threading or
reaming) by lowering corresponding accessory
into place.
Using cutting wheel:
a. Turn the cutter wheel handle until both cutter
and roller are touching opposite sides of the
pipe.
11.3
Using reamer:
a. Put the reamer down and use the carriage
assembly adjuster to slide reamer closer to
pipe .
b. Using the carriage assembly adjuster, slide
the reamer away and lift reamer up to open
position.
WARNING
Do NOT attempt to use carriage
assembly adjuster to remove pipe
from the die head while threading. Release the
pedal on the foot switch and wait until the ma-
chine comes to a complete stop to remove pipe
from threading.
c. When thread is complete, release die heads
by lifting the die release lever.
NOTE: If automatic die release mechanism is
used, then die heads will automatically release.
Twist the carriage assembly adjuster removing
the die head away from the pipe.
d. Lift the die head to open position. Use caution
as threaded pipe will be sharp.
11.2
Using die head:
a. Set the die head down into position aligning
the height adjustment screw on the carriage
assembly.
b. With the machine operating use the carriage
assembly adjuster and slide the die head
towards the end of the pipe applying pressure
until the threads engage on the pipe.
 Loading...