Ver 0.1 (6/21) PAGE 12 OF 30 © Mimo Monitors
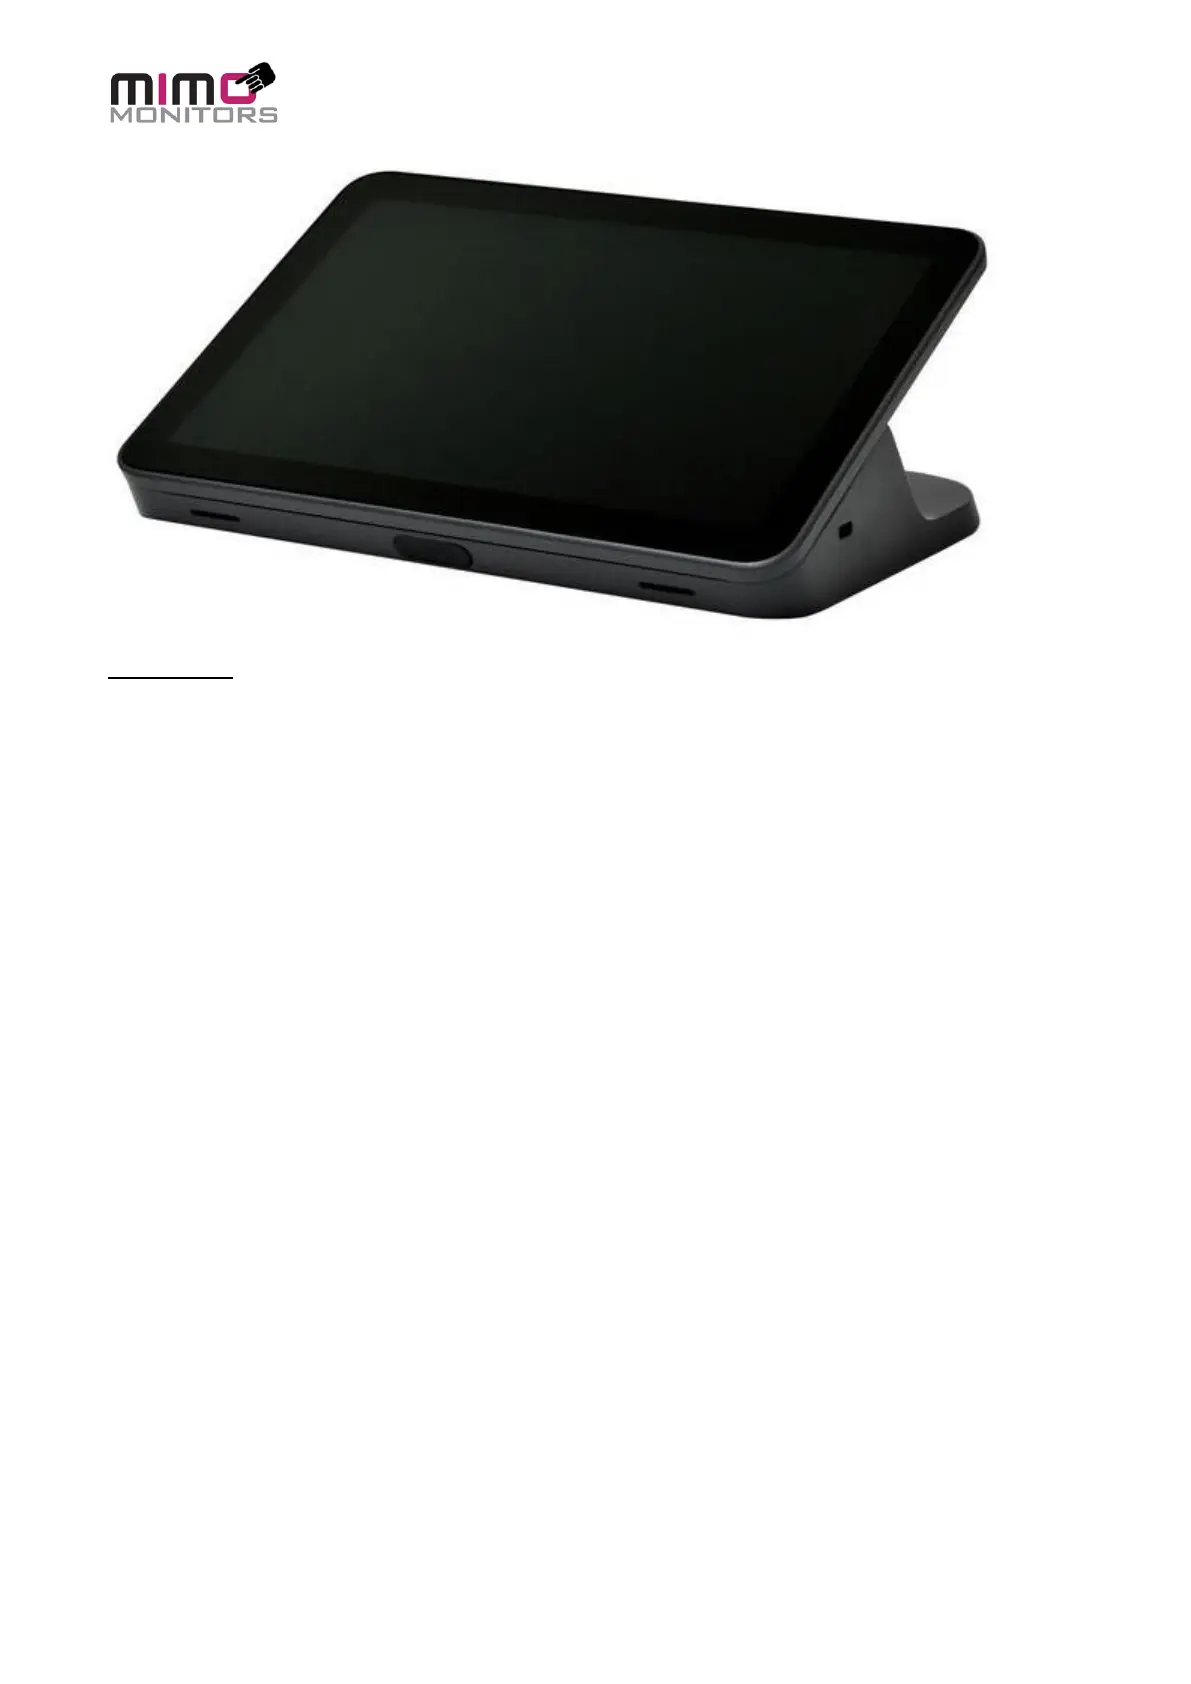
Myst Setup:
To setup the Myst you will need the following:
• Cat 5e cable (from above)
• HDMI cable for HDMI capture function (optional) – Included in box
• USB-C to proper USB connection adapter, if necessary, if you wish to connect a USB
device, such as a speaker/mic through the Myst. This device will show up at the PC as if it
were directly connected
1. Place the Myst on a conference room table or anywhere desired for easy accessibility
2. Configure the Myst’s DIP switch to match the Link’s DIP switch
3. Optional – Connect the HDMI cable to the Myst if the HDMI capture functionality is planned
4. The Myst does not require connecting a power adapter as power is supplied over PoE from
the Link. If connecting through a switch or other network infrastructure make sure PoE is
injected over the Cat 5e cable supplying power to the Myst
5. If the Green light on the RJ45 input is on, that means the Myst and Link are connected
6. The Myst’s display should come on within 15 seconds of connecting the Link’s USB cable to
a online PC. If after 60 seconds, the screen does not turn on, please remove the RJ-45 from
the Myst and re-insert to power cycle the system. This should only be required on the first
installation.
7. When using the touchscreen on the Myst, if the touch is being seen on another display, go
into Windows Control Panel Tablet PC settings to configure the touch to be seen on the Myst
display. See section “Tablet PC Settings for the use of Capacitive Touchscreen” later in this
document
 Loading...