33
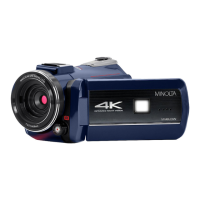
2.5 Video Recording
Power the camera on and the camera will be ready to record videos right
away.
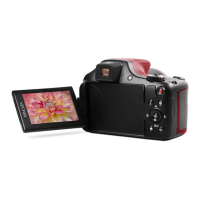
1. Line up your shot by looking at the LCD screen to see what is in view.
2. Hold the camera steady and press the SHUTTER button to begin
recording.
3. When recording begins, a rolling timer will display in red in the top left
corner of the screen. This indicates the recorded video time elapsed.
4. Press the SHUTTER button to stop recording.
5. The recorded video files will automatically save onto the inserted memory
card.
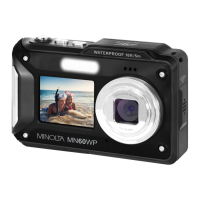
The front LCD screen can be used to take selfies. Simply press the SWITCH
SCREEN button and the front LCD screen will turn on. Then use the camera
as normal. Press the SWITCH SCREEN button to turn the rear LCD screen
back on.
Note: Only one LCD screen is active at a time, when one of the screens is off,
this is not a malfunction
2.5.1 Movie Size
Your camera has a number of preset resolutions and frames per second
rates.
1. In Video Mode press the MENU button.
2. Press the OK button to enter the Photo mode settings.
3. Select Movie Size using the UP or DOWN buttons.
4. Press the OK button to enter the Movie Size submenu.
5. Press the UP or DOWN buttons to navigate the menu, and press the OK
button to confirm your selected resolution (4K (30fps), 2.7K (30fps), 1080P
(120fps), 1080P (60fps), 1080P (30fps), 720P (240fps), 720P (120fps),
720P (60fps), 720P (30fps)).
6. Press the MENU button twice to exit the settings menu.
2.5.2 Image Stabilization
This function enables photo capture in high speed and low-light by