Guide to Installation and Operation
Densité 2 Housing Frame | 3
2 Installation
2.1 Unpacking
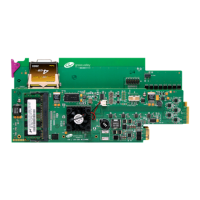
Make sure the following items have been shipped with your Densité 2 frame:
- Densité 2 frame, including 1 Power Supply unit (AC in),
- 1 basic controller card
- An AC power cord
- Densité series cards (per order)
- Blank rear panels (for empty slots)
- A second power supply and AC cord (optional)
2.2 Mechanical Installation
The Densité 2 frame should be installed directly into a standard 19” rack using 4 standard rack-mounting
screws through the four holes in the corners of the front mounting flange.
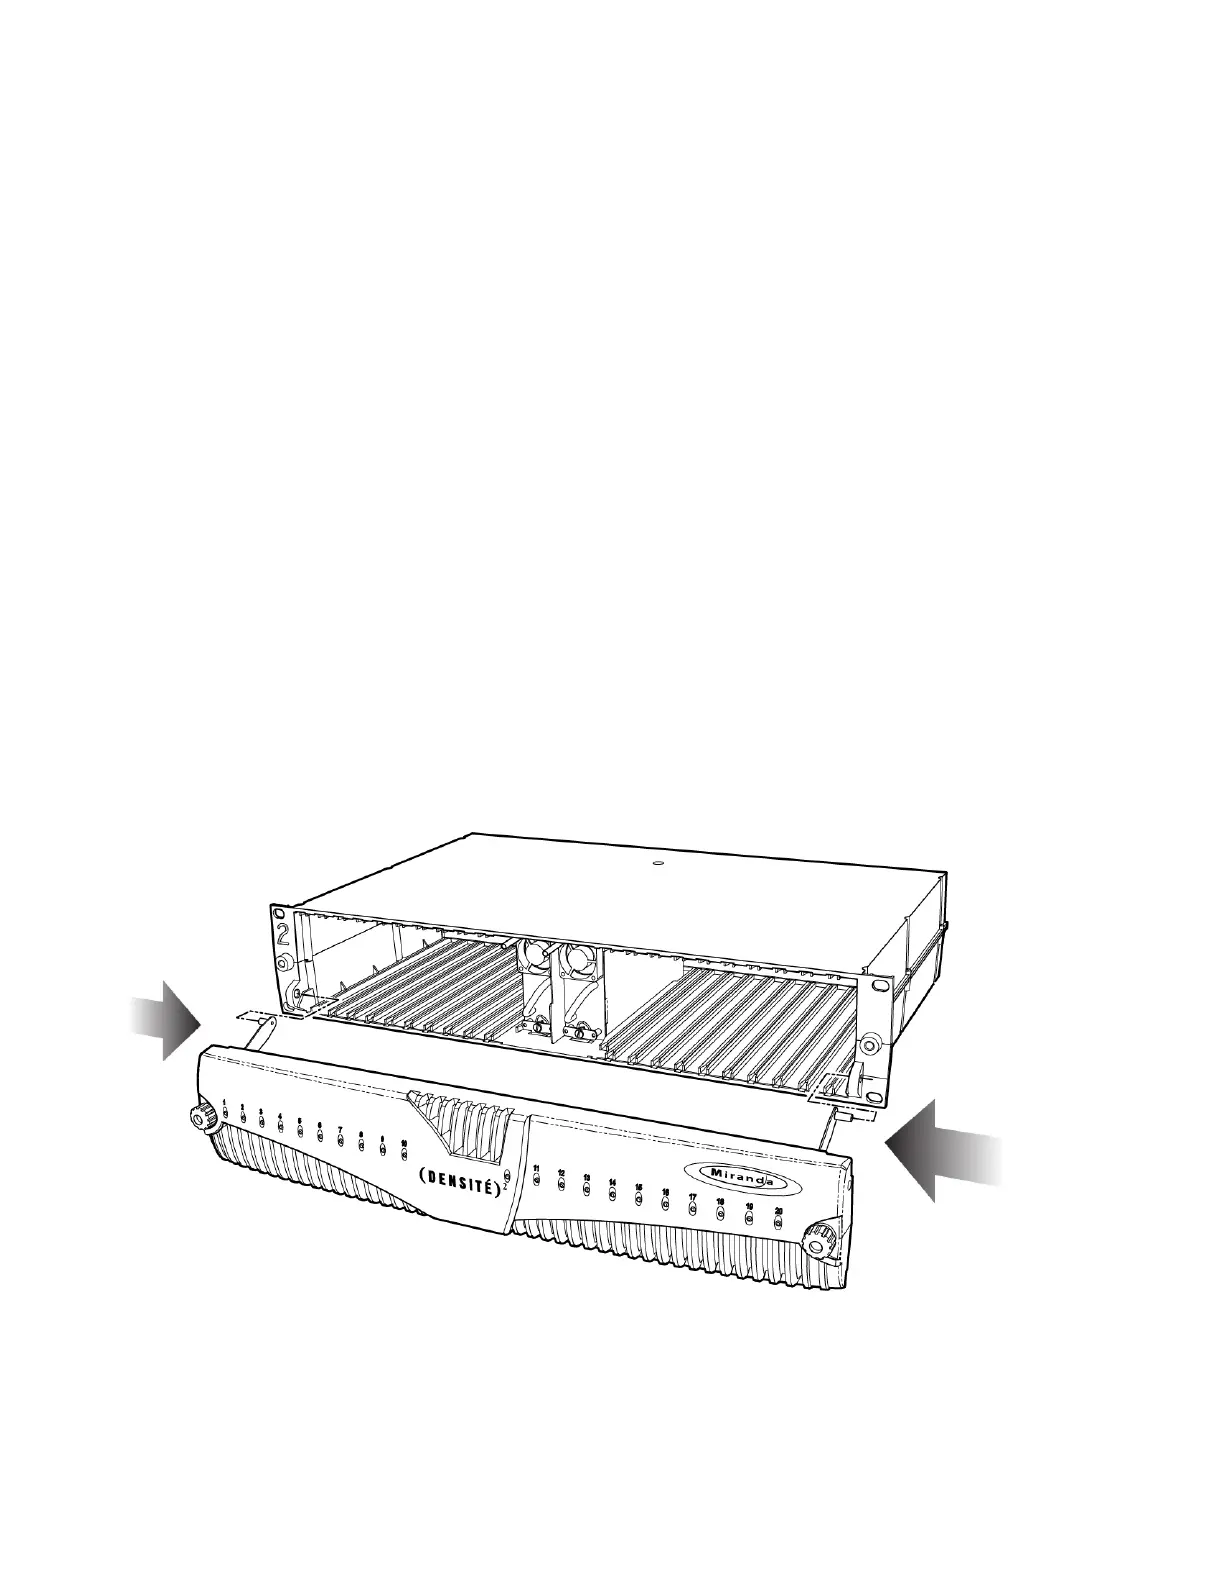
2.3 Opening the Front Panel
The front panel of the Densité 2 frame is attached by swivel brackets. Two multi-turn knobs secure the panel in
the closed position. To open the panel, turn the knobs to the open position and pull gently on them until the
panel is in the desired position.
If required, the door can easily be detached from the frame. Push inward on the two support arms until they
release from the frame body. There are no electrical connections to the panel. Reinstall the panel by pushing
the support arms inward until the bracket ends can be inserted into the mounting holes on the frame.
 Loading...