Kaleido-X16
Hardware Description & Installation Manual
5
Mechanical Installation
Unpacking
Make sure the following items have been shipped with your Kaleido-X16. If any of these are missing,
contact your distributor or Miranda Technologies Inc.
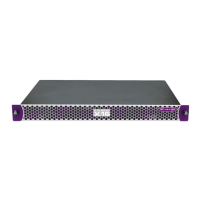
• Kaleido-X16 unit with one or two power supplies pre-installed (second power supply optional)
• Two support brackets
• One AC power cord per power supply
• DVD including manuals, software and release notes
•One mouse
• Four serial port adapters (one with straight wiring and one with crossover wiring for each of the two
RS-422 ports on your multi-viewer):
Mounting the Kaleido-X16 in a Rack
To mount the Kaleido-X16 in a standard 19-inch rack:
1. Install both support brackets at the back of the rack by using suitable screws and washers (not
included), so that the bottom of the Kaleido-X16 frame will be supported by the brackets.
2. Insert the Kaleido-X16 frame at the designated location within the rack, and secure the front of the
frame to the rack by using suitable screws and washers (not included).
Part number Adapter cabling RS-422 pinout at the DE-9P connector
1737-3000-102 Straight Controller (SMPTE master) mode
1792-3700-100 Crossover Tributary (SMPTE slave) mode
Notes
• The Kaleido-RCP2 unit is optional and is not included in the standard Kaleido-X16 package.
Refer to the Kaleido-RCP2 Guide to Installation and Operation (available on the DVD that
shipped with your system) for more information.
• The standard Kaleido-X16 comes with one PSU. A redundant, second PSU is optional.
 Loading...


