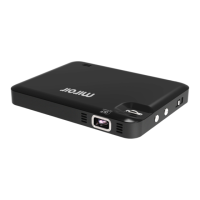
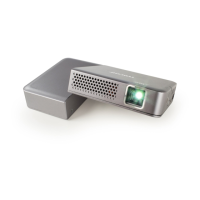
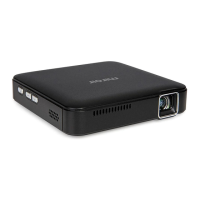
Your Miroir HD Pro Projector
A
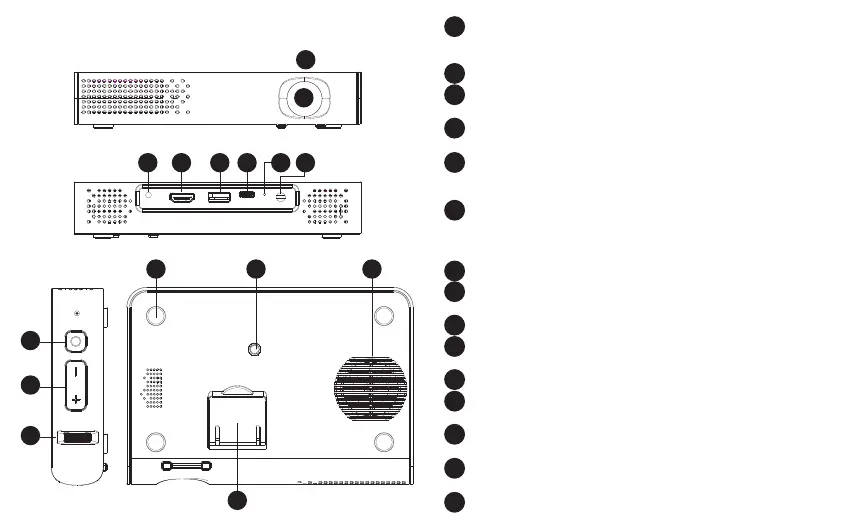
Battery Indicator Lights - Lights flash in turn as the device
charges. The battery is fully charged when all the lights
illuminate and no longer flash.
Projection Lens - Turns power on.
Audio Out (3.5mm) - (Optional) Connect an external speaker
or headphones.
HDMI Video Input - Connect an HDMI cable to a device that
supports HDMI video output.
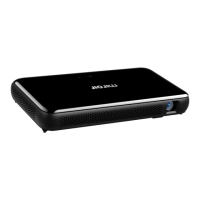
USB Power Output - Connect a USB power cable to provide
power to a HDMI streaming stick or to charge a smartphone
battery. Cannot be used for video input.
USB-C Video/Charge Input - Connect the supplied USB-C
video cable to a device that supports USB-C video output,
or connect to a power adapter. Fully charge battery before
the first use (approx. 4-5 hours).
Reset Button - Press to reset projector.
Power Port - Connect included AC Adapter/Charger for power.
Fully charge battery before the first use (approx. 4-5 hours).
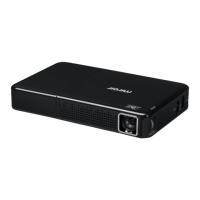
Mode Button - Press for eco-mode to extend battery life.
Volume Controls - Increase/decrease the volume output of the
projector.
Focus Controls - Turn wheel to adjust focus.
Rubber Foot Pads - Provides stability and proper airflow to
cooling vents.
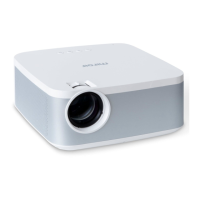
Tripod Mount - Will fit a standard sized tripod screw. Tripod
not included.
Cooling Vent - IMPORTANT: Do not cover or block airflow to
the vent.
Kick Stand - Kick Stand out to elevate front.
B
A
C
D
E
F
G
H
I
J
K
L
M
N
O
AUD IO
HDM I
USB Typc -C
Res et
DC IN
AUD IO
HDM I
USB Typc -C
Res et
DC IN
J
K
I
NML
AUD IO
HDM I
USB Typc -C
Res et
DC IN
AUD IO
HDM I
USB Typc -C
Res et
DC IN
C FD E
B
G H
O