l
Use
the tyre sealant only at ambient tempera-
tures of -30 °C to + 60 °C.
l
Effect an emergency repair without pulling
out the object (nail, screw, etc.) that is stuck
in the tyre.
l
Do not use the tyre sealant if the tyre has
been damaged by being driven when insuffi-
ciently inflated (e.g. bumps, cuts, cracks etc.
on the tyre).
l
Allow any tyre sealant seeping out of the
hole to dry, then pull off like a film.
l
Wipe tyre sealant off the paintwork immedi-
ately with a damp cloth.
l
Allow any tyre sealant in a damaged tyre to
dry out and dispose of it together with the tyre.
l
Immediately change out of any clothes conta-
minated with the tyre sealant.
Before repairing a tyre, first stop your vehicle in a
safe, flat location.
1. Park the vehicle on level and stable ground.
2. Set the parking brake firmly.
3. On vehicles with M/T, stop the engine and
move the gearshift lever to the “R” (Reverse)
position.
On vehicles with CVT, move the selector lev-
er to the “P” (PARK) position and stop the en-
gine.
4. Turn on the hazard warning flashers and set
up a warning triangle, flashing signal lamp,
etc., at an adequate distance from the vehi-
cle, and have all your passengers leave the ve-
hicle.
5. Take out the tyre sealant bottle and the com-
pressor.
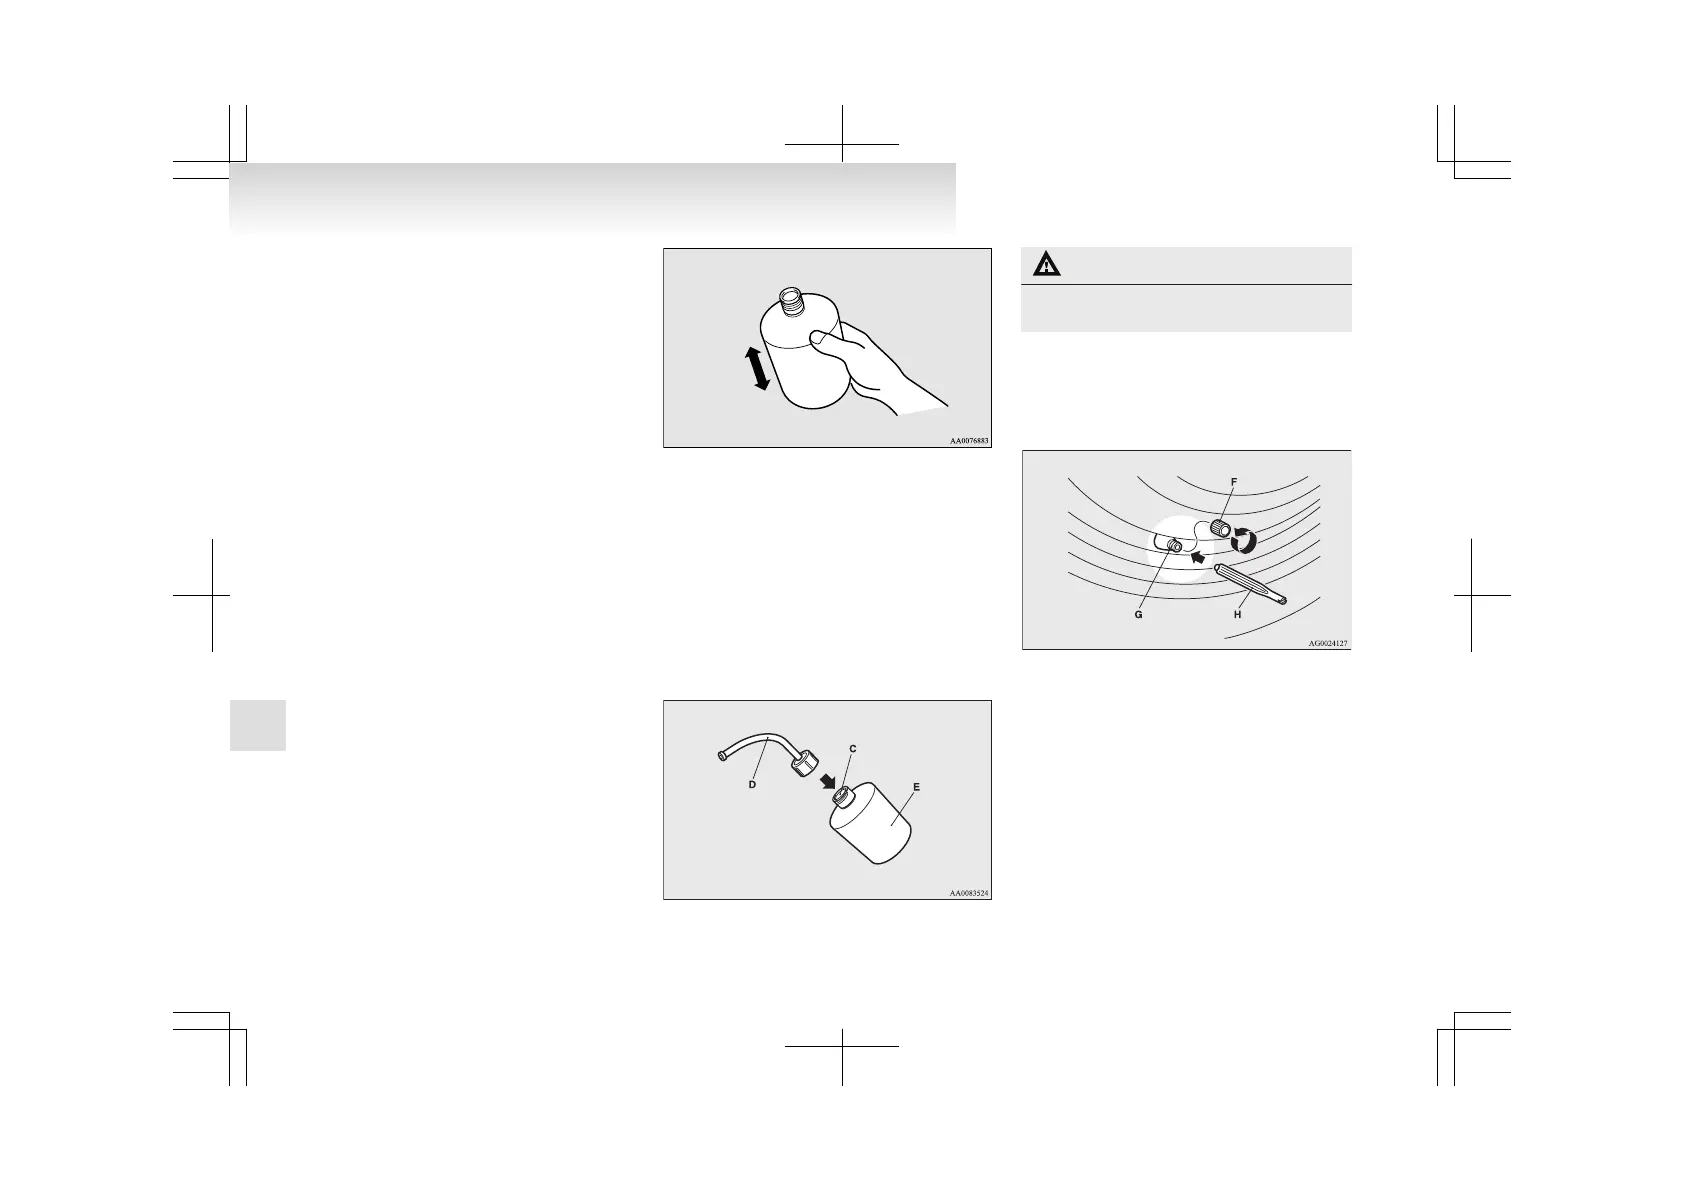
6. Shake the tyre sealant bottle well.
NOTE
l
In
cold conditions (when the ambient temper-
ature is 0 °C or lower), thickening of the tyre
sealant can make the tyre sealant hard to
squeeze out of the bottle. Warm the bottle in-
side the vehicle.
7. Do not remove the seal (C). Screw the filler
hose (D) onto the bottle (E). As you screw
the filler hose onto the bottle, the seal will
break, allowing the sealant to be used.
CAUTION
l
If you shake the bottle after screwing on
the hose, sealant may spray out of the hose.
8. Take
the valve cap (F) off the tyre valve (G),
then press the valve remover (H) onto the
valve as illustrated. Allow all of the air in the
tyre to escape.
9. Remove the valve insert (I) by turning it anti-
clockwise
using the valve remover (H). Put
the removed valve insert in a clean place so
it does not get dirty.
For emergencies
6-08
6

 Loading...