3. Measurement
22
3.2 Measurement
3.2.1 Dimensional measurement
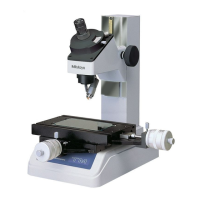
Align a measuring point on the workpiece with one of the cross-hairs and take the reading from the
Micrometer Head. Then, move the XY stage by turning the Micrometer Head and align another
measuring point with the same cross-hair and take the reading at this point. The difference between
the two readings represents the dimension between the two measuring points.
A Digimatic Head and Digital Counter can be used, in place of the Micrometer Head, for digital
display of the displacement. They also eliminate reading errors. Since the zero-set button zeroes the
counter at any position, the displacement can be read directly.

 Loading...