3
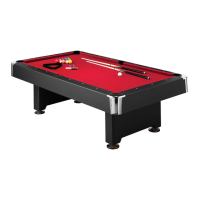
4. Attach leg posts #3 to the inside face of metal
leg facades #1 on both leg assemblies (from
steps 2 & 3). Use two carriage bolts #30, two
washers #22 and two locknuts #21 per leg
post.
NOTE: There is a set of holes at one end of
the leg posts that are grouped close to-
gether. Make sure that these holes go to
the top of the wooden posts. About 1/8
inch of leg posts #3 will extend below the
metal facade #1. (Figure 2)
5. Once the leg post is securely fastened, tighten
the four bottom screws #33 on the leg panels.
1. Open hardware kits and sort hardware into "like"
groups using hardware identifier provided in this
manual.
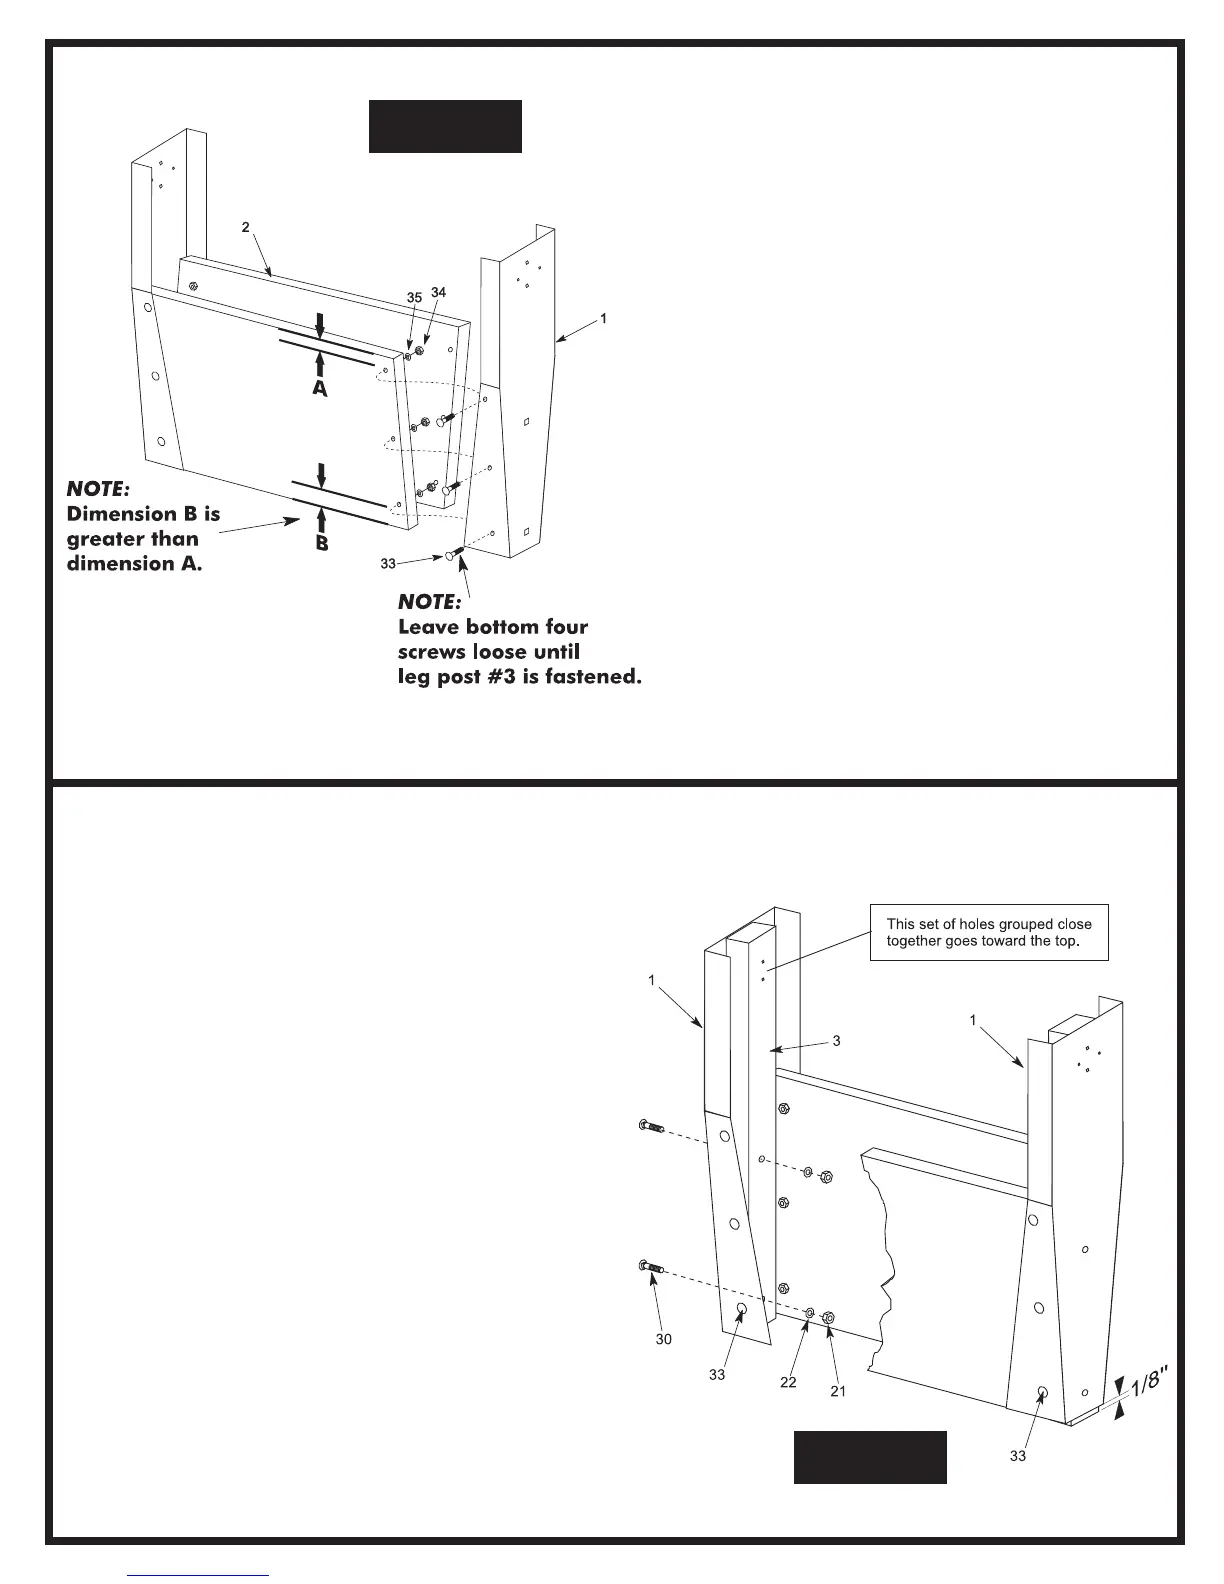
2. Attach two wooden leg panels #2 (be sure wood
grain faces out) to the inside of two leg facades
#1 using six screws #33, six washers #35 and six
locknuts #34 per leg panel. Make sure that
dimension B is at the bottom of the leg panel. (See
Figure 1)
NOTE: Leave all four bottom screws #33
loose until the leg post #3 is installed. Leg
post #3 CANNOT be attached if the four
bottom screws #33 are tight. Tighten finger
tight only.
3. Repeat step 2 to put together other leg assembly.
Figure 2
Figure 1