Use the supplied drilling template (
at the back of the manual
) to properly position
the holes for the camera fixtures.
2.3.2 Mounting to a Wall
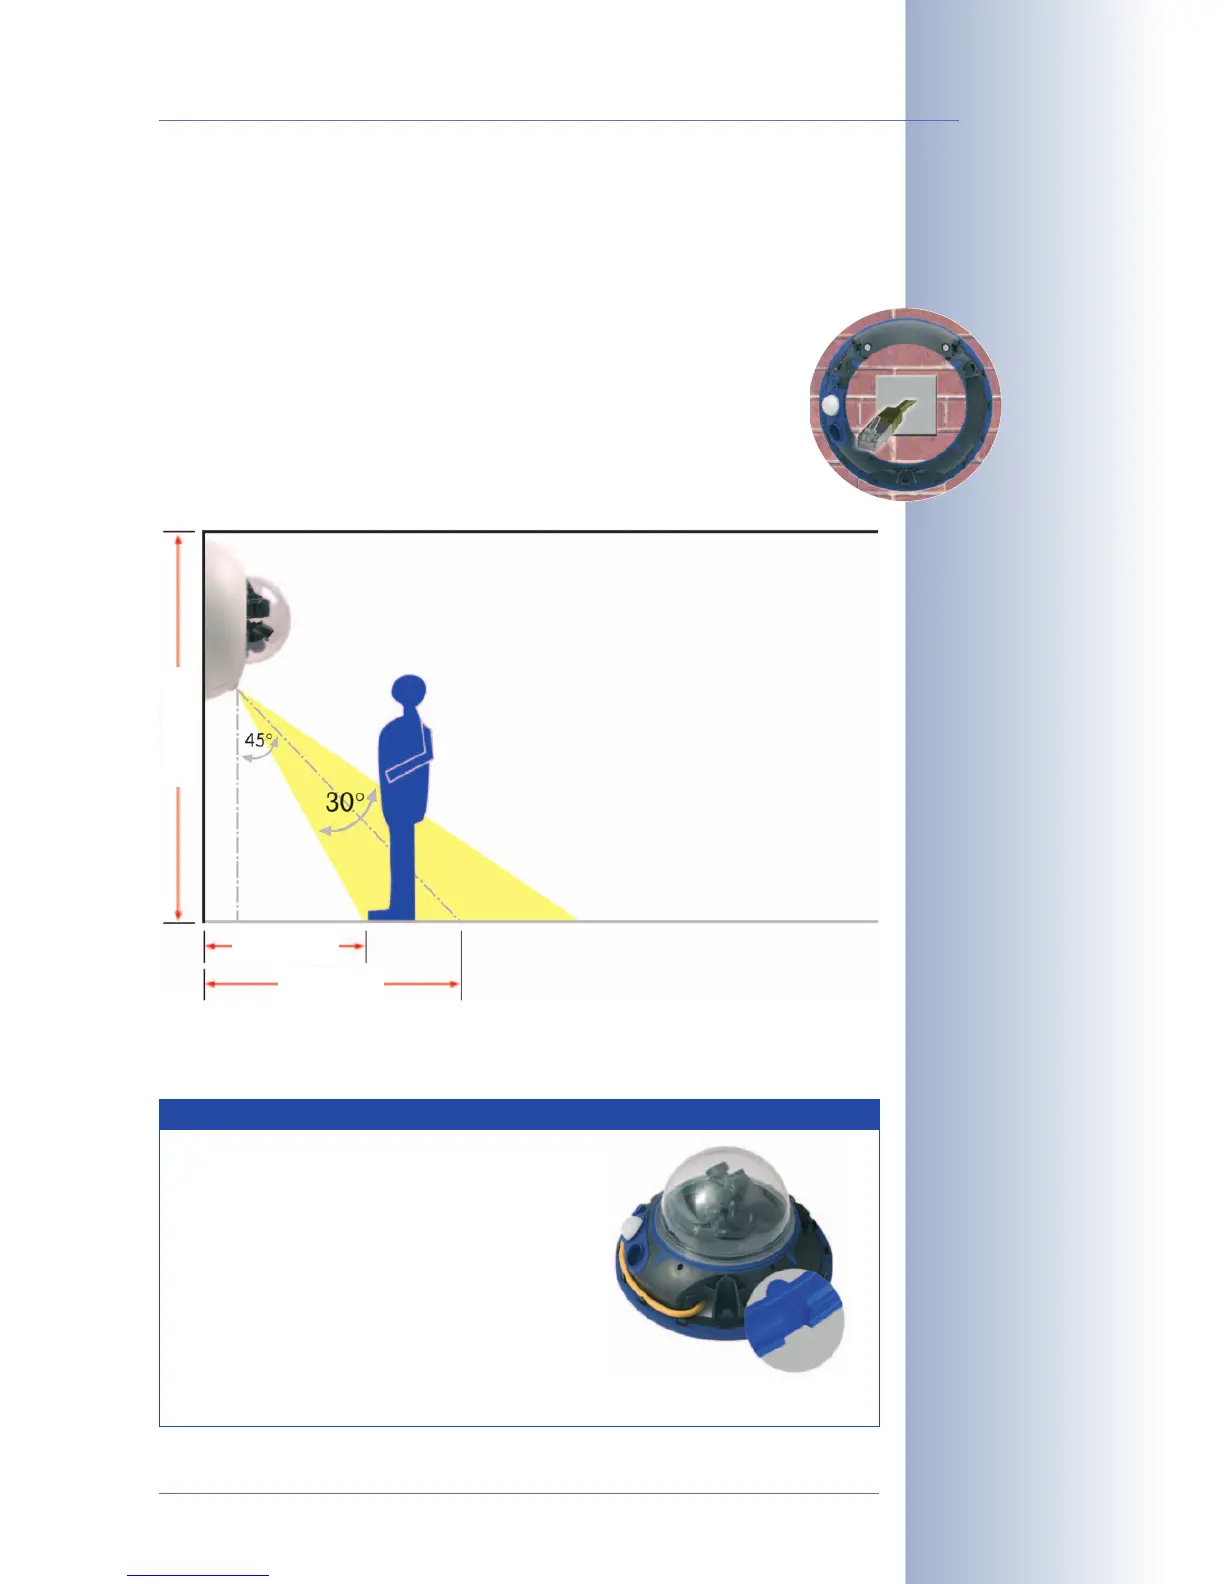
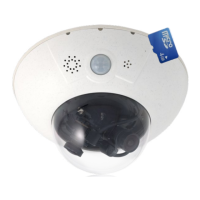
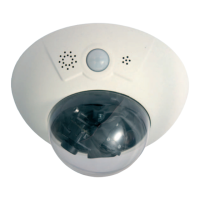
When mounting the camera to a wall, make sure that the PIR sensor points
into the direction where it is most useful; usually, it should point down-
wards. The wall outlet should be positioned so that it is directly behind
the center of the camera housing.
Use the supplied drilling template (
at the back of the manual
) to properly
position the holes for the camera fixtures.
© MOBOTIX AG • Security-Vision-Systems • Made in Germany
www.mobotix.com • sales@mobotix.com
31/124
D12 Camera Manual Part 1
Caution: Notch for pre-
venting damage from con-
densation
Note
The following is recommended for all D12
models used outdoors or indoors with
high variations in temperature: cut the
outer sealing with a sharp knife (as
shown in the figure) to prevent conden-
sation from accumulating.
The notch should be 3 mm wide (as wide
as the Allen wrench) and should point
downwards when the camera is
mounted.
2.7 m/9 ft
1.3 m/4.3 ft
2.8 m/9.2 ft


 To Next Page