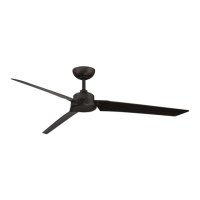
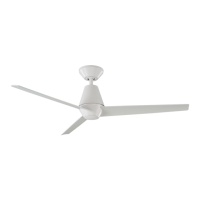
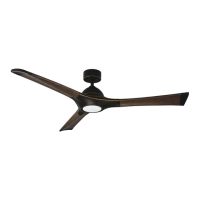
FR-W2001
Renegade Instructions20
7. Finishing the Installation
1. Secure wire connectors with supplied wire ties.
2. Install canopy to mounting bracket with the screw
removed in section 4 (Fig. 7).
3. Install canopy screw ring as shown (Fig. 7).
8. Installing the Luminaire Module
Installation of the Luminaire (Glass/Cover) is optional.
NOTE: Skip to step 6 if you are not installing the
(Glass Shade/LED module).
1. Remove 1 of 3 screws and loosen the others
(DO NOT REMOVE) from the motor assembly (Fig. 8).
2. Twist-lock the adapter plate into place.
3. Attach LED wires from motor assembly to luminaire module.
Blue from fan to blue from luminaire module and white from
fan to white from luminaire module (Fig. 8).
4. Secure the luminaire module with the 3 screws to the
adapter plate (Fig. 8).
5. Install Glass Shade without over-tightening (Fig. 8A/8B).
6. Install Metal Light cover as shown (Fig. 8A/8B).
NOTE: Add metal light cover if you do not need lighting function
or prefer a different aesthetic.
NOTE: Do not connect the LED module if you are using the
metal light cover.
 Loading...