2. Slide off the escutcheon plate (#5A).
3. Grab ahold of the stop tube (#6A) and pull it forward until it has been
removed.
4. Lift the tab at the top of the U-shaped copper colored retaining clip
(#7A) just enough to grab it with your hand to fully remove. Be
careful not to drop the clip (#7A) behind the wall.
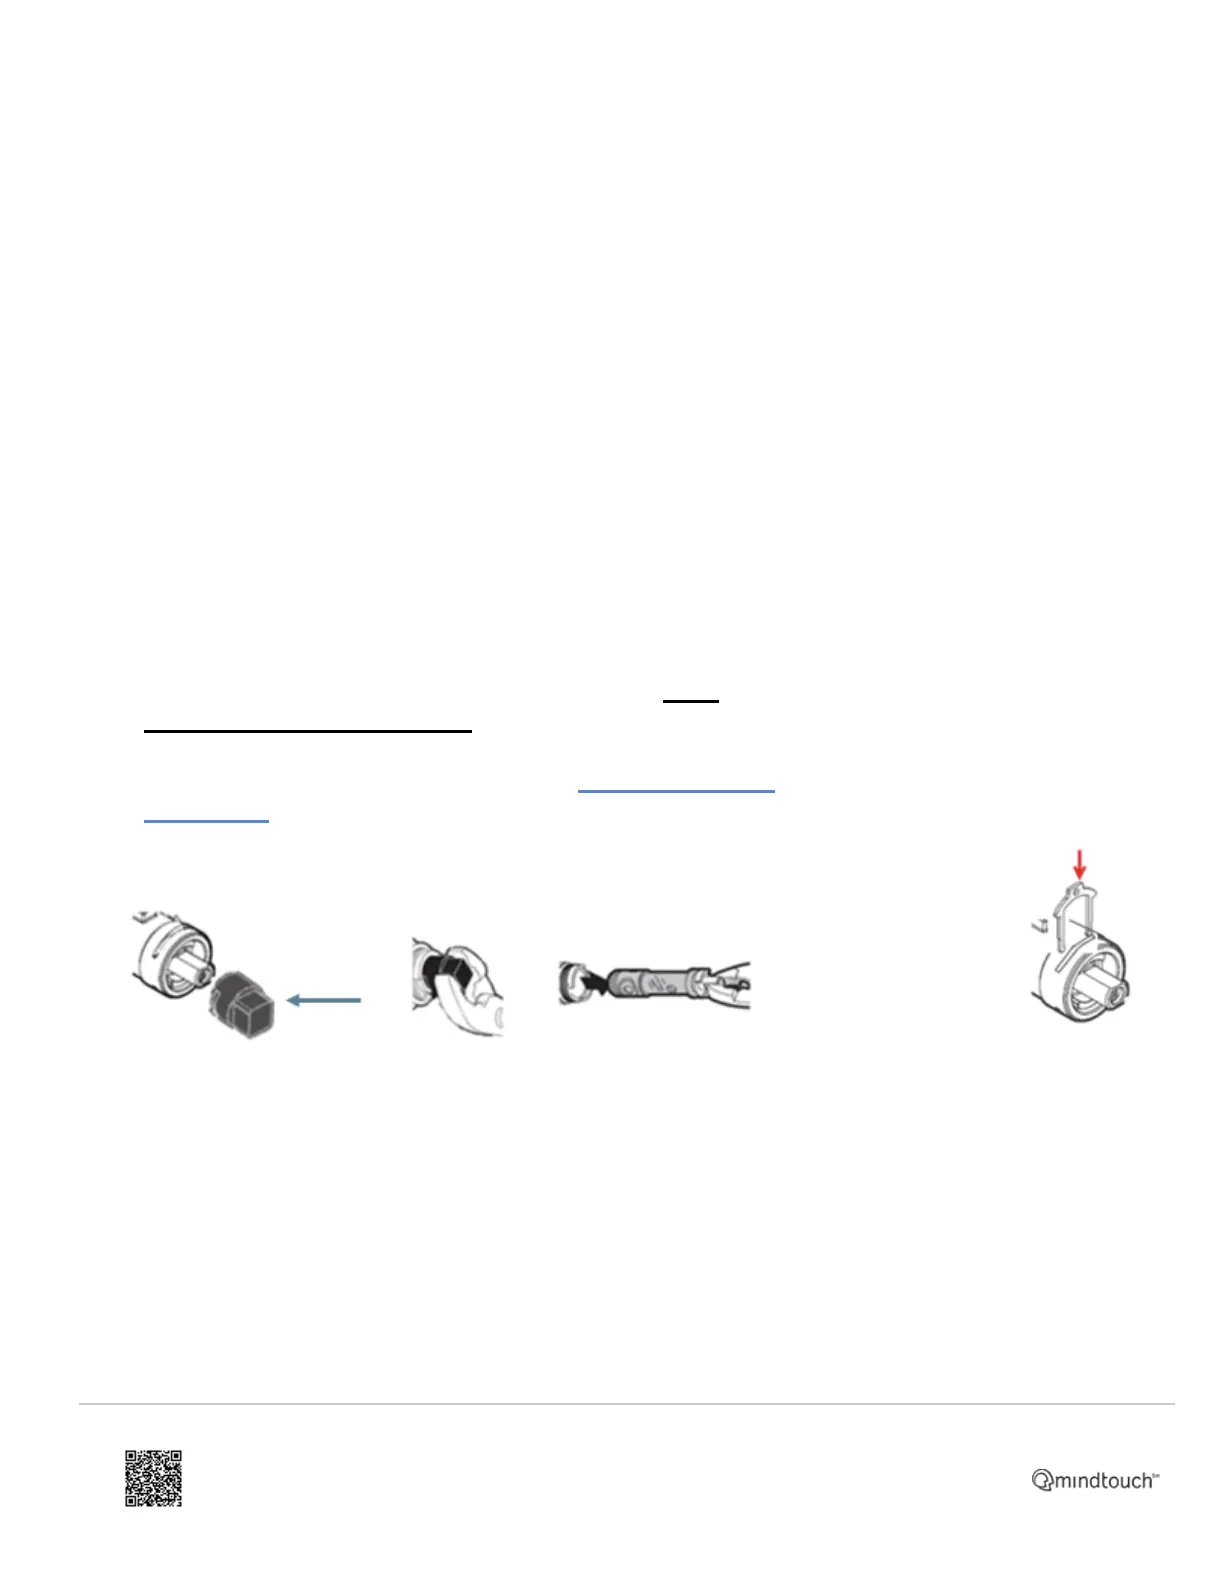
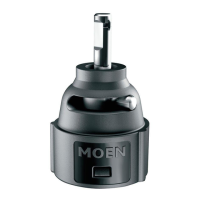
5. Using the plastic twisting tool (see Image A below) provided in the
1225 cartridge kit (#8A), rotate the cartridge (#8A) 1/4 of a turn (90
degrees) in either direction. This will help loosen the cartridge (#8A).
Remove the twisting tool from the top of the cartridge (#8A). Pullout the
stem of the cartridge (#8A) until it stops. Using pliers, grab the stem of
the cartridge (#8A) and pull the cartridge (#8A) out. This may require
some effort. If you are replacing the 92451 service kit, see 92451
Cartridge Service Kit Repair Guide for additional details.Note: It is
highly recommended to clean and flush the valve body (#9A)
before installing the new cartridge (#8A). See Valve Body Cleaning
and Flushing for additional details.
Image A:
body
(#9A). The
plastic
tabs on
the
cartridge
(#8A)
must be
centered
on the
slots on
the valve
body
(#9A),
which are
located at
the 12 and
6 o'clock
positions.
2. Gently slide the
copper clip (#7A)
back into the brass
valve body (#9A)
on top of the
cartridge (#8A). If
you encounter any
resistance, do not
force the copper
clip (#7A). The
cartridge (#8A)
may not be
properly aligned
(see step 1). If for
any reason the
copper clip (#7A)
cannot be
installed, the
water cannot be
turned back on to
the shower
system until the
copper clip (#7A)
is replaced.
https://solutions.moen.com/Article_Library/1225_Cartridge%3A_Moentrol_with_Integrated_Transfer_Valve
Updated: Wed, 14 Sep 2022 18:42:34 GMT
Powered by
2