Page 15
Molnar 4 Post Hoist SM4X0
All Electrical Work to be Performed by a Licensed Electrician
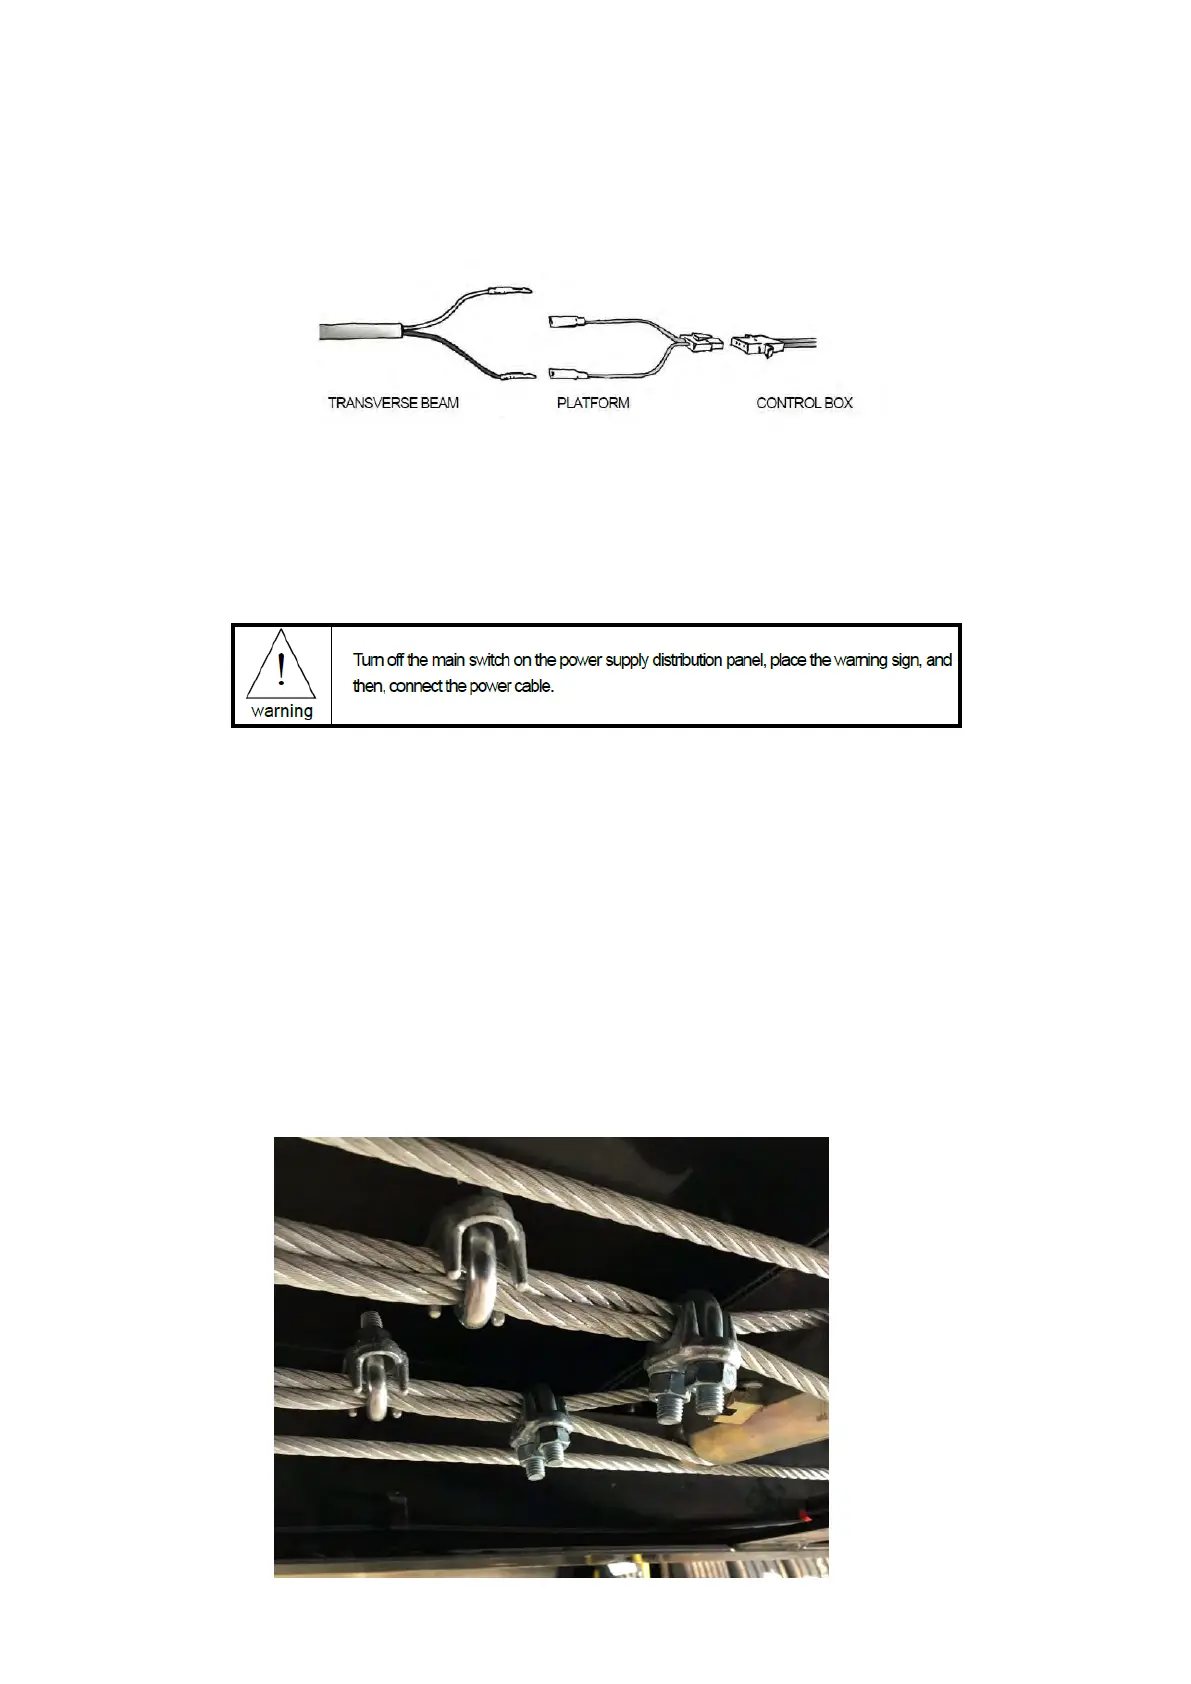
23. Connect the main plate conduit tube and the control panel cable with the connection cable (purple)
and assemble the power pack tank cover. (Connection line, tank cover – power pack front vinyl cover)
24. Connect the power pack main supply.
NOTE! Requires 3 active and earth.
- Input voltage tolerance should be ±10%
- Frequency tolerance should be ±1%
- There must be a 10A over current protector installed in the input power line.
- The diameter of power supply cable should be 2.5 mm
2
- Bind the hydraulic hose and wiring with cable ties.
Levelling the Cables
25. Turn on the hoist and raise up the hoist and press the locking switch to tighten the cable. (Raise the
hoist to the position comfortable to work under the platform)
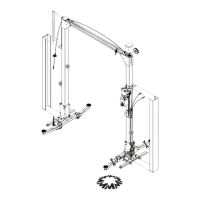
26. Fasten the cable clamp on the cylinder fixing cable and the drive plate.
NOTE! Clamps must be tight, retighten again at the end of the installation.
NOTE! Lubricate the cylinder rod.
NOTE! To avoid the cable clamps rubbing the cables, adjust and angle the cable clamps as shown
below and keep separated by approx. 10cm
By this stage of the installation, please ensure that grease has been applied to all
pulleys on the hoist. This includes the four transverse beam pulleys as well as the
front and rear pairs of pulleys under the platform. (Pulley pins are supplied with
grease nipples for easy greasing) This should be performed every 6 months.