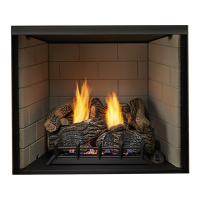
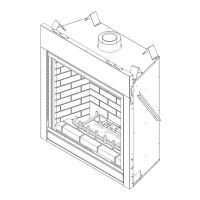
SECURING AND LEVELING THE APPLIANCE
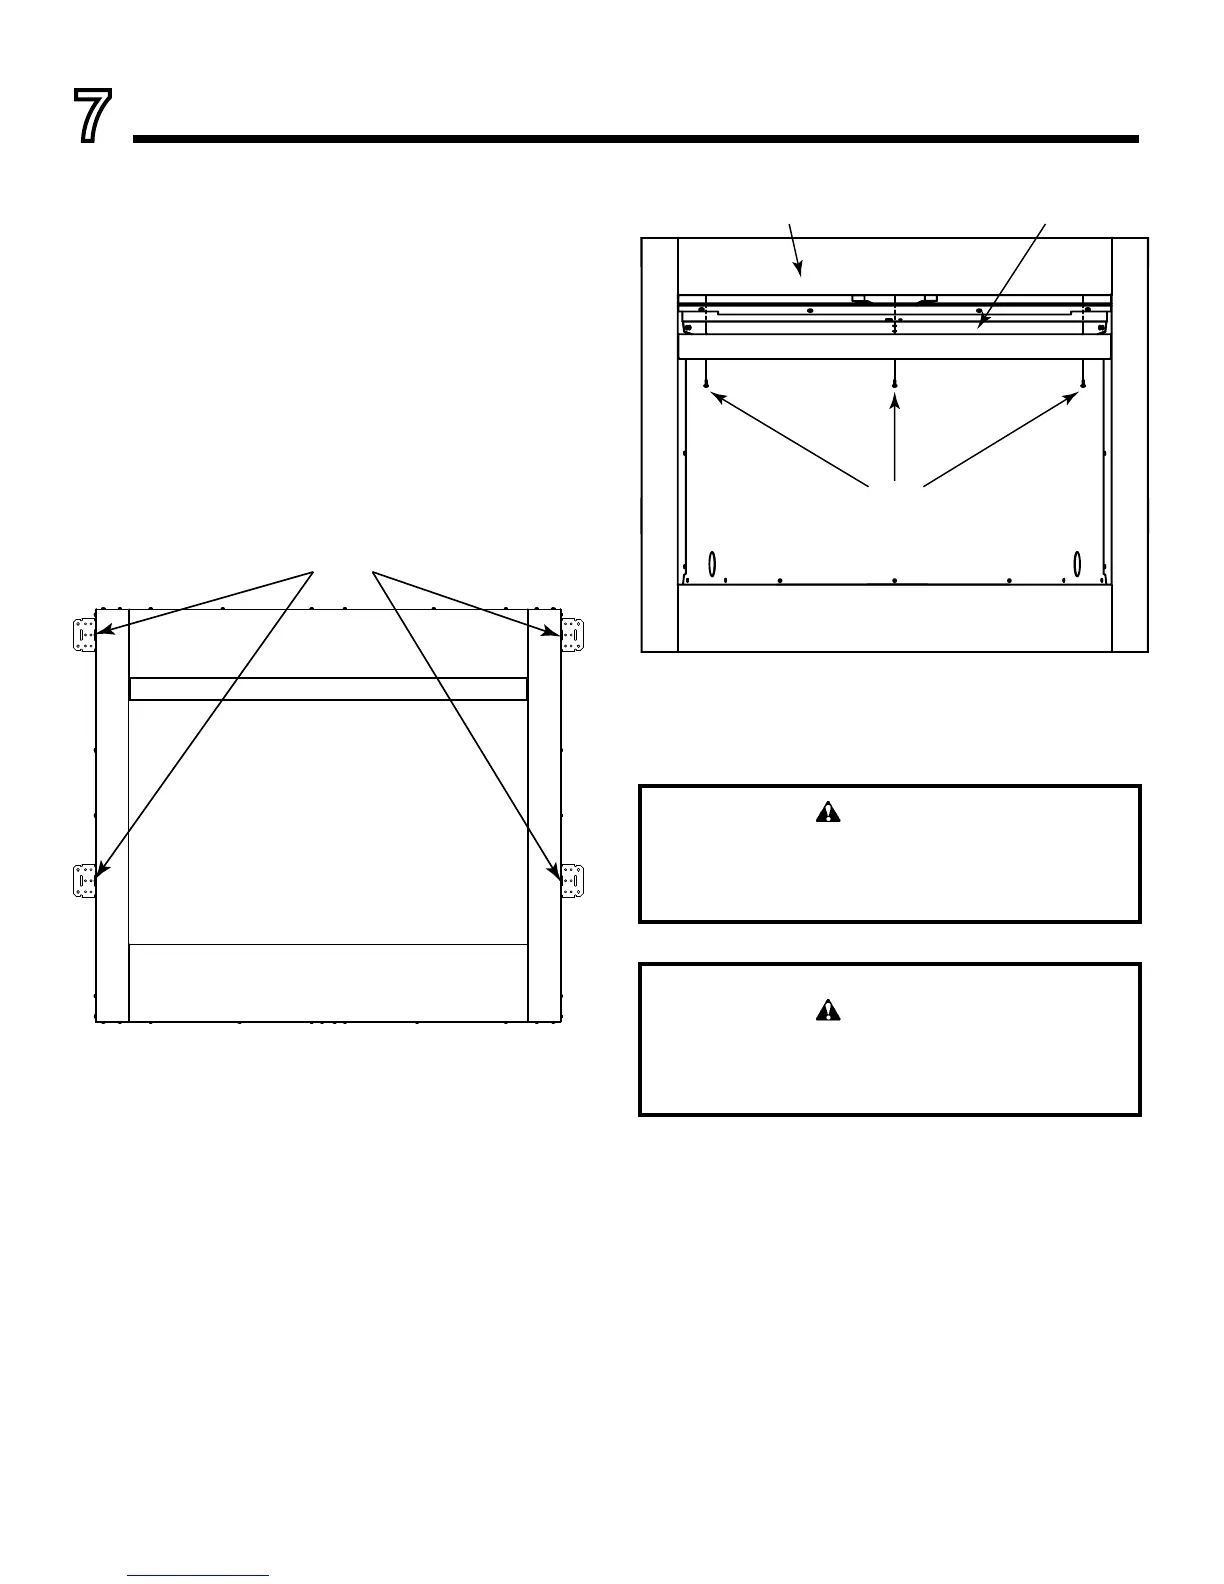
1. Bend out the nailing anges located on each side of the
rebox.
2. Slide the rebox into prepared framing or position rebox
in its nal position and frame later.
3. Level the rebox by checking the top edge of the rebox.
Shim if necessary.
4. Anchor rebox to the side framing members using 8d
nails or other suitable fasteners. Figure 7.1
5. The canopy must be installed for safe operation of the
rebox.
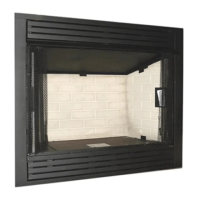
CANOPY INSTALLATION
A canopy is furnished with each rebox and MUST be
installed for safe operation.
1. Locate three (3) holes (one at each end and one in
center) of canopy and attach to face of unit with supplied
screws. Figure 7.2.
WARNING!
The rebox canopy must not be modied or
replaced with a canopy that may be provided
with the vent free decorative room heater.
WARNING!
Close replace screen panel before operating a
decorative type vent free room heater.
7
Fireplace, Canopy and Gas Line Installation
Figure 7.1 Location of Nailing Flanges
Figure 7.2 Canopy Installation
Nail Sides Through Nailing Flanges
Screws
Front Face Canopy
13
Monessen • BUF36/42 Installation and Operating Manual • 4600-900 • Rev E • 09/17