Mounting and Installation Notes D661/2/3/4/5 (B97072-660-001; Version G, 02/15) Page 3/3
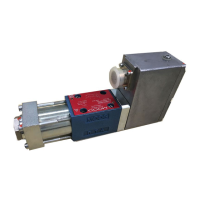
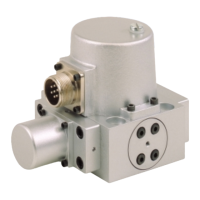
Applies only for D661 and D665 with D661 and D631 as pi-
lot valve
• Remove hexagon socket screws (5) with a wrench and
remove the filter cover (4). Remove the filter disk (2),
which is now accessible, with tweezers or a fine screw-
driver.
Fig.: Principles of construction
• Check O-rings (1) and (3) and replace if necessary.
• Install new filter disk. To do this, first insert the O-Ring
(1), then the filter disk (2) so that the side of the filter disk
with the indentation faces the outside. Insert O-ring (3) in
the filter cover (4) with some clean grease and mount.
• Torque screws to:
• After start-up, check valve for external leakage.
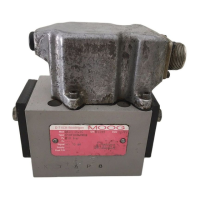
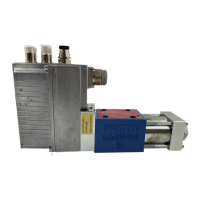
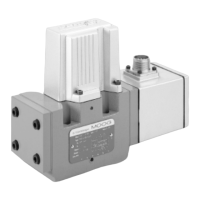
Applies only with -630 (D630) pilot valve
• Remove hexagon socket screws (6) with a wrench and
remove the filter cover (5). Pull out the plugs (4) using an
M4 screw. Remove the filter disk (2), which is now acces-
sible, with tweezers or a fine screwdriver.
Fig.: Construction
• Check O-rings (1) and (3) and replace if necessary.
• Install new filter disk. To do this, first insert the O-Ring
(1), then the filter disk (2) so that the side of the filter disk
with the indentation faces the outside. Insert O-ring (3) in
the plugs (4) with some clean grease and mount.
• Torque screws to:
• After start-up, check valve for external leakage.
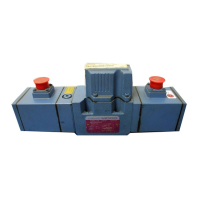
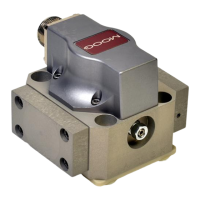
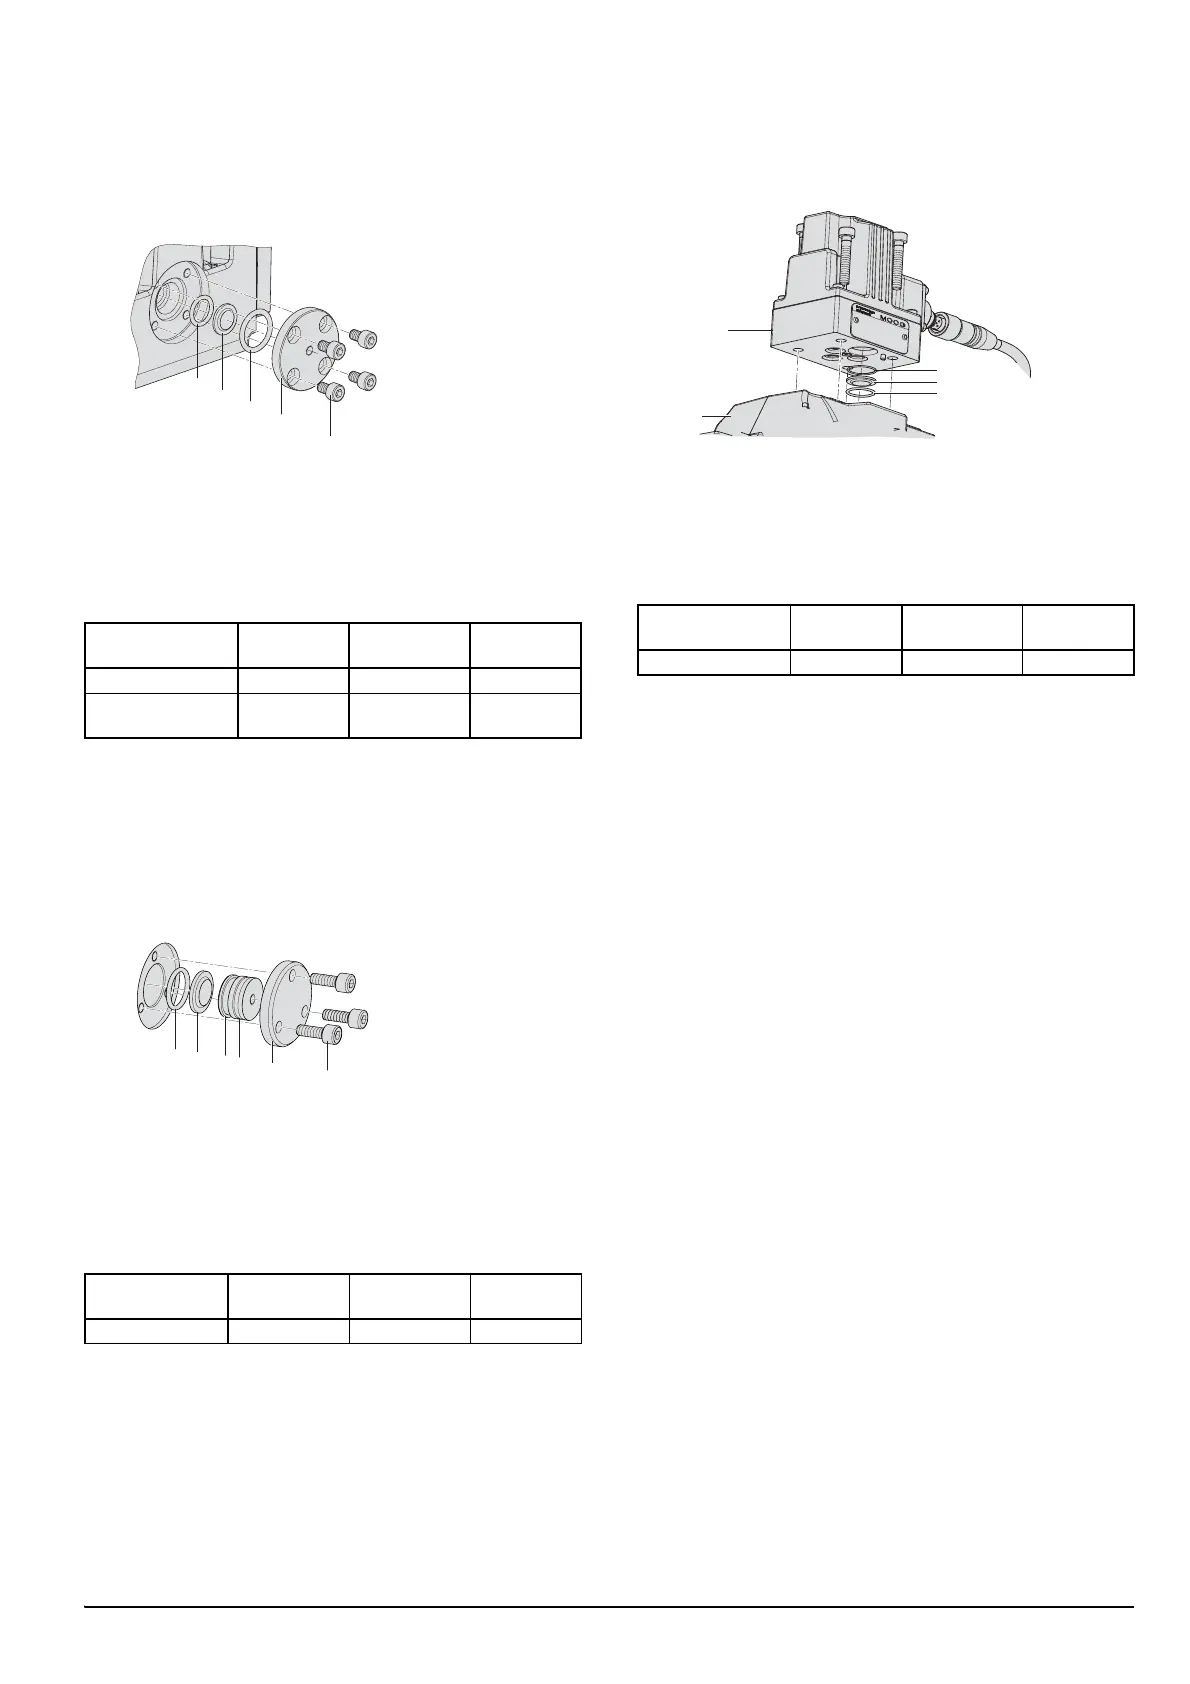
Applies only with D061 pilot valve
• Loosen pilot valve (2) from the main stage (1). Remove
the filter disk (4), which is now accessible, with tweezers
or a fine screwdriver.
Fig.: Construction
• Check O-rings (3) and (5) and replace if necessary.
• Install new filter disk. To do, first insert the O-Ring (5),
then the filter disk (4) and O-ring (3) so that the side of
the filter disk with the indentation faces the outside.
• Cross-torque screws to:
• After start-up, check valve for external leakage.
Replacing O rings: The mounting surface O rings may be re-
placed by the customer (on the pilot valves and the way valves
as well). The O rings of the pilot valve and way valve of the
D661 must not be replaced by the customer. Pay attention to
cleanliness of the valve and of the surroundings.
Transportation/storage: Before transportation, seal the base
of the valve using a clean shipping plate or adhesive tape.
Seal the connector using a dust protection cap. Pack the valve
carefully so that it is not damaged during transportation or stor-
age.
Inspection: Following a period of storage or no operation for
more than 5 years, we recommend that the valve is inspected
by an authorized service center, in order to prevent possible
damage.
Repairs: Repairs may only be carried out by us or by our au-
thorized service centers.
9 Disposal
It is essential to comply with the relevant national waste dis-
posal regulations and environmental protection provisions
when disposing of valves, spare parts or accessories, packag-
ing that is no longer needed, hydraulic fluid or auxiliary materi-
als and substances used for cleaning!
Type Series Screw
Torque
[Nm] (lbf in)
Pilot valve D631 M4 x 10–10.9 4.70 (41.6)
Pilot valve/
Proportional valve
D661 M5 x 8–10.9 8.34 (73.8)
Type Series Screw
Torque
[Nm] (lbf in)
Pilot valve -630 (D630) M4 x 10–8.8 3.40 (30.1)
Type Series Screw
Torque
[Nm] (lbf in)
Pilot valve D061 M5 x 30–10.9 8.34 (73.8)
 Loading...