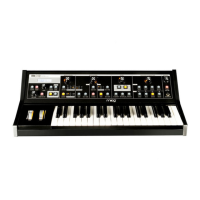
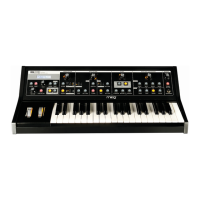
First Steps | 4
First Steps
Let’s start by exploring how
to patch a sequencer to an
oscillator, allowing us to get
more familiar with the process
of patching.
First let’s route RHYTHM 1 to Sequencer 1
by pressing the SEQ 1 button under
RHYTHM 1. Let’s route RHYTHM 2 to
Sequencer 2 by pressing the SEQ 2
button under RHYTHM 2. Make sure the
EG button is illuminated, and press PLAY.
Raise the volume and turn the TEMPO
knob down to around 9 o’clock to hear
Subharmonicon’s sequencer in action.
You will hear a procession of notes all at
the same pitch—this is because although
the sequencers are running, they are not
currently connected to anything.
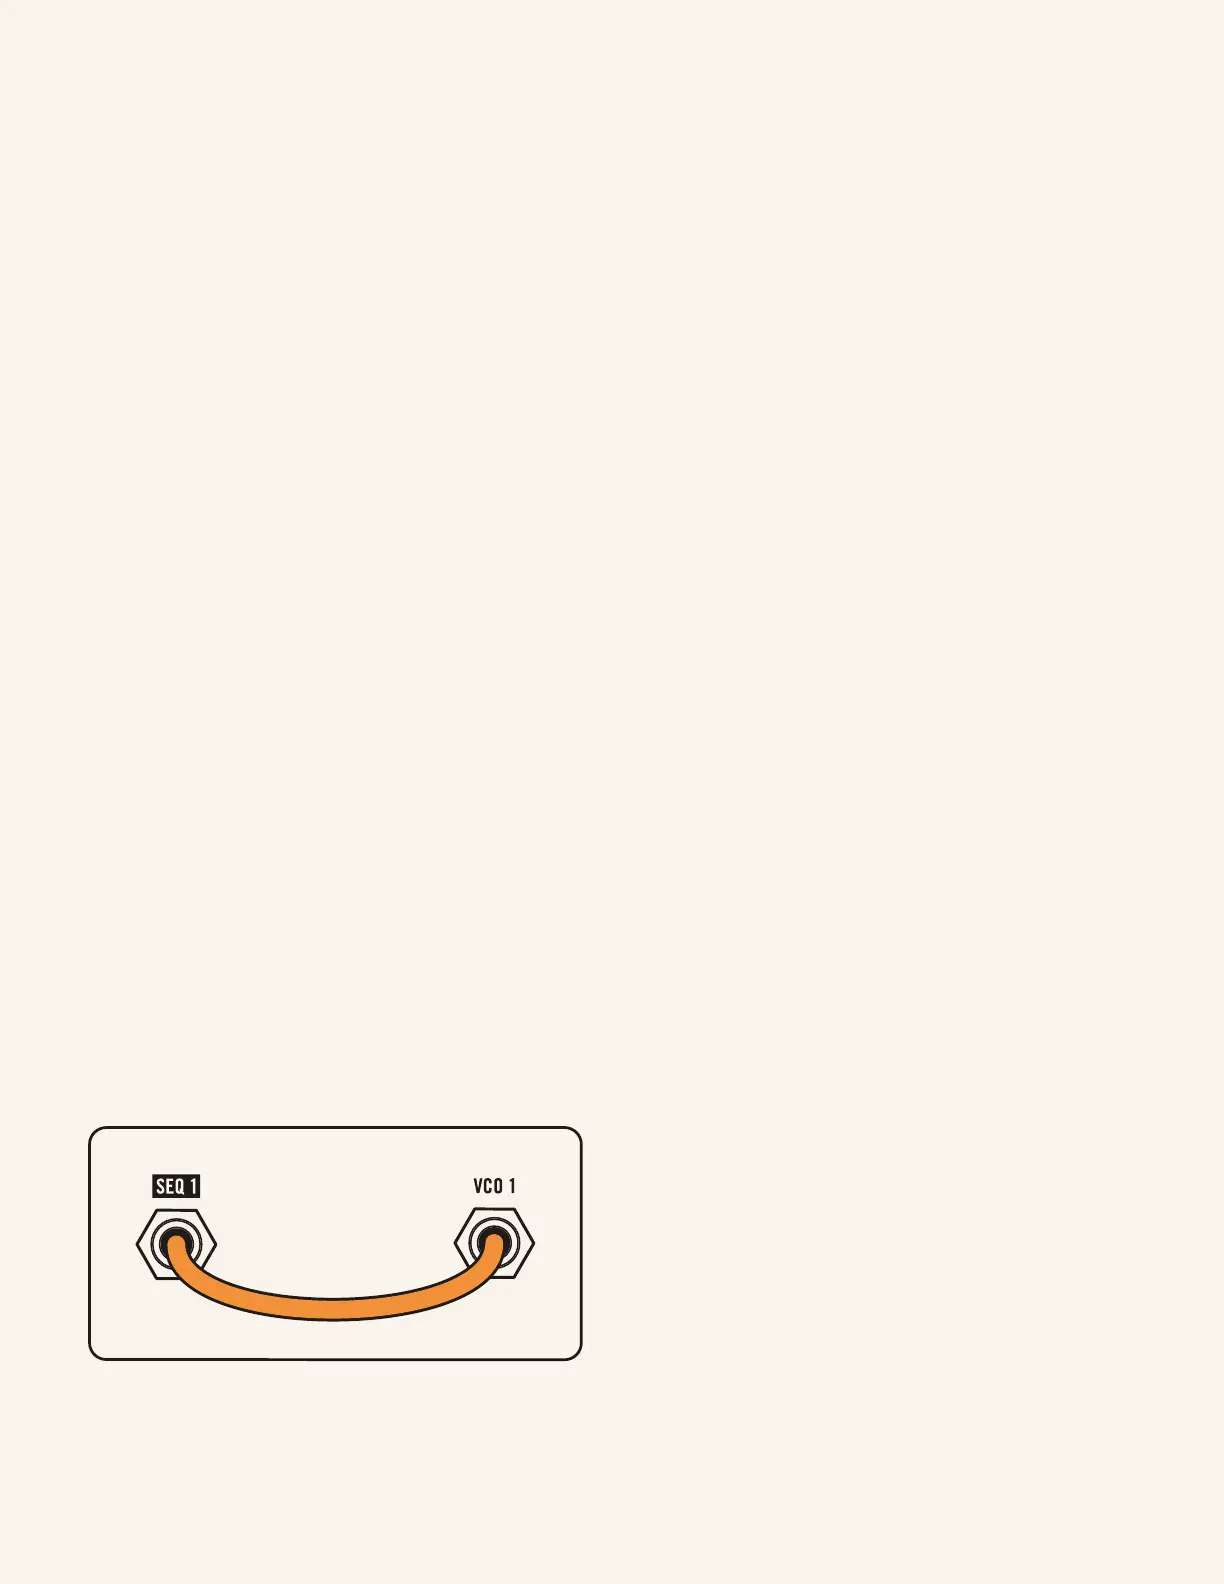
MAKE THIS CONNECTION
Let’s change that by patching the
Sequencer 1 output to the VCO 1 input
with a patch cable.
Now you will hear four distinct notes, each
corresponding to the setting of the four
dierent knobs of Sequencer 1.
→ Play with those knob settings while
the sequencer is running and listen to
how the notes change as you rotate
them up and down.
You will notice the sequencer knobs cover
an incredibly wide range of notes—this is
because the SEQ OCT toggle (in between
Oscillators 1 and 2) is currently set at ±5
volts. When each sequencer knob is at
precisely 12 o’clock it is set to 0 volts,
leaving the VCO at whatever frequency is
set by the large VCO 1 FREQ knob (i.e., the
frequency of VCO 1 when there is nothing
patched to it).
Rotating a sequencer knob fully clockwise
sets it to +5 volts or 5 octaves above the
VCO 1 FREQ knob while rotating fully
counterclockwise sets them to -5 volts
or 5 octaves below the VCO 1 FREQ knob.
You can limit this range by toggling the
SEQ OCT to ±2 to change the sequencer
range to ±2 volts. You can limit it further
by changing it to ±1. Let’s set it to ±1 volt
for now. Toggle the QUANTIZE selector
to 12-ET—this will quantize the voltages
coming out of the sequencer so that they
‘lock’ into semitones.
Now disconnect the patch cable
and instead press the OSC 1
button under SEQ 1 ASSIGN.
This button will have the same
eect, but without the need for
patching.