EasyManua.ls Logo

Morita Tri Auto ZX2 - User Manual

Morita Tri Auto ZX2
56 pages
Print Icon
To Next Page IconTo Next Page
Loading...
Thinking ahead. Focused on life.
Multipurpose Dental Treatment Motor
Tri Auto ZX2
Operation Instructions

Table of Contents

Other manuals for Morita Tri Auto ZX2

Questions and Answers

  • D
    David ArmstrongAug 19, 2025
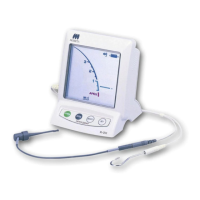
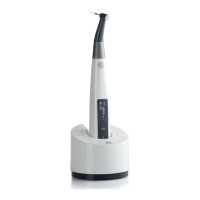
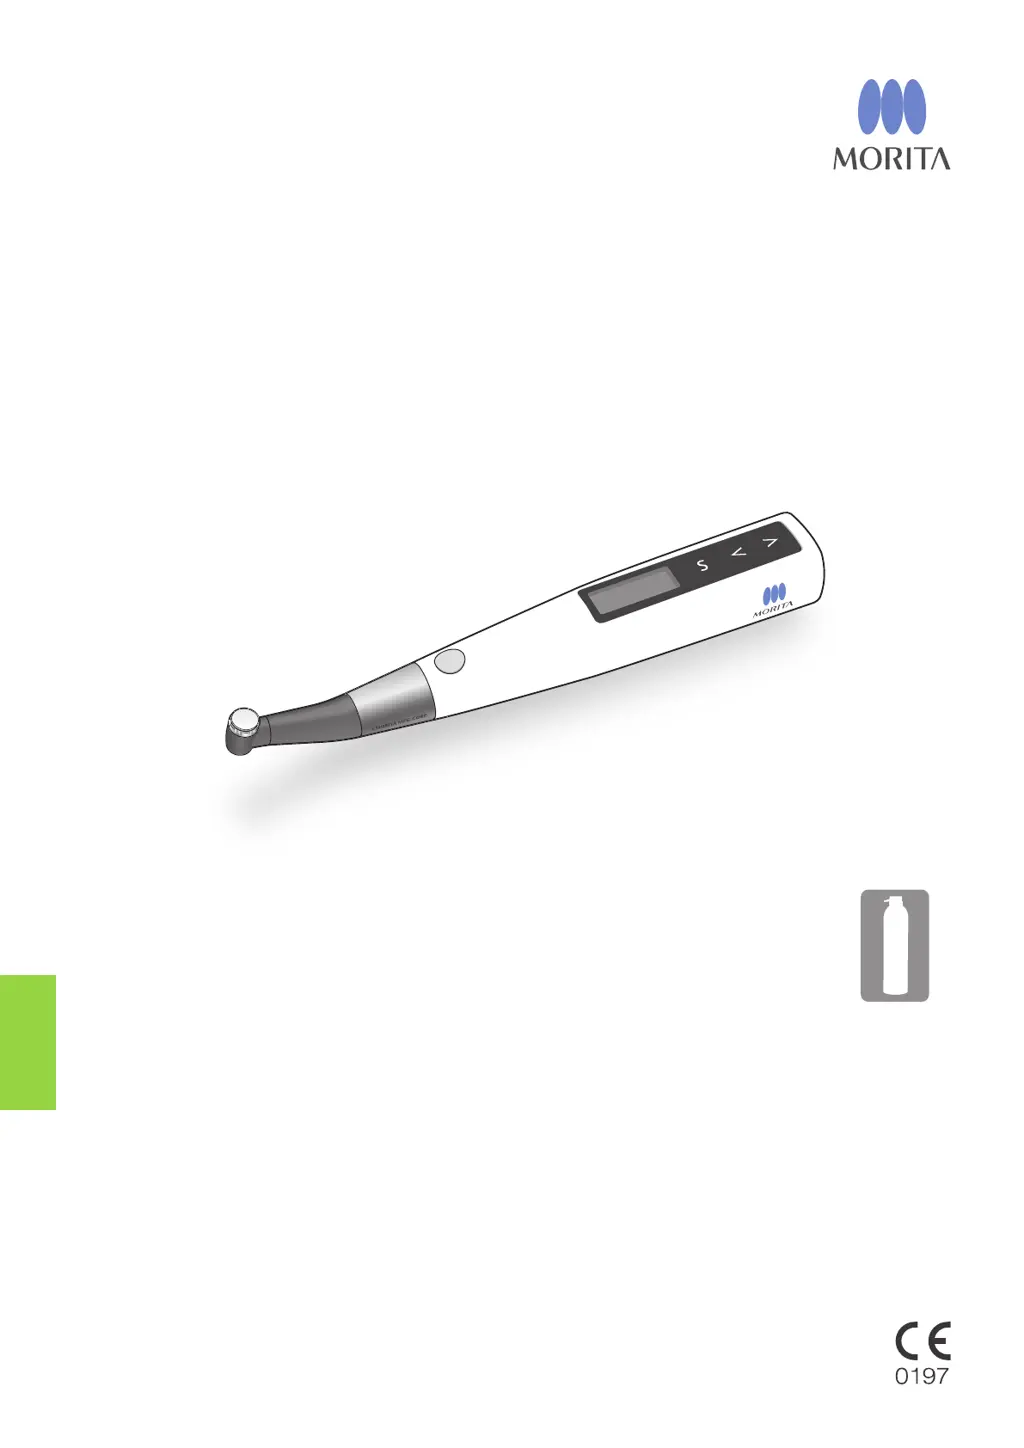
    What to do if the motor handpiece does not run when the file is inserted in the canal in Morita Tri Auto ZX2 Dental equipment?
    • D
      Diane TapiaSep 12, 2025
      To resolve the issue of a Morita Dental equipment motor not running when the file is inserted in the canal, first, ensure the contrary electrode is correctly placed in the patient's mouth. Next, verify that the instrument is not set to EMR mode; if it is, select a different mode. Also, check if the auto-start function is enabled and tighten any loose fixing screws for the built-in or external file electrode. If the canal length indicator bar lights up with only one bar or not at all, advance the file down the root canal or add moisture, such as saline solution, to ensure at least two bars light up.
  • G
    Gregory AdamsAug 21, 2025
    How to troubleshoot no power on Morita Tri Auto ZX2?
    • N
      Nathan WebbAug 21, 2025
      If your Morita Dental equipment displays 'No Power,' try these steps: First, ensure the battery is adequately charged by charging it. If the battery is charged, check its installation and ensure it is properly installed. If the issue persists, the battery may be degraded and require replacement.
  • R
    rtaylorAug 23, 2025
    Why does the motor spontaneously start running in reverse on Morita Dental equipment?
    • H
      Holly EnglishAug 23, 2025
      If your Morita Dental equipment motor spontaneously starts running in reverse, it might be due to the torque limit being set. To fix this, set the Torque Reverse function to R.L (torque reverse less) if you don't want this to happen. Also, check if the apical action setting is on reverse and change it to Off or Stop. Finally, ensure that the instrument is not set to CCW (reverse rotation) mode; if it is, select a different rotation mode.
  • A
    Alan HernandezAug 26, 2025
    Why does the motor reverse its rotation too easily in Morita Tri Auto ZX2 Dental equipment?
    • D
      Daniel Rios IIAug 26, 2025
      If the motor reverses its rotation too easily on your Morita Dental equipment, the torque limit value might be set too low; try increasing it. Also, the Apical Torque Down function might be turned on, which automatically decreases the torque limit as the file approaches the apex; turn this function off to use a fixed reverse torque value. Finally, if the canal retains blood or chemical solution, advance the file down the root canal to resume appropriate meter display and forward file rotation.
  • P
    peterkeithAug 27, 2025
    Why does the motor change speed spontaneously on Morita Tri Auto ZX2?
    • R
      Rebekah BrownAug 28, 2025
      If the motor in your Morita Dental equipment changes speed spontaneously, it might be because Apical Slow Down is turned on, which slows rotation as the file approaches the apex; turn it off for a steady speed. Similarly, Torque Slow Down might be enabled, causing the rotation to slow as file torque increases; disable this for a consistent rotation speed.
  • V
    Victoria WallaceAug 30, 2025
    What to do if the display does not appear on Morita Dental equipment?
    • R
      Richard SmithAug 30, 2025
      If the display does not appear on your Morita Dental equipment, determine if there is a sound when the instrument is turned on and off. If there is no sound, charge the battery. If there is a sound, the display is broken.
  • J
    James EllisAug 31, 2025
    Why does my Morita Tri Auto ZX2 Dental equipment turn off by itself?
    • A
      Amanda SnyderAug 31, 2025
      If your Morita Dental equipment instrument turns off by itself, it might be due to the Auto Power Off function being triggered after a period of inactivity; press the Main switch to turn it back on. Alternatively, a momentary large load when the battery is low could cause this; if pressing the Main switch returns to standby display and the battery is low, charge the battery.
  • M
    Monica CampbellSep 3, 2025
    What to do if the motor does not reverse its rotation in Morita Tri Auto ZX2 Dental equipment?
    • M
      Michael PorterSep 3, 2025
      If your Morita Dental equipment motor does not reverse its rotation, check if it's set for R.L (torque reverse less) and change it to something else. The torque reverse setting might also be too high, so lower it. Additionally, ensure Apical Action is set to Reverse; if it's turned off, set it to Reverse, or if the Apical Action setting is “Stop” or “OAS”, set it to Reverse.
  • C
    Christy GillespieSep 5, 2025
    Why is the canal measurement meter unstable on my Morita Tri Auto ZX2 Dental equipment?
    • S
      sarasmithSep 5, 2025
      If the canal measurement meter on your Morita Dental equipment is unstable, the built-in electrode may need replacement, especially if it hasn't been replaced recently. In this case you should clean and lubricate the contra angle, remove the internal electrode and clean it and the rotor axle with a brush, and replace the built-in electrode. Also, check if the fixing screw for the built-in electrode or external file electrode is loose and tighten it securely.
  • B
    Brendan RodriguezSep 7, 2025
    Why does the motor alternate between forward and reverse rotation on Morita Dental equipment?
    • M
      Megan RivasSep 7, 2025
      If the motor alternates between forward and reverse rotation on your Morita Dental equipment, it might be set to OTR mode, where rotation alternates if the torque exceeds the specified value. It could also be set to OGP mode, where the motor always alternates. If alternating rotation happens even after calibration, raise the trigger torque by one level.

Summary

Overview and Features

Tooth Icons

Describes the visual representation of different canal shapes.

Canal Shapes

Details the characteristics and treatment implications of various canal shapes.

Modes

Explains the five distinct operating modes of the dental motor.

Memories

Describes the eight memory settings for customizing motor operation parameters.

Key Canal Shaping Functions

Groups essential functions for effective canal shaping.

Upper Part Shaping

Procedure for enlarging the upper portion of the root canal.

Canal Measurement

Process for determining the working length of the root canal.

Glide Path

Method for creating a smooth path for endodontic files.

Canal Shaping

Technique for shaping the root canal to the desired form.

Turn Power Off

Instructions for safely shutting down the instrument.

Prevent Accidents

Customer and Dealer Instructions

Safety guidelines for users and sellers.

Understanding Safety Symbols

Explains danger level indicators and their meanings.

General Safety Rules

Lists key safety precautions, prohibitions, and important remarks.

Disclaimer

Product Liability Exclusions

States responsibilities J. MORITA MFG. CORP. is not liable for.

User Qualifications

Describes required qualifications for endodontic device operators.

Parts Identification and Display Screens

Handpiece Components

Identifies the various parts of the dental handpiece.

Battery Charger Components

Identifies the parts of the battery charger unit.

Usage

Operation, Transport and Storage Environments

Specifies conditions for operating, transporting, and storing the device.

Before Use Checks

Lists essential checks to perform before operating the instrument.

Connect Contra Angle

Instructions for attaching the contra angle to the motor handpiece.

Put on HP Protective Sleeve

Procedure for applying the protective sleeve for hygiene.

Connect Probe Cord

Steps for connecting the probe cord to the motor handpiece.

Install File

Procedure for inserting and securing an endodontic file.

Operation Check

Check Motor

Procedure to verify the proper function of the motor.

Check Canal Measurement Function

Procedure to confirm the accuracy of the canal measurement system.

Check with Tester

Procedure to check instrument accuracy using a dedicated tester.

Calibration

Steps and conditions for calibrating the instrument.

Operation

Default Settings

Explains the default memory settings for various operational modes.

Canal Measurement

Apply Contrary Electrode

Instructions for properly positioning the contrary electrode.

Clip the File

Procedure for attaching the endodontic file to the file holder.

Canal Measurement (m1)

Detailed steps for performing canal measurement using memory m1.

Canal Shaping (for normal canals)

Shape Upper Part of Canal (m2)

Procedure for shaping the upper part of the canal using memory m2.

Glide Path (m3)

Steps for creating a glide path using memory m3.

Canal Shaping (m4)

Procedure for canal shaping using memory m4.

Canal Shaping (for complex canals)

Glide Path (m5)

Steps for creating a glide path using memory m5.

Canal Shaping (m7)

Procedure for canal shaping using memory m7.

EMR (Electric Measurement of Root canal length)

Root Canals not suitable for Electric Measurement

Identifies root canal conditions that prevent accurate electric measurement.

After Use

Take Out the File

Instructions for safely removing the endodontic file.

Remove HP Protective Sleeve

Procedure for removing and disposing of the protective sleeve.

Battery Charging

Charging Procedure

Step-by-step guide for charging the device's battery.

Using and handling the power plug for the AC Adapter

Connect Power Plug

Instructions for securely connecting the AC adapter power plug.

Maintenance

Autoclavable Components

Lists components that can be sterilized using an autoclave.

Cleaning Procedure

Steps for cleaning dental handpiece components.

Disinfection

Procedure for disinfecting components using ethanol.

Lubrication

Lubrication Procedure

Instructions for lubricating the contra angle before autoclaving.

Sterilization

Autoclave Components

Guidelines and procedures for autoclaving dental components.

Wash and Wipe with Ethanol for Disinfection

Cleaning Procedure

Steps for cleaning components with running water and a brush.

Disinfection Procedure

Instructions for disinfecting components with ethanol-dampened gauze.

How to Make Various Settings

Rotation Controls

Lists and describes the available rotation control functions.

Default Memory Settings

Presents the default settings for each memory (m1-m8).

Set Operation Mode

Operation Mode Settings

Explains the five available operation modes for shaping and measurement.

Set Speed and Torque

Speed (r;min)

Details on setting the file rotation speed.

Torque (N.cm)

Details on setting the torque limit or trigger torque.

Settings for Canal Measurement Linkage

Apical Action

Actions that occur automatically when the file tip reaches the set point.

Auto Start

Functionality for automatic motor start when the file is inserted.

Auto Stop

Functionality for automatic motor stop when the file is removed.

Auto Start Settings

Configuration options for the auto start function.

Auto Stop Settings

Configuration options for the auto stop function.

Set Other Functions

Apical Slow Down

Function to automatically slow down the motor near the apex.

Torque Slow Down

Function to automatically slow down motor with increasing torque load.

Apical Torque Down

Function to automatically decrease torque limit as file approaches apex.

Rotation Angle

Setting the arcs for forward and reverse rotation in OGP/OTR modes.

Beeper Volume

Adjusting the volume level for audible alerts.

Other Handpiece Functions

Default Handpiece Settings

Lists the default values for handpiece functions.

Set Handpiece Functions

Instructions on how to adjust various handpiece functions.

Auto Power Off Time

Setting the duration before the instrument automatically shuts off.

Auto Return to Standby Display

Setting the time before the instrument returns to standby display.

Dominant Hand

Setting the display orientation based on user's dominant hand.

Reset Memories to Original Default Settings

Memory Reset Procedure

Steps to restore all memories and handpiece settings to default.

Replacement Parts

Replacing Battery

Procedure for replacing the device's internal battery.

Replacing Built-in Electrode

External File Electrode

Replacing Built-in Electrode with External Electrode

Procedure for replacing the built-in electrode with an external one.

File Insertion and Removal

Instructions for inserting and removing endodontic files.

Electrode Clipping

Guidelines for correctly clipping the electrode onto the file.

Maintenance and Inspection

Regular Inspection

Routine checks for maintaining the instrument's proper function.

Disposal of Medical Devices

Guidelines for the safe and compliant disposal of medical devices.

Troubleshooting

Troubleshooting Guide

Table of common problems, checks, and recommended remedies.

Motor Issues

Troubleshooting steps for motor-related problems.

Abnormal Stop

Scenarios and solutions for unexpected motor stops.

Error Numbers

List of error codes and their corresponding problems.

Technical Specifications

Handpiece Specifications

Detailed technical specifications for the handpiece.

Battery Charger Specifications

Detailed technical specifications for the battery charger.

AC Adapter Specifications

Detailed technical specifications for the AC adapter.

Symbols

Product Markings

Explanation of various symbols and markings found on the product.

Service Contacts

Consumable and Replacement Parts

Lists consumable and replacement parts with their codes.

Appendix-Electromagnetic Declaration

Electromagnetic Emissions Guidance

Guidance related to electromagnetic emissions from the device.

Electromagnetic Immunity Guidance

Guidance related to the device's immunity to electromagnetic fields.

Recommended Separation Distances

Guidelines for maintaining safe distances from RF communication equipment.

Safety and Accident Prevention for the Operation of Electrical Medical Devices

Installation Precautions

Important safety considerations when installing the device.

Pre-Use Precautions

Essential checks and precautions before operating the device.

During Use Precautions

Key safety measures to observe during device operation.

Post-Use Precautions

Important considerations after using and storing the device.

Morita Tri Auto ZX2 Specifications

General IconGeneral
BrandMorita
ModelTri Auto ZX2
CategoryDental equipment
LanguageEnglish

Related product manuals