1. Lift the door o its hinges an place face-down on a sheet of cardboards or other non abrasieve
fabric. The door is removed by loosening the 2 screws with a hexagon box wrench by the hinges.
2. Unscrew the bolts that secure the glass. (In the event that a bolt sheers o when being
unscrewed, remove the remaining body of the bolt by drilling down its cnetre with 1/8
inch high speed steel drill bit. Smaller drill bits may be successful, but do not use a lager
bit. Make sure the bit stays away from the edges of the bolt - this may damage the thread
in the cast iron).
3. Remove the old ceramic gaskets and clean up the surface underneath with wire wool or
emery paper to remove loose particles.
4. Place the new gasket material in position around the perimeter of the window area, mak-
ing sure to pinch them to the length in such a way that they make a continuous seal. Leave
no gaps.
5. Place the new glass in position on the strips and screw home the fresh bolts and tting
by hand.
6. Finally, give each of the bolts an extra half turn or so. The glass should held tight enough
by that cleaning will not dislodge it. Do not over-tighten the bolts as this may put exces-
sive pressure on the glass, resulting in cracking - important!
To reduce the risk of breaking the glass, avoid striking the glass or slamming the door.
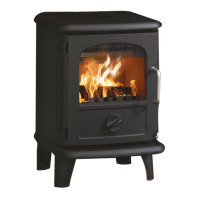
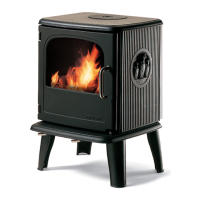
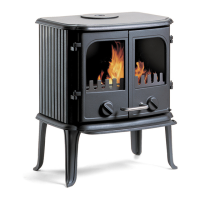
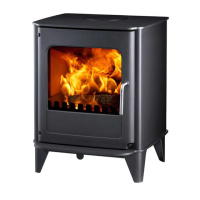
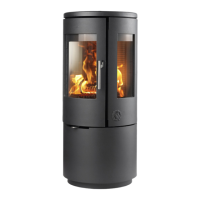
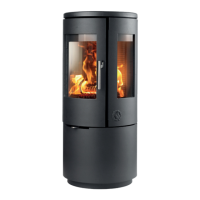
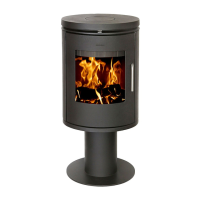
Internal service parts
The ame-path equipment - consisting of the ashpan, grate, rebricks, glass, bae and ue
collar - are subject to the extremes of heat produced by the re. From time to time, one or
other of these parts may need replacing as a matter of routine maintenance.
NOTE: The ame-path equipment, the ceramic rope and the paint nish are not covered
by guarantee.
All of these service parts can be bought from your Morsø dealer, and we recommend that
damaged parts are replaced as soon as possible to avoid collateral damage.
The grate may be replaced by lifting it by its left hand edge and twisting it backwards. Dis-
locate the riddling arm from the grate by feel from beneath the oor of the rebox. If you
nd this dicult for any reason, raising the rectangular grate surround casting may help.
Should the bae be distorted by an overre, the stove will still function, although its eciency
may be compromised. Replace it as soon as possible. The rear casing is removed (four bolts).
Remove these and withdraw the bae from the rebox (this may be easier if the rebricks are
rst removed).
Before replacing the bae, scrape out the old re furnace and replace with new to make
an eective seal.
Reasons for fast internal wear and tear
Persistent heavy ring
Soot and ashes left to accumulate