3.7
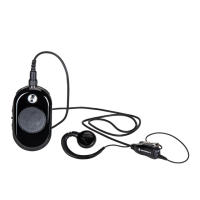
Charging with the Drop-In Tray MUC-Optional Accessory
The Multi-Unit Charger (MUC) allows drop-in charging of up to six radios. Each of the six charging
pockets can hold a radio with a battery installed. The MUC provides pockets for headset storage.
Procedure:
1 Place the charger on a flat surface or mount it on the wall.
2 Insert the power cord plug into the jack on the MUC.
3 Plug the cord into an AC outlet and then into the charger.
4 Turn off the radio.
NOTICE: When charging a battery attached to radio, ensure that the radio is turned off.
You can enable or disable the radio to automatically turn off when radio is inserted into
the charger feature through Customer Programming Software (CPS).
5 Insert the radio facing down with battery installed into the charging pocket, ensuring that the
radio contacts are aligned with the MUC contacts.
NOTICE: The battery can be charged by using the slot on the flat surface of the charging
pocket.
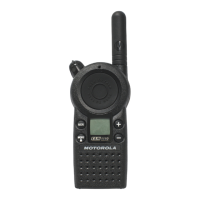
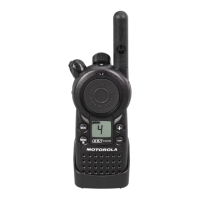
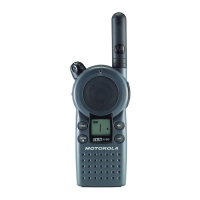
Figure 9: Charging Radios
3.8
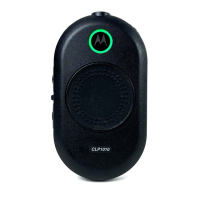
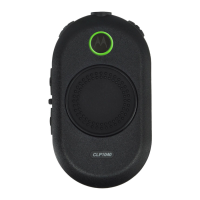
Charger LED Indications
On the drop-in charger, the radio charging pocket has an LED Charger.
On the Multi-Unit Charger (MUC), each of the six charging pockets has an LED.
NOTICE: You can clone up to two source radios and two target radios using MUC. For more
information on cloning, see Radio Cloning on page 31
For part number details, see Accessories on page 42.
Table 6: Charger LED Indicator
Status LED Indication
Battery is charging Steady Red
MN007419A01-AA
Chapter 3: Battery and Charger
26
 Loading...