9
English
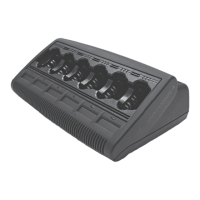
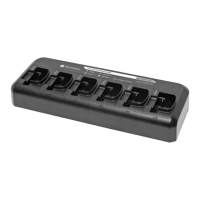
The combination of the features listed above are unique in a desktop
charger. Therefore, operation of the radio with a battery attached while
in the charger is not recommended.
During the charging process, radio operation may result in minimally
reduced radio performance and extended battery charge time.
During the Reconditioning/Calibration process, the battery becomes
fully discharged. As a result, the radio may shut down during
Reconditioning/Calibration mode.
When troubleshooting, always observe the color of the LED.
Table 2. Troubleshooting
Problem What it means... What to do...
No charger
indication
1a. Poor connection between
battery and charger.
1b. No power to the charger.
1a. Remove and reinsert the battery
into the charger. If this does not
resolve the problem, then
remove power from the charger
and, using a clean dry cloth,
clean the contacts of both the
battery and the charger.
1b. Make sure that the power cord is
securely plugged into the charg-
er and an appropriate AC outlet,
and that there is power to the
outlet.
Blinking Red
Indication
2a. Charger contact is not
being made.
2b. Battery is not chargeable.
2a. Remove the battery from the
charger and replace it back into
the charger.
2b. Verify that the battery is a
Motorola-authorized battery
listed in Table 4 . Other batteries
may not charge.
Remove power from the battery
charger and, using a clean dry
cloth, clean the gold metal
charging contacts of both the
battery and the charger.
Replace battery.
68009268001_DUC_EN.book Page 9 Wednesday, December 30, 2015 2:26 PM
 Loading...