3
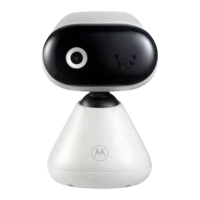
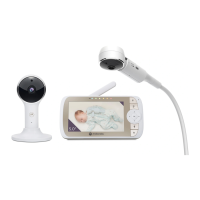
3. Wall mount the camera unit
1. Mark the positions of 2 screw holes on the wall. Drill a screw hole at
each marking.
2. Install the supplied wall anchors into 2 screw holes on the wall.
3. Insert the supplied wall mounting screws into the wall anchors.
4. Remove the desk stand by loosening the screw on the underside of the
desk stand.
5. Fix and fasten this screw on the camera unit and the wall mount bracket.
6. Hang the wall mount bracket on the wall mounting screws on the wall.
Note
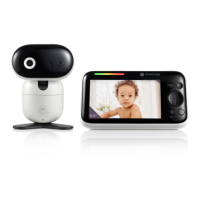
The pack includes a power adapter with a longer cord which is beneficial for
wall mount application, where your wall socket is far from the camera.
2
5.8mm
28.2mm
1
4 5 6
3
25mm
4.1mm
32.5mm
(1.28”)
6.0mm
(0.24”)
PIP1010 CONNECT_QSG_EN_AE_v1.indd 3PIP1010 CONNECT_QSG_EN_AE_v1.indd 3 2023/10/23 14:162023/10/23 14:16

 Loading...