4
OPERATING INSTRUCTIONS
Single-unit chargers will charge only the Motorola authorized
batteries listed in
Table 1. Other batteries may not charge.
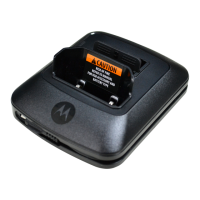
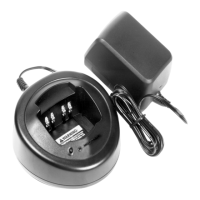
The battery charger’s pocket will accommodate either a radio with
a battery attached or a battery alone. Prior to charging a battery
with radio, turn the radio off. To charge a battery, use the
following procedure: (Refer to
Figure 1, page 5)
1. Plug the round end of the transformer cord into the socket on
the back of the charger.
2. Plug the transformer into the appropriate ac outlet. The
charger LED will blink green once to indicate a successful
power-up.
3. Insert a battery, or a radio with battery (radio turned off), into
the charger's pocket by:
a. aligning the groove on each side of the battery with the
corresponding raised rail on each side of the charger
pocket
b. pressing the battery toward the rear of the pocket
c. sliding the battery into the charger pocket, ensuring
complete contact between the charger and battery
contacts
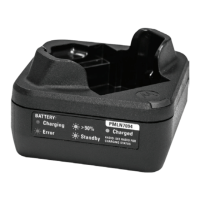
2. When the battery is properly seated in the pocket, the charger
LED will light red to indicate that the battery is charging rapidly.
When the battery is 90% charged, the LED will begin to blink
green to indicate that the battery is trickle charging. When the
battery is fully charged, the LED will change to a steady green
light to indicate that the battery is fully charged.
Note: Even though new batteries might prematurely indicate a full
charge (steady green LED), charge the battery for 14 to 16
hours prior to initial use for best performance.
Batteries will charge best at room temperature.
Text.fm Page 4 Monday, March 17, 2008 4:28 PM
 Loading...