5
Quick Start Guide
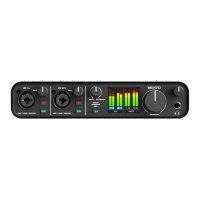
Thank you for purchasing an M series USB
interface! Follow these easy steps to get started
quickly.
FOR MAC USERS
1 Connect the M2 or M4 to your Mac using the
included USB cable.
☛ If your computer has USB-C ports, use a
USB-C to USB-C cable (rated for USB2), or a
USB-C to USB-A adapter, (both sold separately).
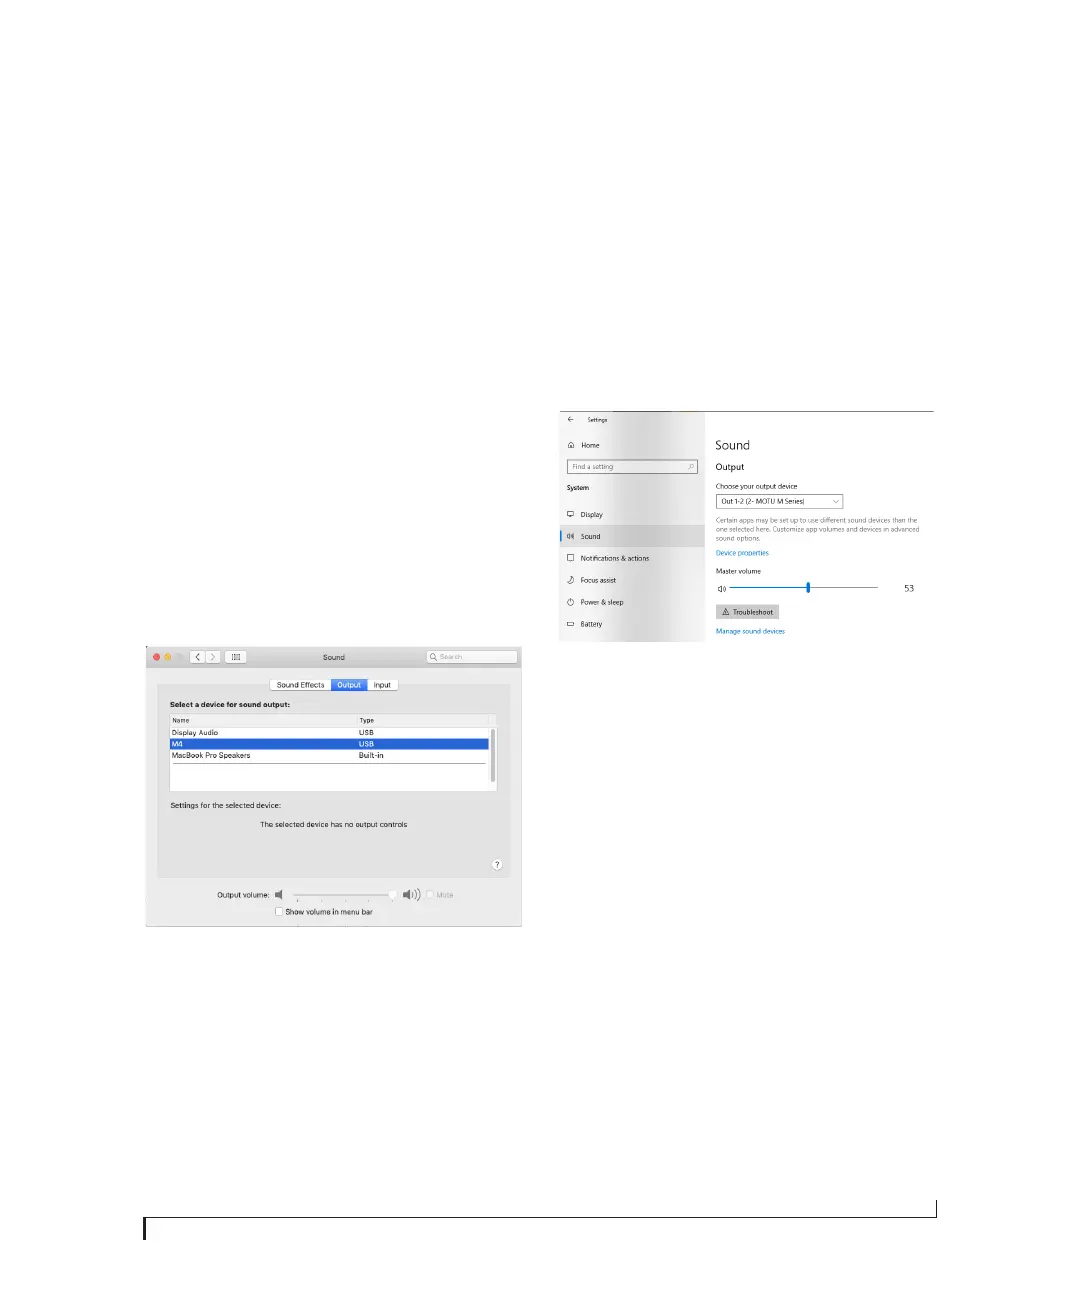
2 Go to the Apple menu and choose System
Preferences.
3 Click Sound and choose the M2 or M4 as the
input and output device.
4 Go to Step 5 below.
FOR WINDOWS USERS
1 BEFORE you connect the M2 or M4 to your
computer, visit motu.com/m2-start or
motu.com/m4-start to download and install the
Windows driver.
2 Connect the M2 or M4 to your PC using the
included USB cable.
☛ If your computer has USB-C ports, use a
USB-C to USB-C cable (rated for USB2), or a
USB-C to USB-A adapter, (both sold separately).
3 Go to the Windows Sound Control Panel and
choose MOTU M Series as the default input and
output device.
4 Go to Step 5 below.
FOR ALL USERS
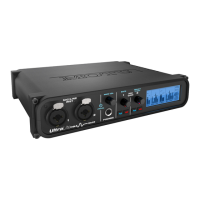
5 Connect speakers and/or a pair of headphones
to the M2 or M4 so you can hear your computer’s
audio output. For speakers, connect them to the
outputs on the back panel.
6 You are now ready to start using your M series
interface.
7 Visit motu.com/m2-start or motu.com/m4-start
to register your product, download the included
software and watch brief how-to videos, including:
■ How to connect a mic, guitar, keyboard or other
line-level audio source.
■ How to use your M series interface with your
recording software.
■ How to get the most out of your M series
interface.